
First Five Ingredients - Where to start with Glaze Making
This project is no longer being updated, see this post for the current ingredients and recipes.
Glaze making is an incredibly straightforward process but knowing where to start is far trickier. There are hundreds of available ingredients, and it’s not clear which ones you should buy first. Especially if you’re picking recipes from Glazy or from a book and no two recipes will use the same combination of ingredients.
What You Need
Five Base Ingredients
The good news is that for cone 5-7 firings, you can do almost everything with 5 ingredients in the glaze base. These are the ingredients you’ll need to buy in larger amounts, so simplifying the base recipe allows you to have a selection of glazes without committing too much money or storage space.
The five ingredients I would recommend are:
Each of these has a specific function in the glaze, and a lot of the other ingredient options will perform a very similar function with slight changes in the underlying chemistry. There can be very good reasons to pick one ingredient over another, so this selection of ingredients will rule out certain types of glaze or specific glaze effects. However, these five are a great starting point and will give a very wide range of glazes.
My knowledge of what each material contributes and how glazes can be easily altered to achieve specific chemistry came from the Ceramic Materials Workshop Understanding Glazes class, which I would highly recommend if you want to learn more. You can use offer code oldforgecmw for 25% off the Cone 6 course, which is an excellent starting point for getting deeper into understand what each ingredient does.
Colourants
There’s a lot less overlap here, as each colourant has a fairly unique colour palette. The good news is that they generally don’t get added to the recipes at a high percentage, so you can buy the smallest amount of each one of the colourants needed for the recipes you want to try and it shouldn’t be prohibitively expensive. (US / UK)
The main colourants I’d recommend starting with are:
Titanium (white/opacifier)
Cobalt Carbonate (mainly blue)
Copper Carbonate (mainly green)
Red Iron Oxide (mainly red/brown)
Manganese Dioxide (mainly orange/red)
Chromium Oxide (mainly green)
Tin Oxide (white, but pink/purple with Chromium)
Zirconium (white/opacifier)
Stains (these are premade mixes of colourants that should predictably give a specific colour, but will be more expensive than the oxide/carbonate equivalent)
There are other colourants, and other versions of the colorants above (e.g. cobalt oxide vs cobalt carbonate) but these are the ones I’d suggest starting with.
Not a colourant, but often included with them is Bentonite (US / UK). It’s a type of clay that is used to keep the other ingredients suspended in the mix. It’s generally worth adding 1-2% to most glazes to improve the mix and application properties of the glaze without affecting the chemistry much.
Equipment
You don’t need much, but there are a few essential and a few useful pieces of equipment.
PPE - There are quite a few glaze ingredients you don’t want to ingest and you really don’t want to be inhaling any of them. So a good filter mask (US / UK) is a must for the long term health of your lungs, and eye protection and gloves are sensible additional precautions.
Scales - You need to be able to measure ingredients, and this is done by weight. Scales will come with two numbers, the maximum weight they can measure and the precision they measure it with. When looking at cheap scales you’ll generally find that there are 3 ranges and all of them are useful for different batch amounts
I would suggest the 500g version if you only want to do tests and very small batches to start as the extra precision is very useful for small amounts of colourants.
Containers - If you’re in the UK, I HIGHLY recommend these 400ml beakers from Wilko. They’re cheap, a perfect size for glaze tests, seal really well, and are easy to clean. But any container will work, and just saving plastic food containers is a good starting point for mixing tests.
Sieve - These come in a range of sizes and meshes, but I’d suggest getting a small 80 mesh sieve (US / UK). An alternative is getting an immersion blender as they mix aggressively enough that sieving is not generally required.
How to Mix a Glaze
Following a glaze recipe is incredibly easy. The general format is to have a base recipe that adds up to 100%, then colourants are added to it. (This is a slightly simplified view of glaze chemistry as different colourants will affect the behaviour of the base recipe differently, but for colourants at a couple of percent it won’t be a big effect.)
The basic steps to mixing a glaze are:
Decide how much you want to mix (I’d recommend starting with 100g base as a very convenient size for a test) and multiply the ingredients (Glazy will do this automatically for you by changing the number in the ‘Batch’ box under the recipe).
Weigh out the water (I would suggest 90% of the base weight as a starting point, it’s easier to add more than remove it)
Get your ingredients out. I put them all to one side of the bench at the start and move them across as I add them, that way if I get interrupted halfway through I know exactly where I was.
Put on your mask, gloves, goggles, etc.
Weigh out each ingredient and add them to a dry container.
Mix the dry ingredients. I highly recommend some amount of dry mixing before adding the ingredients to the water if you’re adding bentonite, as it will clump if not dispersed before being added to water and becomes far more difficult to deal with. Do this very gently to avoid kicking up dust, and it’s always a good idea to vent the space afterwards (after wiping surfaces with a wet cloth, but before removing the mask) to remove any dust that did become airborne.
Add the dry ingredients to the water. Doing it this way around means no dry clumps at the bottom of the container
Mix thoroughly. If you have an immersion blender this can be a very quick way to mix well enough to avoid having to sieve afterwards, but if not then pass through a 60-100 mesh sieve to make sure there are no lumps.
Apply to test tiles. I would always recommend starting with small batches of glaze and testing on test tiles or smaller pieces, as there are so many variables and so few guarantees in glazing. I would also recommend weighing the glaze application on the test tiles as it’s the easiest way to know how much glaze there is on a tile. The majority of test tiles I see where people are trying my glazes and not getting the results they want, the application is far too thin. If you have weighed the application then you’ll have a starting point for adjusting the application for subsequent tests.
Fire. I recommend putting the test tiles on a scrap tile of clay in case they run. These recipes will work best around cone 6. If you’re not sure what cone your kiln is firing to, the best way to be sure is to use Orton Cones to check rather than using the temperature from the kiln controller.
Glaze Recipes
Food Safe Glazes (See FAQ Below)
Glossy Base
This is a simple glossy clear base, that should work well with colourants to make a solid glossy colour. It is fairly static, so won’t flow as much as some of the other recipes.
Shown here as clear over light clay, +10% Zircon over cark clay, + 10% Zircon +1% Cobalt
Matte Base
This is a true matte, meaning that it won’t get glossier if you overfire it, it’ll just run more. It should take most colourants well and be craze resistant on most clays.
Flowing Clear
A simple glossy clear glaze with more Boron. The higher Boron will mean a more transparent clear and more movement where it combines with other glazes

Flowing Colours
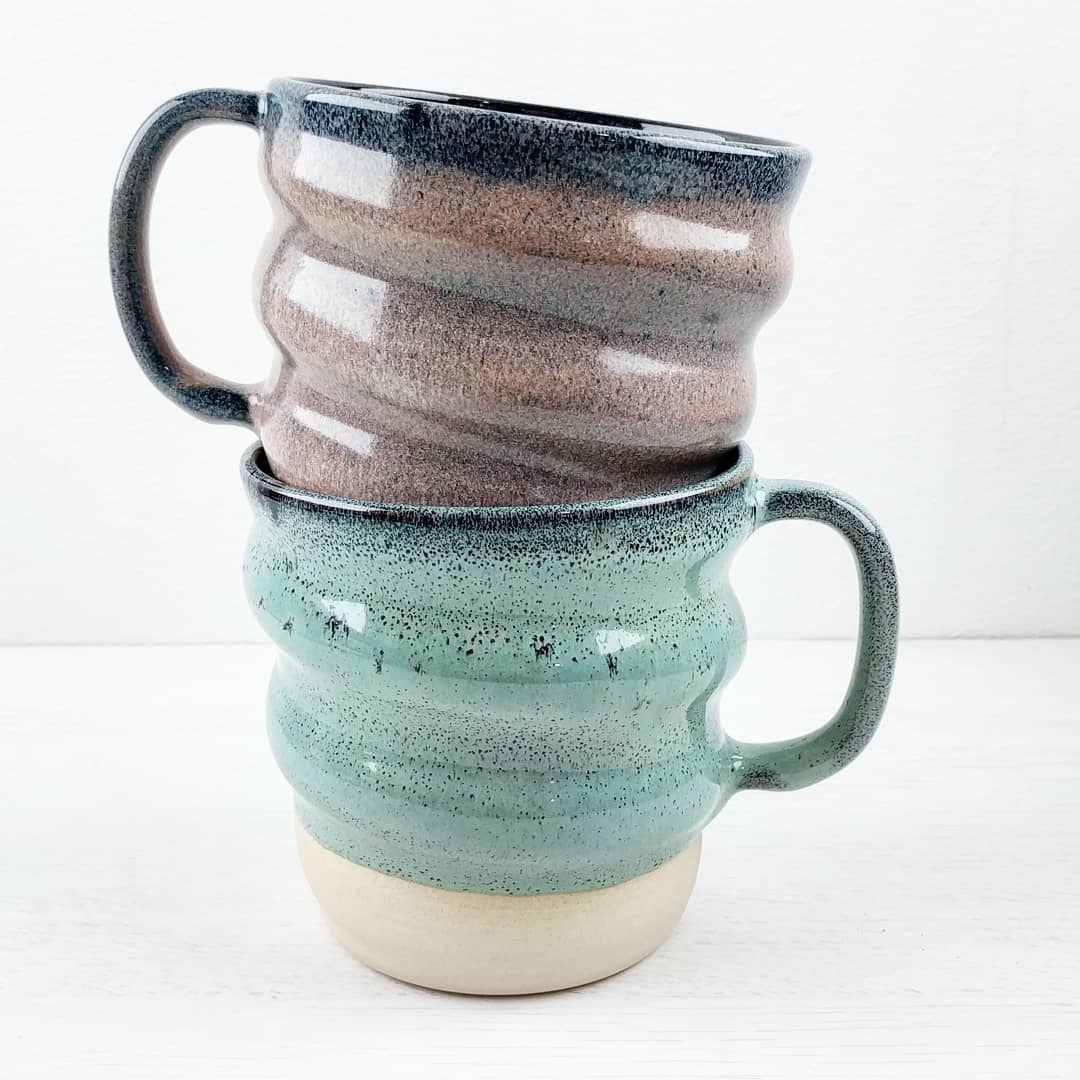
This is probably what you’re here for! It’s a fluid base with a little titanium, that will produce a flowing variegated effect, especially with colourants added and/or in combination with other glazes.
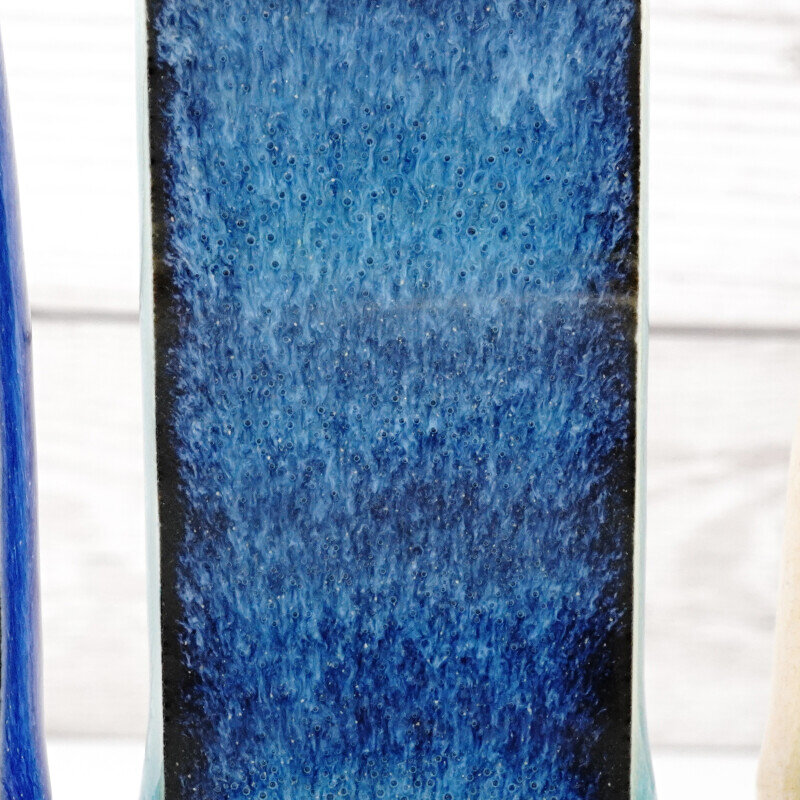
Oil Spot
Oil Spot glazes have a lot of Red Iron Oxide in them, which releases its oxygen as gas during the firing and causes the glaze to bubble up and mix. This is less obvious on its own, especially with a recipe like this that has less variation within the base glaze, but it becomes very obvious with a contrasting opaque cover glaze. The base will bubble up through it and produce spots.
The Red Iron Oxide is also helping the glaze melt sufficiently and balancing out the fluxes, so this glaze requires it to work. Other colourants can be used in combination though, adding 1% Cobalt and/or 1% Chromium will give a black base. The Glossy Base with 10% Zirconium makes a good cover glaze.
Not Food Safe Glazes
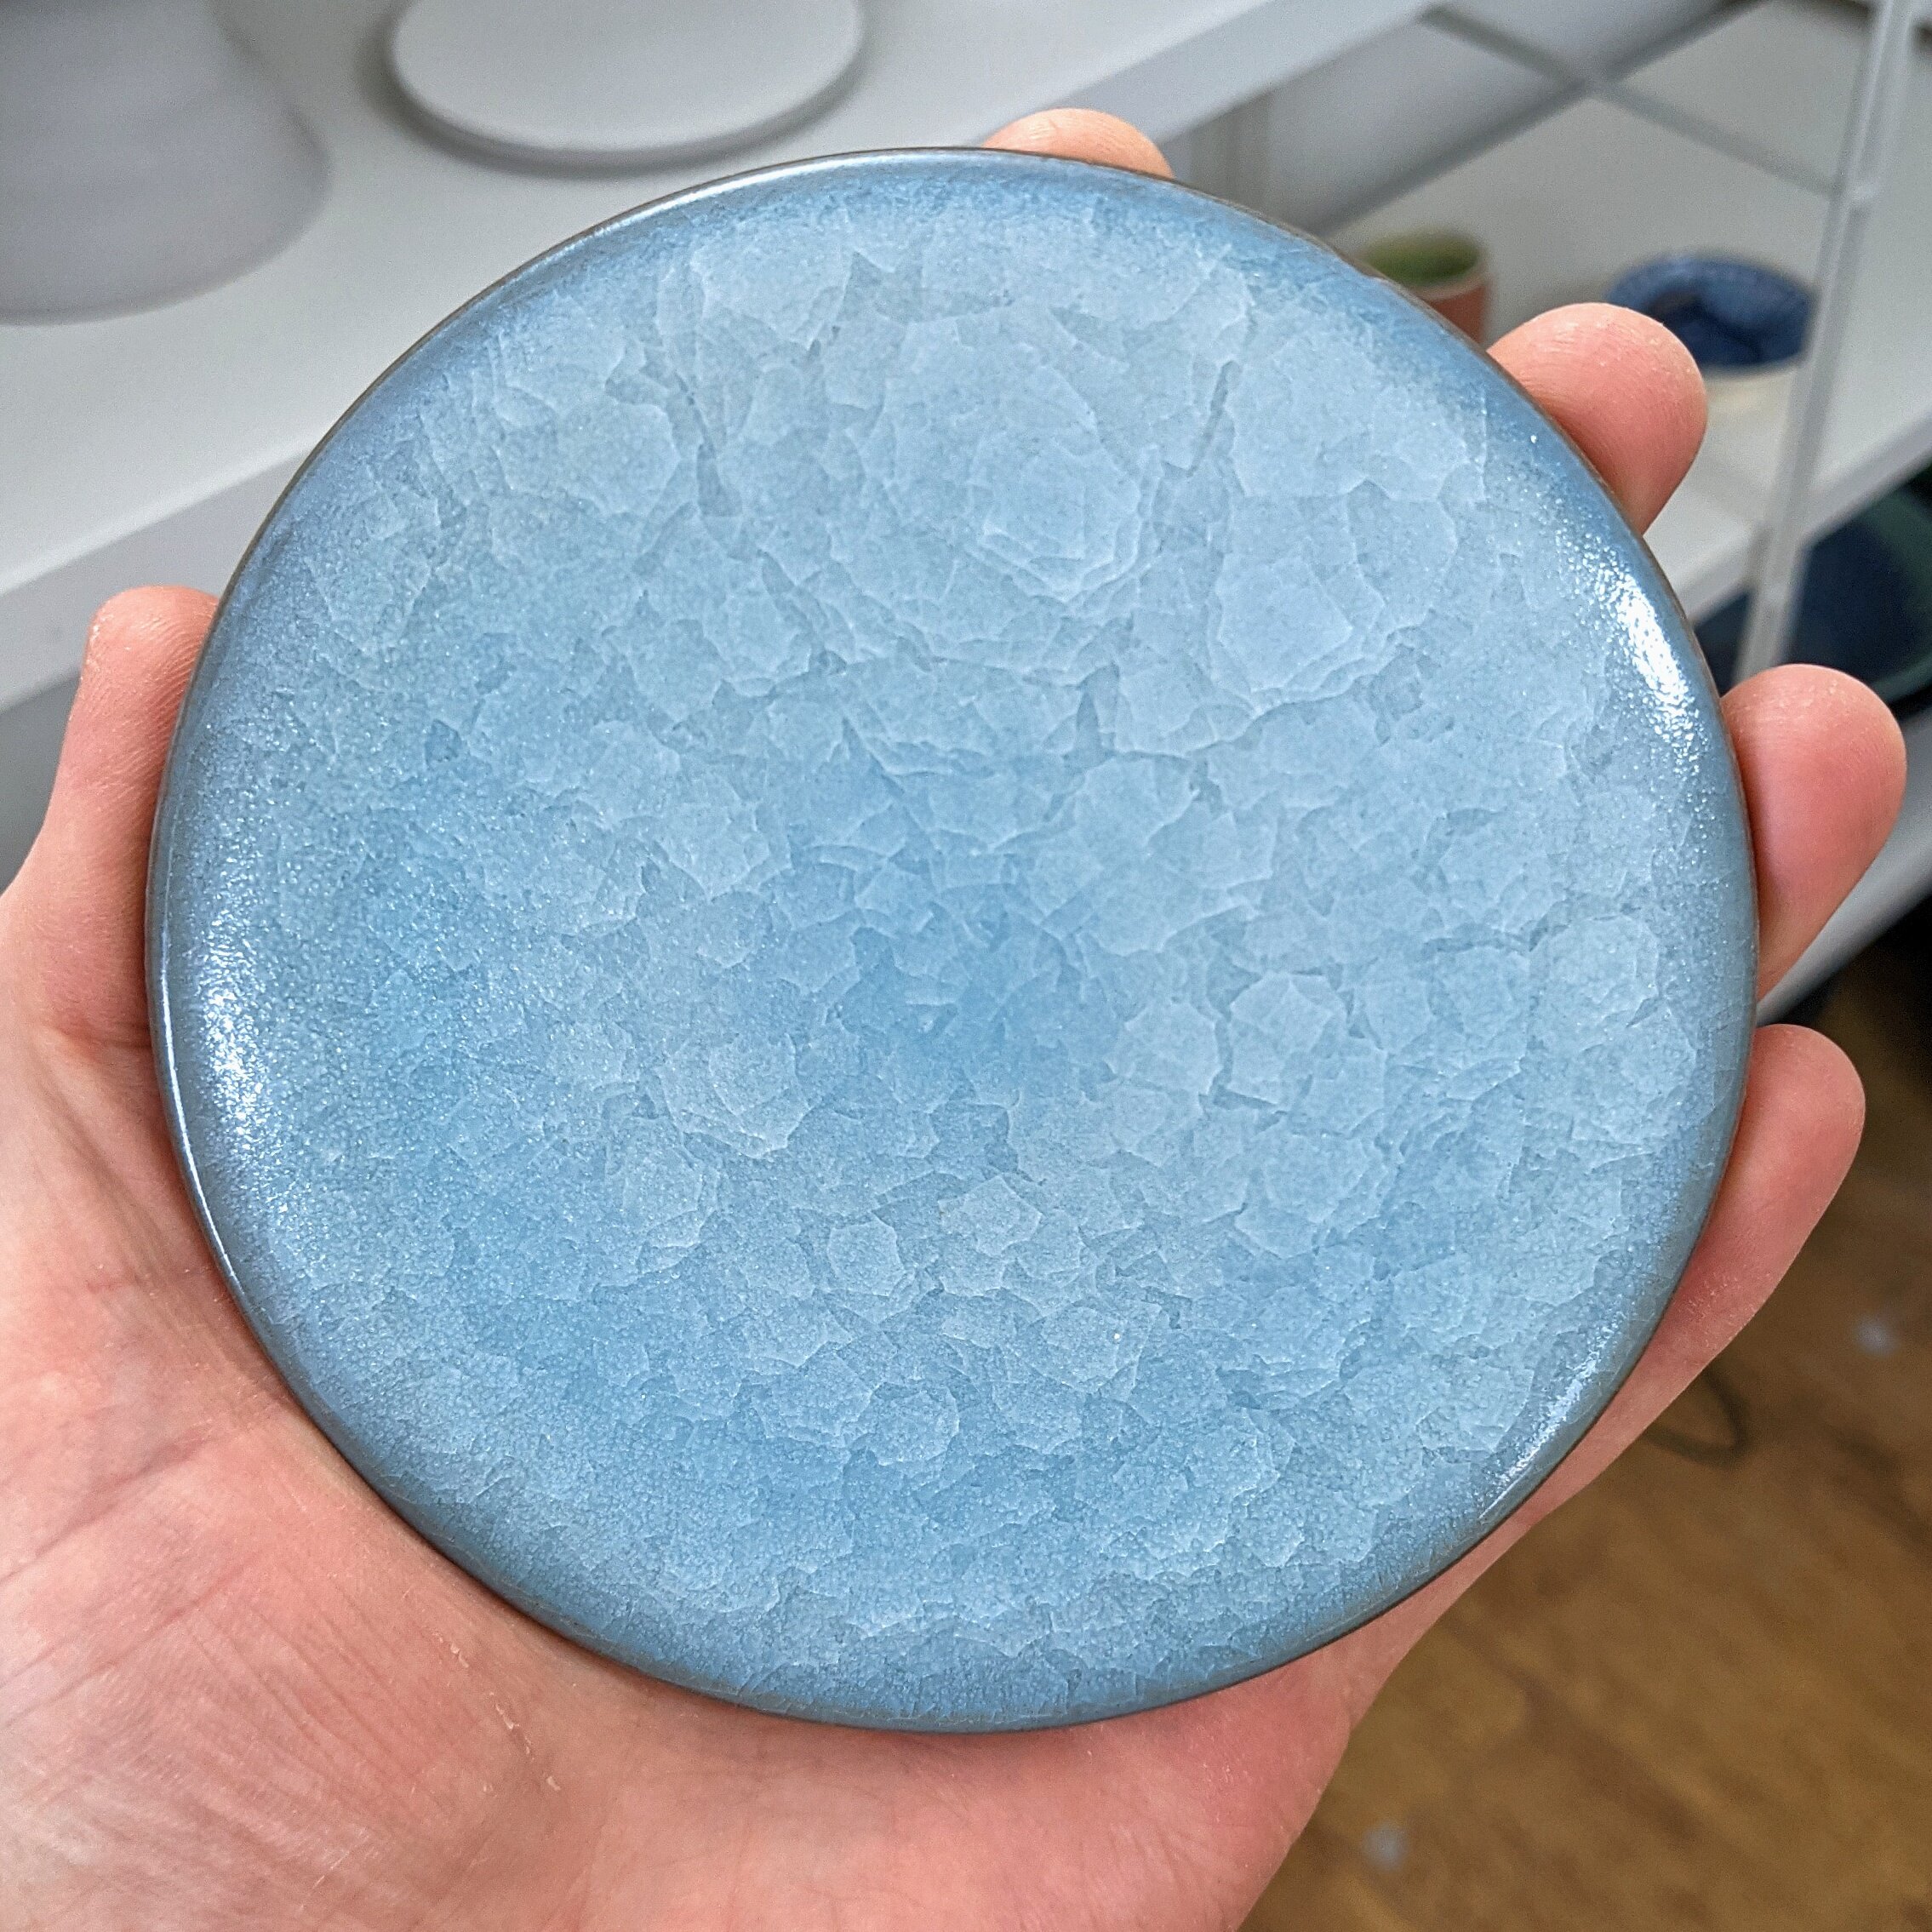
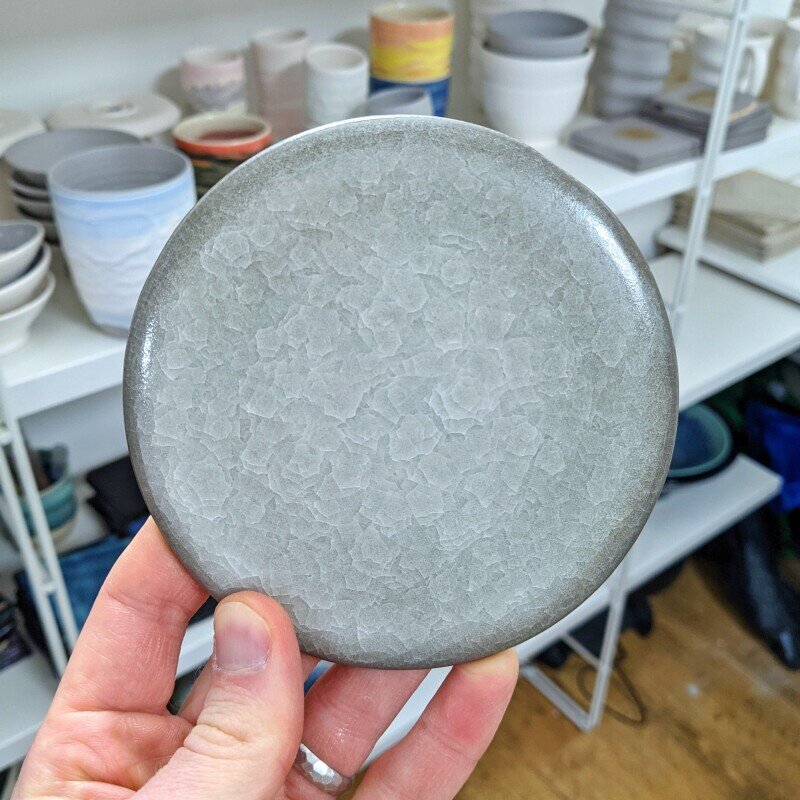
Snowflake
Snowflake Crackles are my favourite of all the glaze effects, but they are awkward to work with. The pattern is formed by layers of crazing within the glaze, which requires an incredibly thick glaze application. As it is caused by crazing, the clay body will also affect the pattern, but this should be able to work on any clay with a sufficiently thick application. The difficultly with this type of glaze is getting a thick enough application without the glaze crawling. The recipe here has a more normal chemistry than some other Snowflake/Kuan crackles, which should give better durability and unfired properties, but it’s still an awkward glaze.
Microcrystalline
Crystalline glazes are tricky. There’s a balancing act between glaze melt and crystal formation, and they’re also heavily affected by firing and thickness. This recipe is meant to be a starting point, you will probably have to adjust to get it working how you want it in your kiln.
I’ve also cheated slightly by including Zinc as an addition. It is usually used as a flux in the base recipe. There’s a good reason (other than to fit the format) and that’s because the zinc is responsible for forming the crystals, so by having it as an addition that’s easy to vary you have a simpler way to adjust the recipe. I found 7.5% to be a good starting point, but you can drop to 5% if there are too many crystals and increase to 10% if there aren’t enough. This will start to affect other aspects of the behaviour like how much it melts and runs though.

Gold
As you can see from the recipe, this is unlike the other glazes here. The colourants are included in the base recipe because they are the main fluxes, which is why they are in such high percentages. As well as not being suitable for food surfaces, the high manganese content means that you want to make sure you don’t breathe in the kiln fumes when this glaze is firing (although ideally you wouldn’t with any glaze).

Full FirstFive+ List
I have a list of them on Glazy HERE and I’ll keep that updated. I will also include FirstFive+ recipes, which will be these 5 base ingredients plus one other (usually Talc) for an easy way to start testing outside the original ingredients.
Prices
I made a spreadsheet that works out the prices of each recipe - Link here - If you input your ingredient costs it will automatically tell you how much each recipe costs per kg/lb. This can vary massively due to the wide range of colourant prices (e.g. cobalt at £150-200/kg and manganese at 1/20th that).
Notes/FAQ
Is a glaze food safe?
There is a very simple answer for most modern glazes, and that’s the legal one. In the UK that just means within defined levels of Lead and Cadmium, and it’s easy to avoid those when making glazes. Beyond that, you either need to get your pieces tested in a lab, or it’s more of a personal interpretation of what makes a glaze safe or unsafe.
The distinction I’ve used here between food safe and not is based on the chemistry of the glazes. Everything in the safe category has chemistry that should produce a stable and durable glaze (if fired correctly), and will take a few percent of any colourant without the stability being significantly reduced. The not safe recipes are outside the ideal chemistry and I would not personally use them on a surface that would come into contact with food. However, there are plenty of people that do sell pieces in crackle glazes as ‘food safe’.
It’s a grey area, and I’m not prepared to state anything about it with absolute certainty. But in my opinion, the food safe recipes should be absolutely fine if you are sensible with colourants and fire correctly. If in doubt, don’t use colourants on the inside of pieces that will be used with food.
I don’t live in the UK/US and can’t get an ingredient. Is there anything I can substitute directly?
The simple answer is probably No. It’s most likely that you can’t get Frit 3134, and for a direct swap you would need a local ingredient with the exact chemistry. If you can find one with a similar composition then you can adjust the chemistry to match, but that’s more advanced than this blog post is aiming for, and I would suggest that taking a CMW class is the best way to learn to do that.
Can I use these at a different Cone/temperature?
The further you get from cone 5-6, the less suitable these recipes are. I wouldn’t recommend using them outside of the range of cone 4-7. Again, chemistry can easily be adjusted for different firing temperatures but this is best done in a CMW class.
A glaze is crazing, can I fix it?
Yes. Fixing crazing is relatively simple chemically, but the easiest way is to change clay for one that matches the glaze better. Changing the chemistry of the glaze to reduce crazing is also changing the chemistry of how a glaze looks and behaves, so it might not be possible to get the glaze that you like with the changes you want to make. That said, all you need to do is add more glass formers (EPK and silica). Ideally you look at the ratio of the two and increase in a proportion that maintains the ratio, but if you just want an easy starting point to try making this change then you can add the two (EPK and silica) in equal weights.
I’d suggest 2.5% increments. Do a test mix of 100g base recipe (so all the ingredients are weighed 1% = 1g), dip a test tile, then add 2.5g of both EPK and Silica, mix, then dip a test tile. Repeat this a couple more times. You now have a very quick and easy test over a range of value, and will have a fairly good idea how much more you’d need to add to prevent crazing, as well as an idea of how the glaze’s appearance and behaviour will change too.
Another thing to consider is that crazing is very dependant on thickness. If you don’t need the glaze application to be thick (the glossy clear, for example) then a very easy fix is to just apply a thinner coat. Dilute the glaze more and dip for less time.
If you like this sort of content and want to support the creation of more, I now have a Patreon specifically for it or a page on my website if you just want to make a single donation.


