
Peacock Eye Glaze
The Peacock Eye pattern is produced by contrasting glazes mixing and flowing over a stamped design in the clay. It's a very simple process that can easily be modified and applied to a wide range of pieces.

Here's how I do it:
The first stage is to make a piece of work and let it dry to an even leather hardness. I throw mine in the morning, let them dry during the day, and leave overnight in a sealed plastic box for the moisture to even out. That generally ensures they're in the right state to stamp, but on thicker/wetter pieces those stages can be repeated until you reach the right level of dryness.
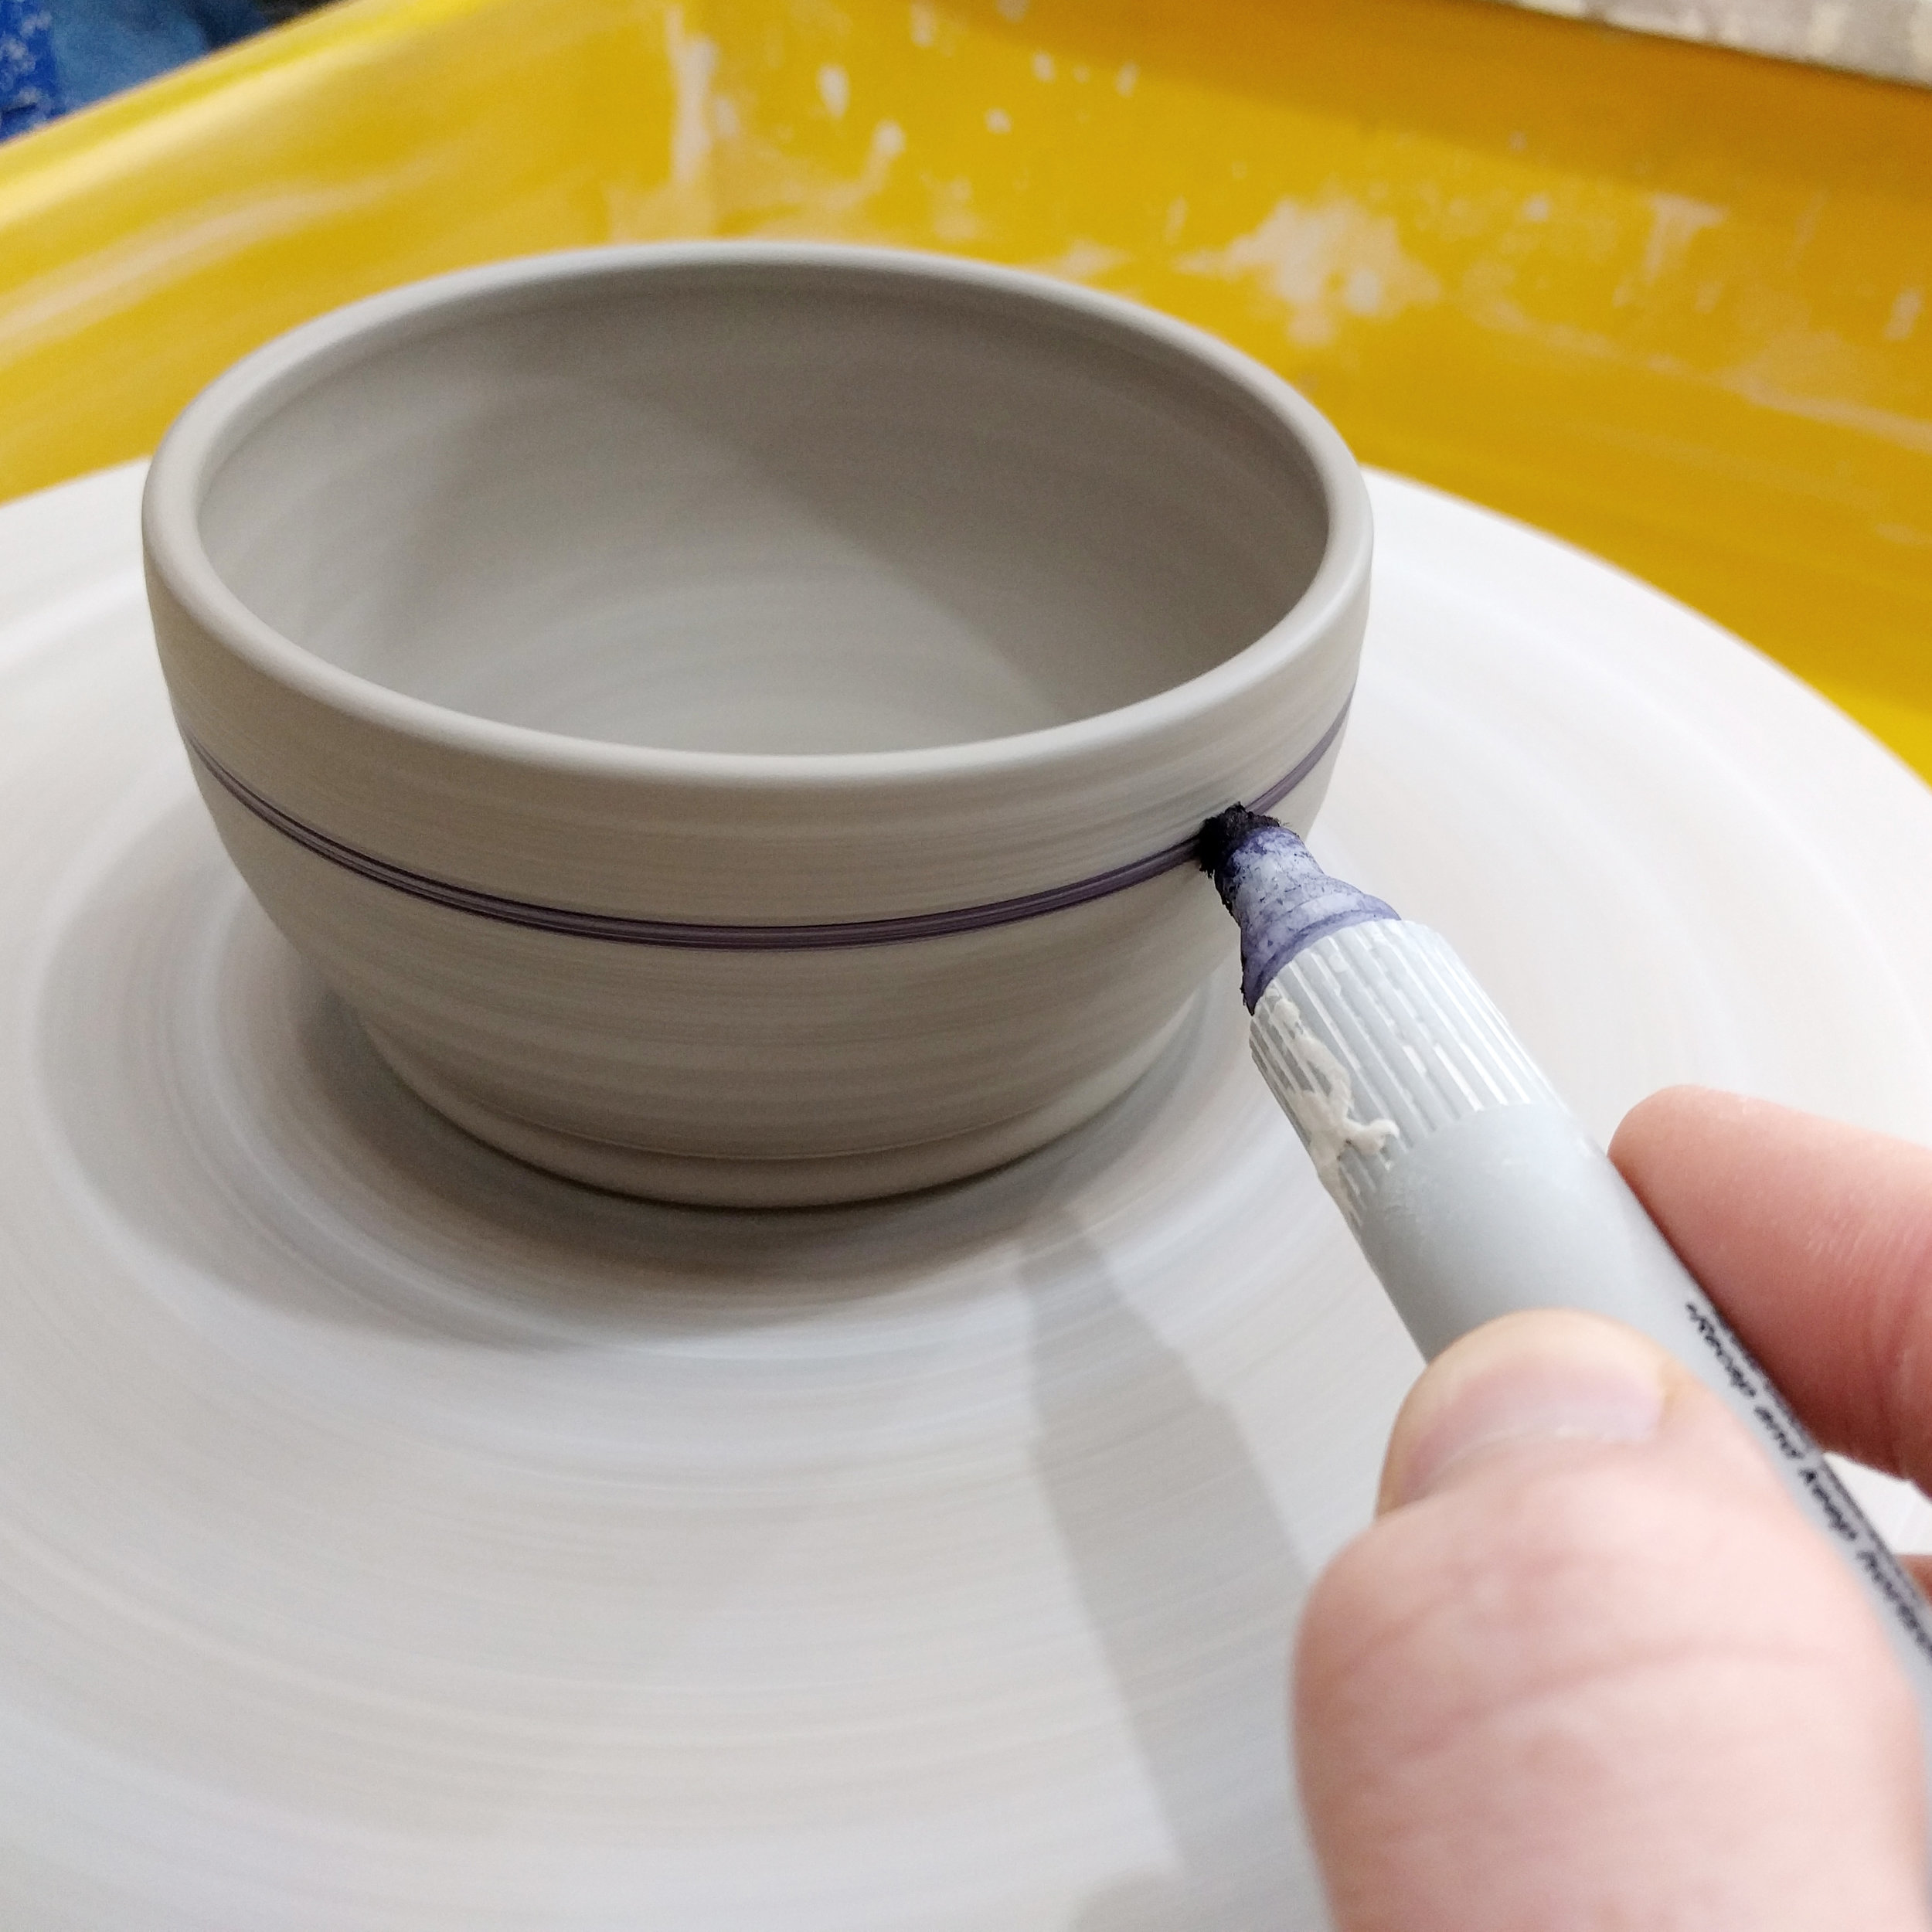
Next, I use a permanent marker to mark the levels while the piece is turning on the wheel. It's much easier to get a neat pattern with these guides, and they'll burn out in the bisque firing.
As you can see from the image, I leave the piece on the batt until after this stage. This may not work for people in a shared studio setting but I find this way of timing the processes works best for me.

Now you need something to stamp your pattern. I use a rotary grinding bit. It's a good size and shape (around 15mm diameter and hemispherical) and has an interesting pattern. Anything (within reason) should work though!

Stamp on the lines, using a rolling motion of the tool. Once you've completed the first row, start on the second row, offsetting the stamp halfway between the first row stamps. Repeat for as many rows as you have on your piece.

This is how the inside should look if the piece was the right level of dryness at the start. If it was too wet, the eyes won't be sharply defined as the walls will have collapsed around the stamp. If it was too dry, the eyes will crack. If it was far too dry, the eyes will actually start to flake away on the inside.
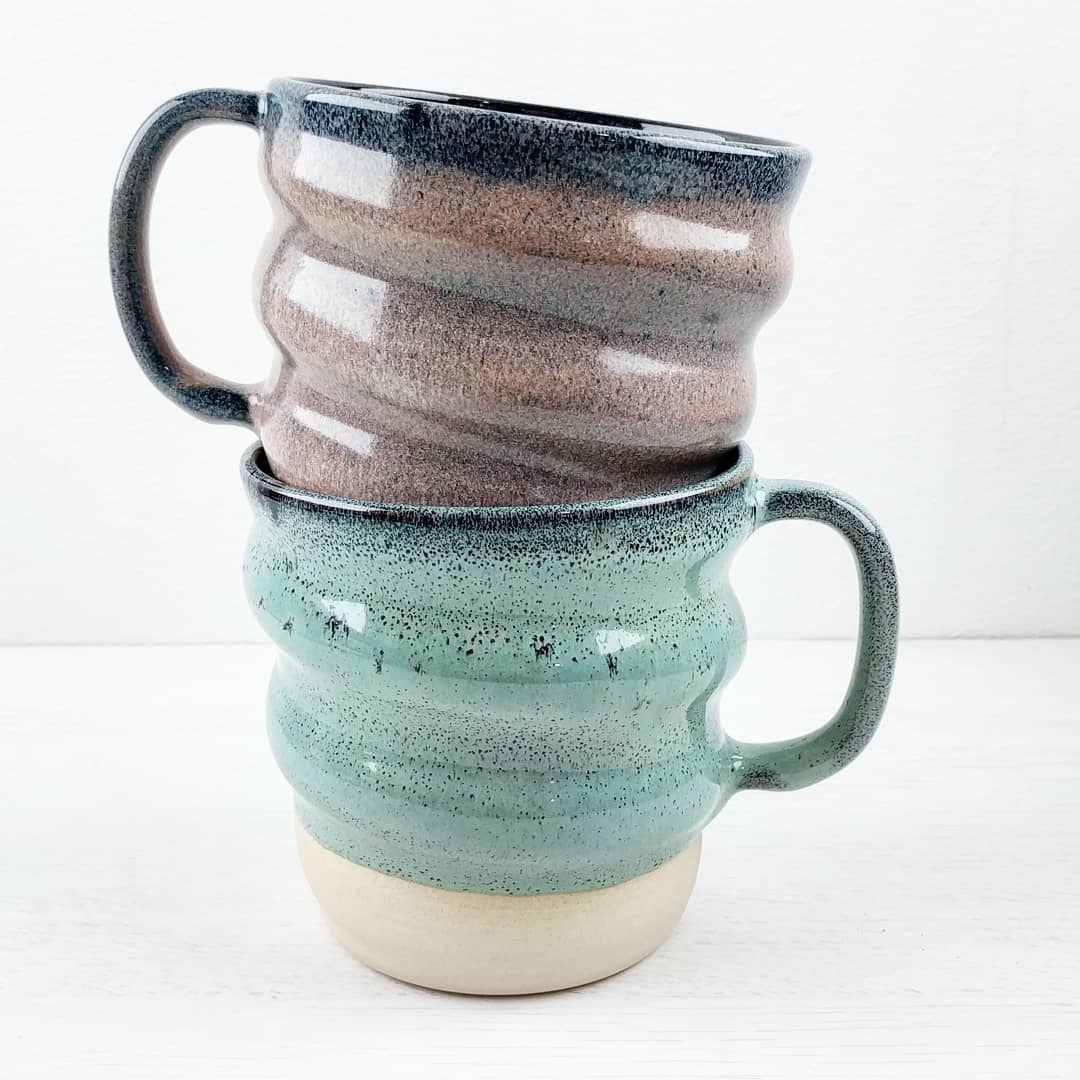
The glazing is actually incredibly simple, it's just two contrasting overlapping glazes.

The first glaze I apply to the outside and down to around the top of the eyes. This glaze is usually an opaque solid colour, typically using titanium/rutile for the opacifier.
Finally, a fluid translucent glaze is applied to the inside. It should overlap the first glaze, coming almost to the rim. There's no reason it can't come beyond the rim, I just like the increased contrast between the solid outside and patterned inside.

The way I glaze the inside is to pour only as much glaze as I need into the piece (this takes a little trial and error to find), rolling the piece around to first evenly coat the inside then putting any extra glaze on the overlap for greater glaze movement. If you do it this way, it's a good idea to have a sponge or large brush on hand to scoop glaze back out if you accidentally pour far too much in.
That's all there is to it! Please try it and let me know how you get on, message me or use the hashtag oldforgecreations (I often miss @mentions on Instagram and there's no way to find them afterwards, but I'll see the tag). Good luck!


