Making a Ceramic V60 Pourover
Coffee can be made a few different ways. With the exception of instant coffee (which is prebrewed and freeze dried), they all involve brewing ground coffee in hot water.
Some use boiling water and pressure (espresso machines, moka pots, aeropress), some use near boiling water and gravity (pourovers, drippers), and some use near boiling water and time (french press, coffee bags).
Serious coffee enthusiasts will debate which gives the best result, but as a strictly amateur coffee enthusiast I think they’re all pretty great (except coffee bags). There’s only one that can be easily made out of clay though, and that’s the pourover/dripper.
What is a Pourover?
A coffee pourover is essentially a container with a hole in the base that can sit on top of another container (mug/jug/etc). A filter is added to contain the coffee grounds. Hot water is poured into the pourover, slowing passing through the coffee, filter, and through the hole into the mug beneath. By the time it reaches the mug it should have brewed a delicious cup of coffee.
A coffee dripper is essentially the same, but the hole through the base is small enough that it restricts the flow of liquid. In a pourover it’s the grind of the beans that gives the control over brew time, with a finer grind meaning a slower flow and longer brew. This gives more control if you can precisely control the grind of your beans, but this can be a problem if you’re buying preground coffee at the wrong size of grind. A dripper avoids that issue by slowing the rate of flow on its own, so the user has less control but the dripper will work with a wider range of grinds.
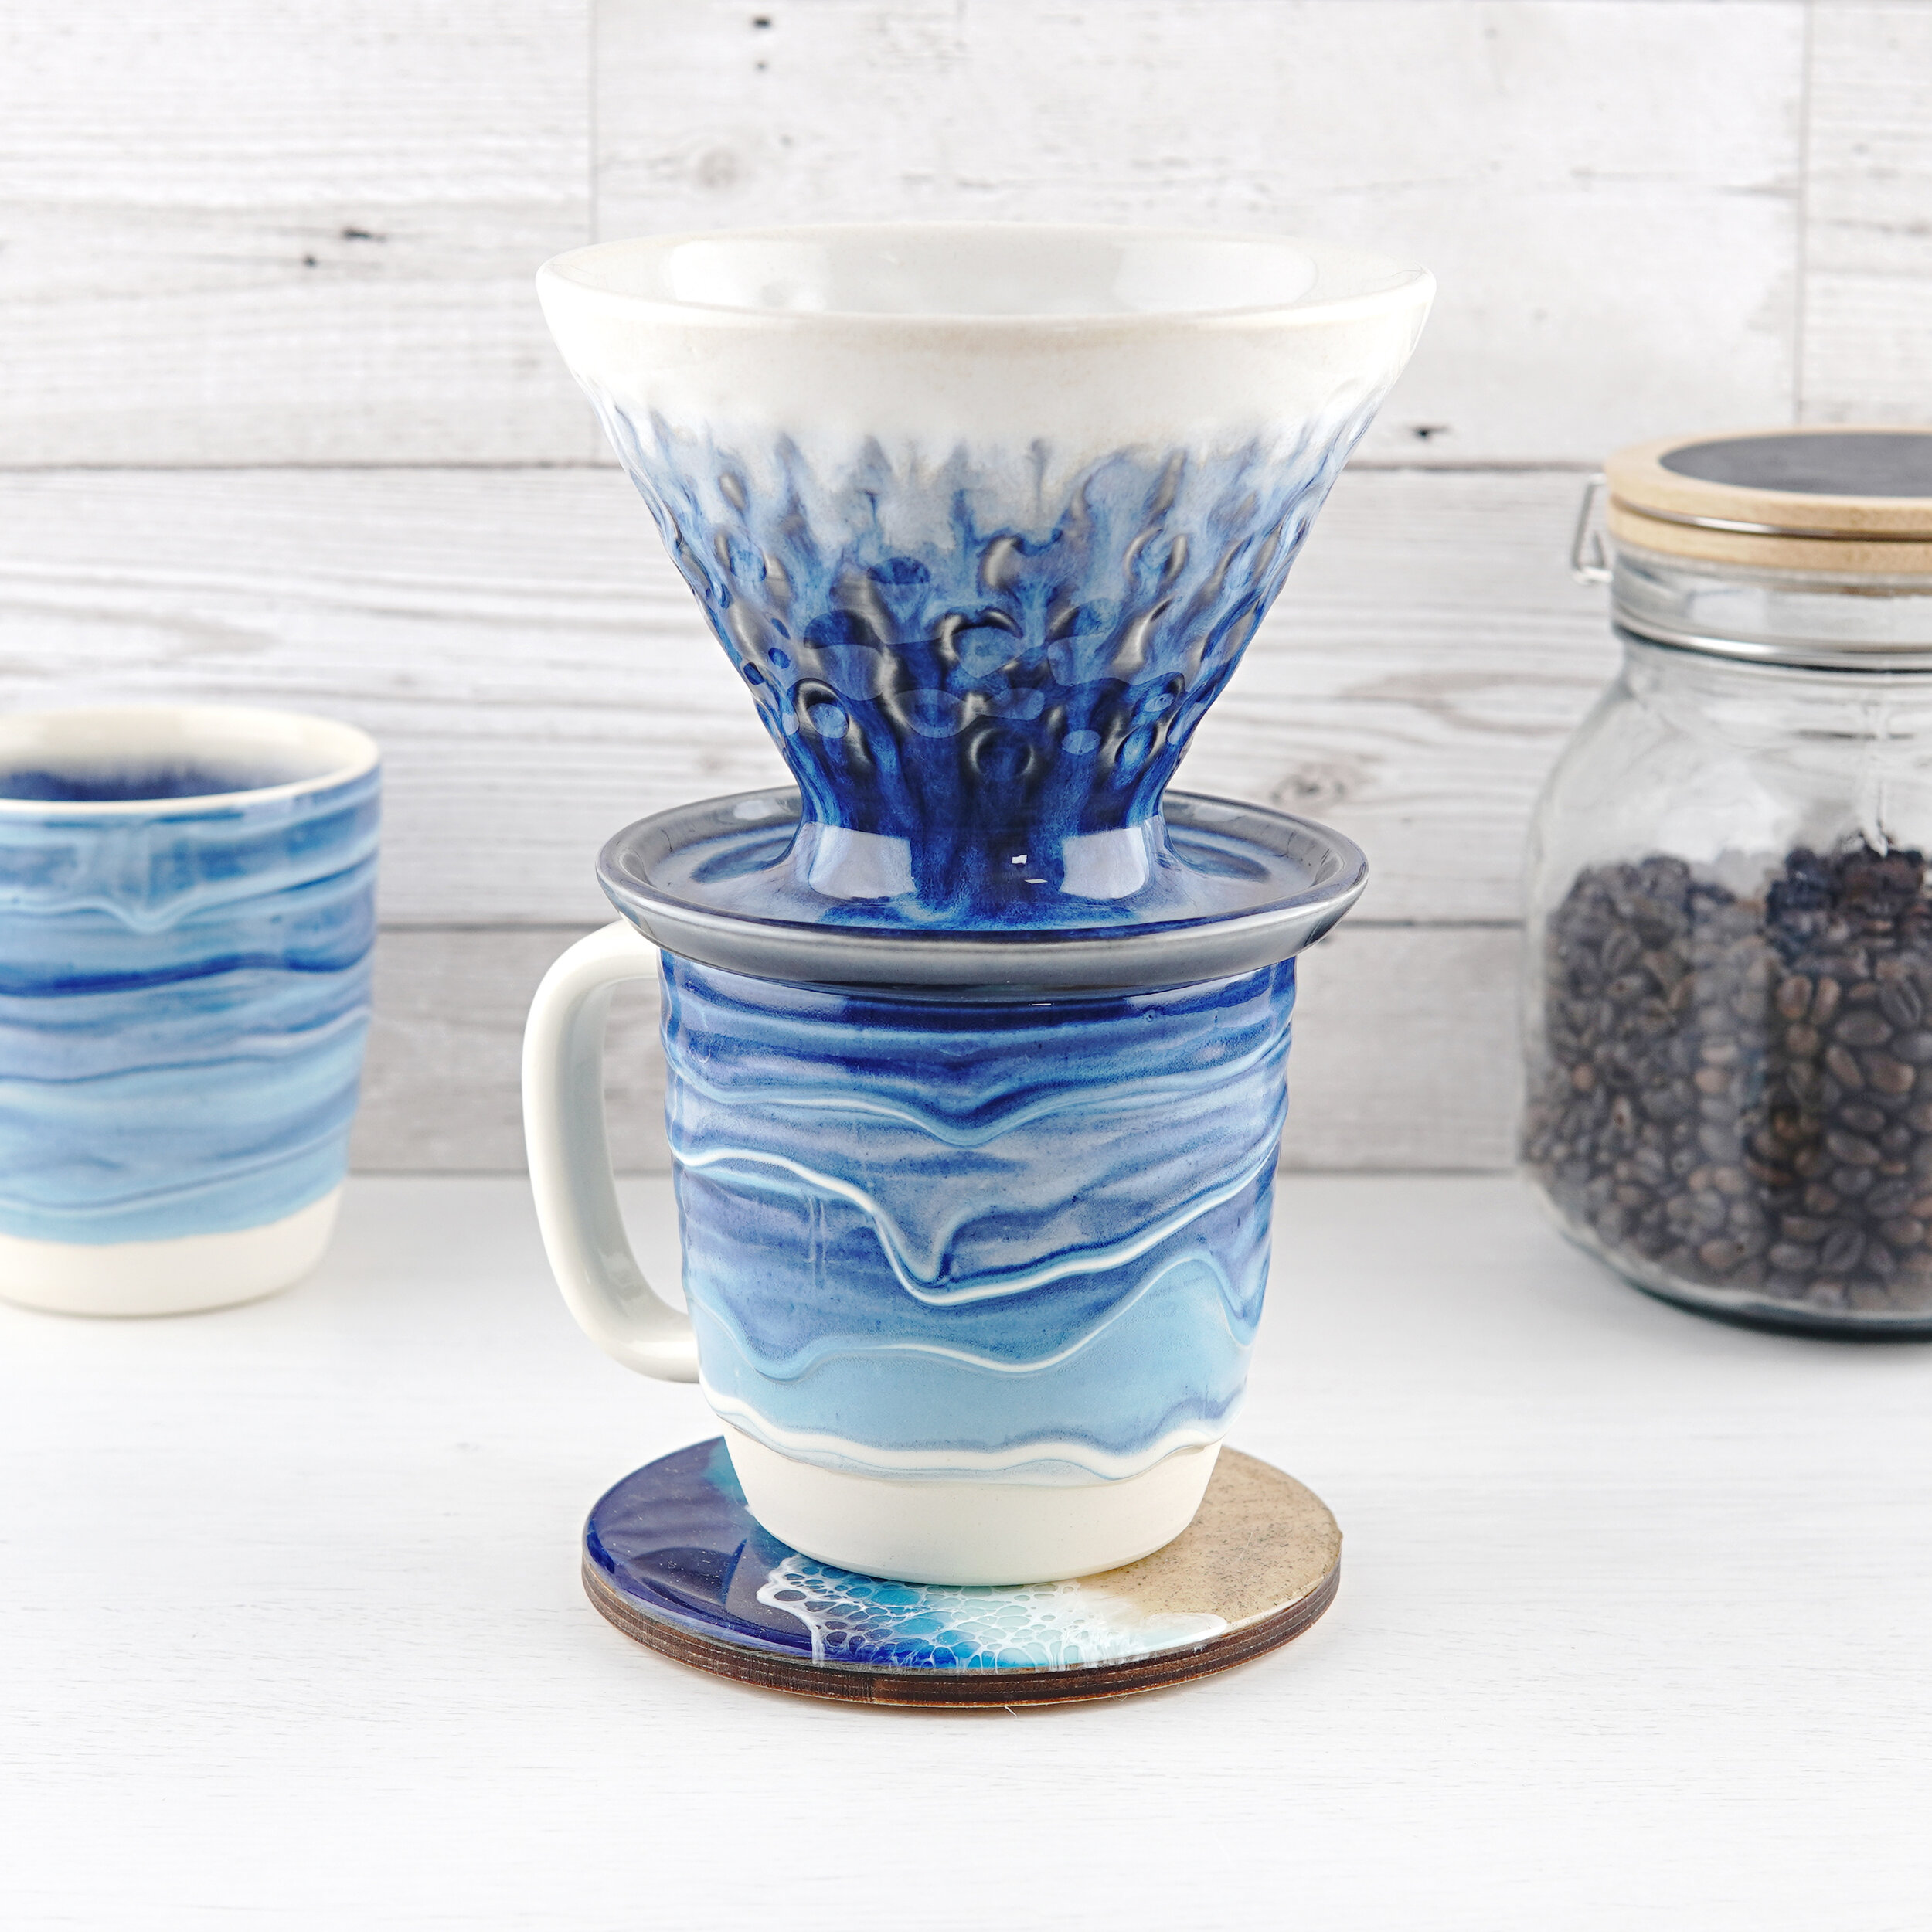
The V60 Pourover
There are a wide range of options available for pourovers and drippers, but arguably the most popular design is the conical V60 shape made by Hario.
The Cone
The top part of a V60 is a cone angled at 60 degrees (hence the name). It comes in a few different sizes depending on how many cups of coffee it will produce but they’re scaled up proportionately so the angle doesn’t change. I have a 2 cup V60, and I’m not certain how all these measurements compare on the 1 and 3 cup versions, but I expect they’re similar if not identical.
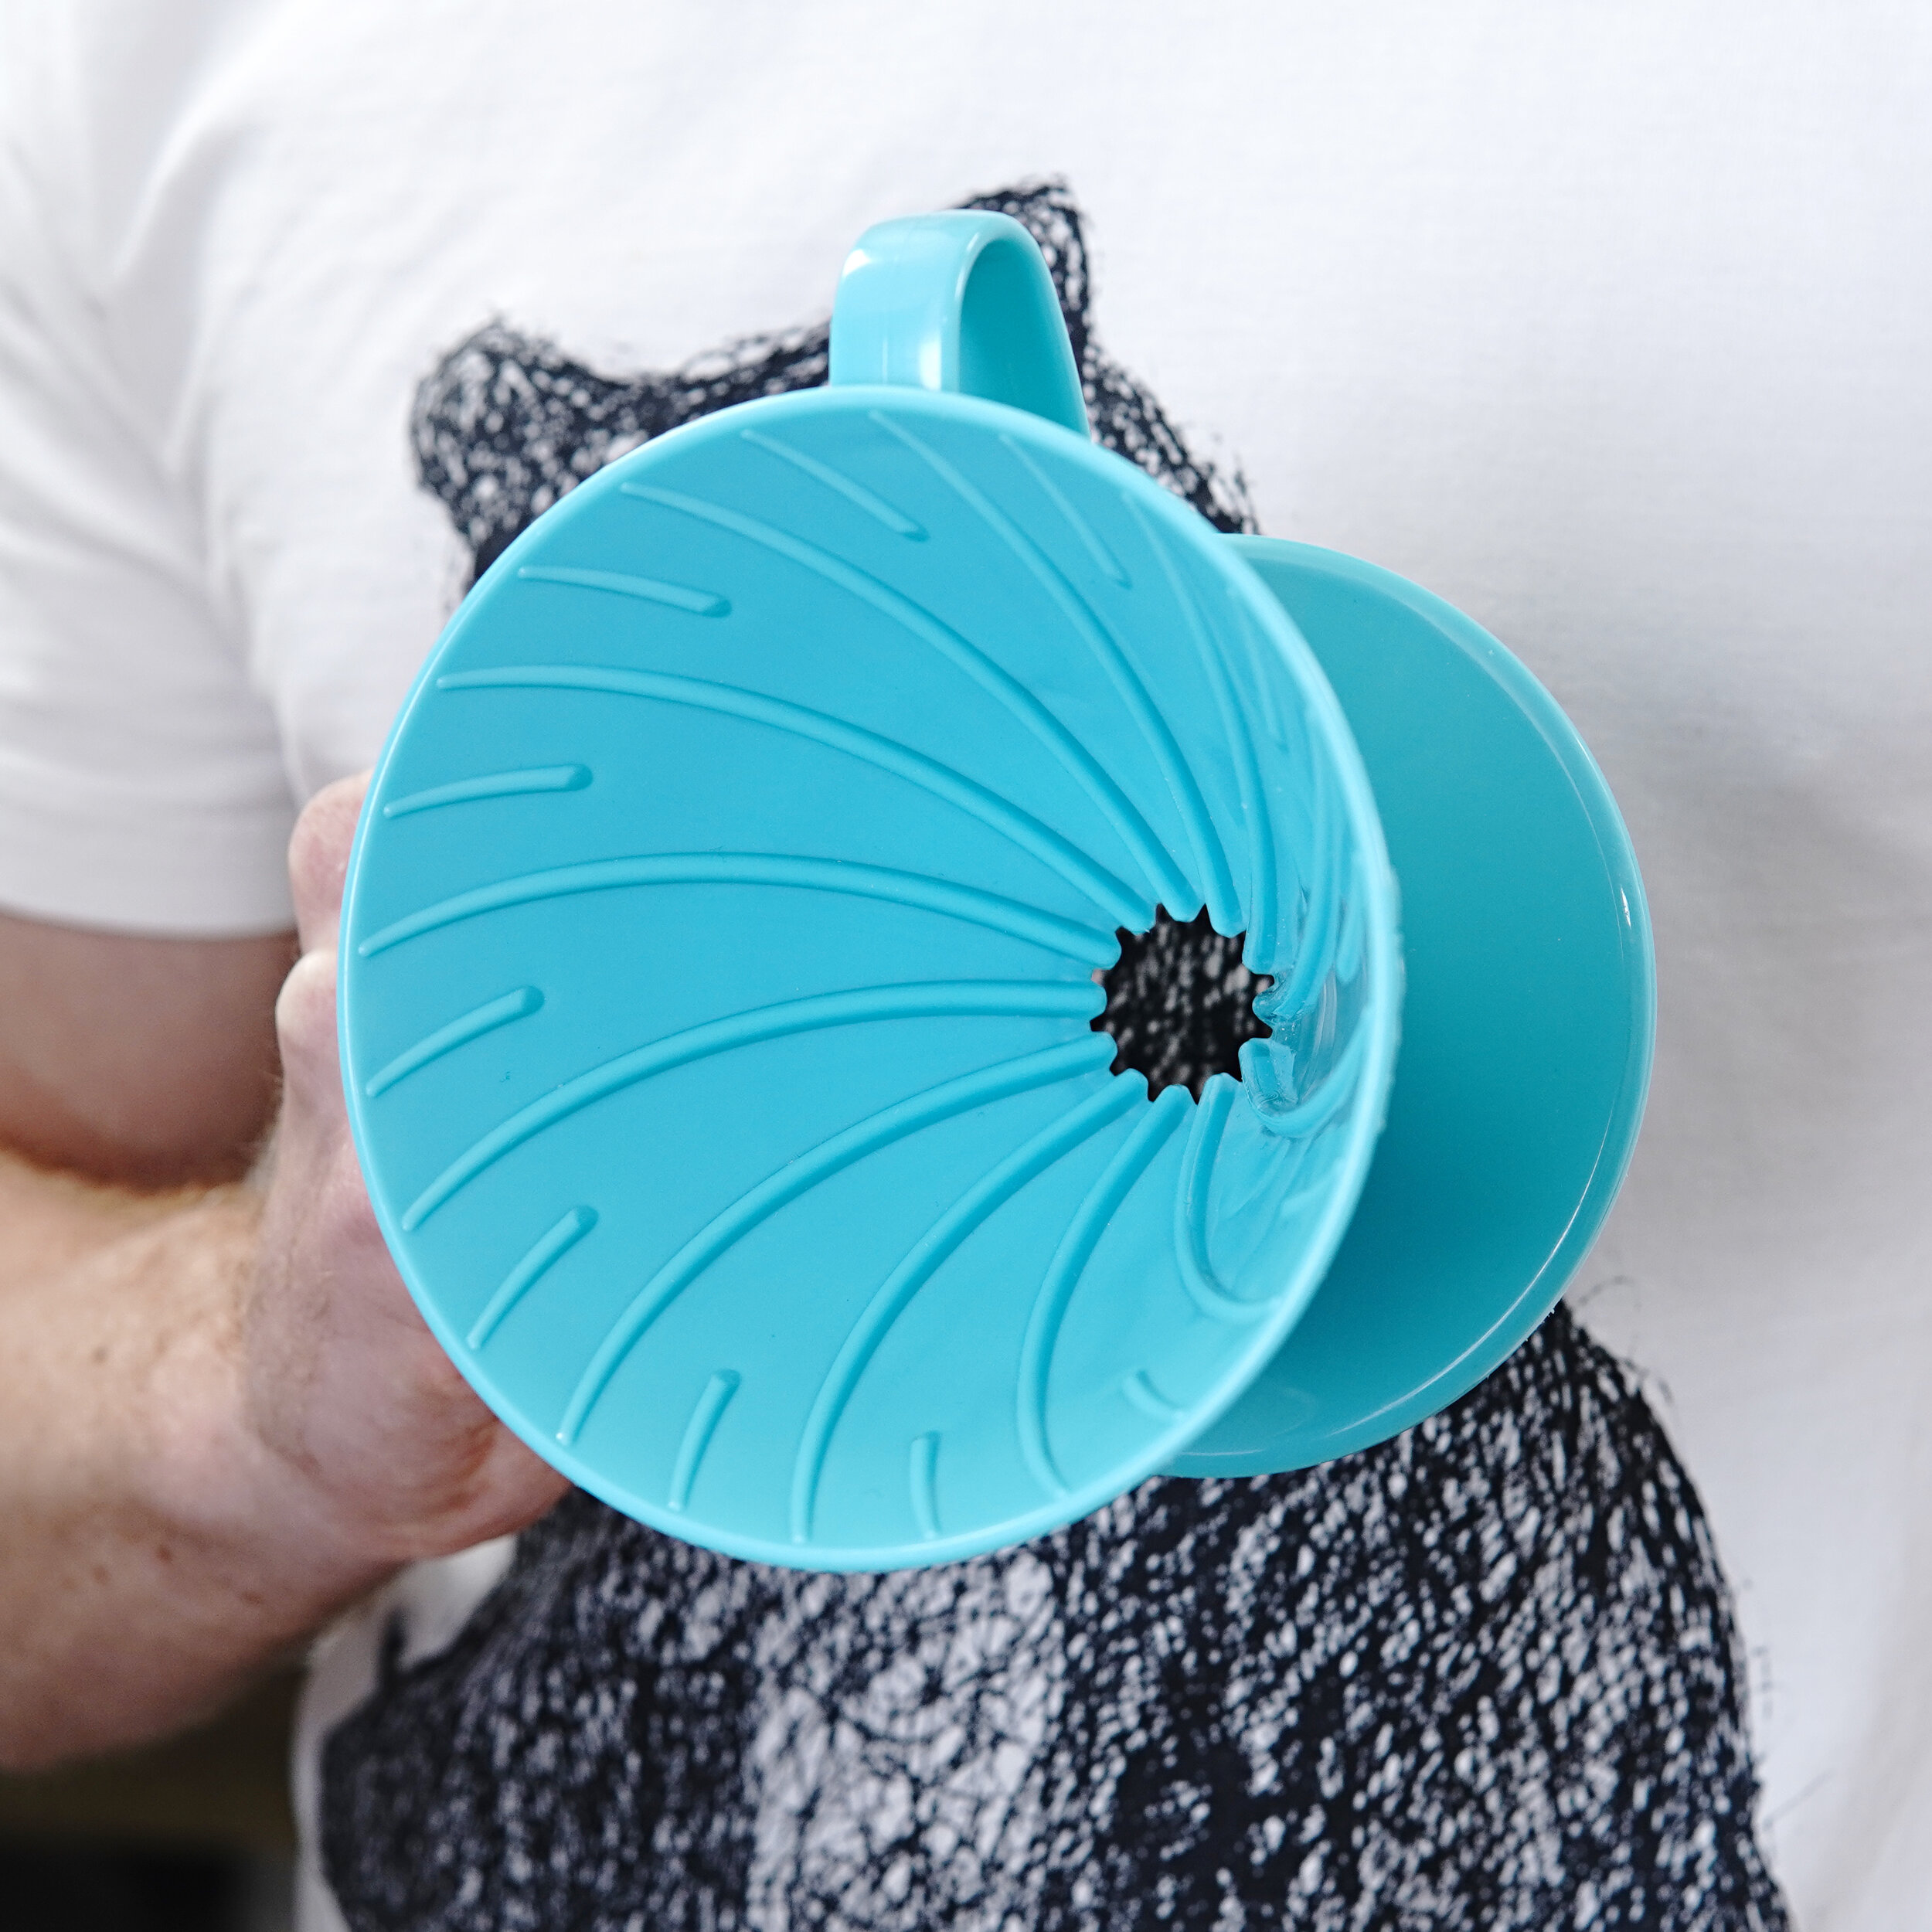
There are ridges down the inside of the cone. These are crucial to how the V60 functions. They space the filter away from the wall and provide channels for the coffee to flow down the outside of the filter.
The hole in the base is approximately 20mm, with pronounced ridges all the way to the bottom.
The Base

The base is fairly simple. There is a deep ring around the hole to channel the coffee straight down into the mug, approximately 50mm in diameter.
The overall base is 100mm, with a slight lip to keep it from sliding off a mug.
Making a Pourover
I throw mine on the wheel in a single piece, but this isn’t a requirement at all. It can be thrown, handbuilt, slipcast, or a combination of them. You can make the cone and the base separately and combine them.
My process is to center a 600g ball of clay, open out the base, then pull the walls of the cone up from that base. It’s easier to demonstrate in a video, so here you go:
This video shows the makeshift test V60 guide. There’s a link in the description to print a better one at home or you can now buy the laser cut version from Hartley & Noble.
Getting that angle right is one of the main factors in getting the pourover to function as intended. It’s not so bad to have the cone open less than that, but if it ends up with a wider cone then the coffee will form a plug at the base.
The other crucial design considerations for a V60 style pourover are the ridges on the inside of the cone. You don’t need to use the same ridge design that they do, but you need something to space the filter away from the wall. This is especially important for the bottom few inches as that’s where it will have the biggest effect on the flow of coffee. You can carve channels, use slip trailed dots or ridges, attach clay, or use any other process that adds sharp variation in the surface.
When designing the base there are really only a handful of considerations. The size and shape should be suitable for whatever you are going to put the pourover on. You can make them to fit a specific mug/jug, in which case you might want to be precise about the dimensions, otherwise a diameter of 10-12cm should make sure it’s big enough to fit standard mugs. Having something to stop it sliding off a mug is a good idea, which can be done by either having a lip around the edge or a raised section in the middle.
I trim back around the hole in the center, giving a sharp lip with a steep angle upwards. This functions like a teapot spout to stop the coffee being drawn around the hole and gives a cleaner pour down.
Glazing
They’re a slightly awkward thing to glaze and fire because the surfaces in contact with the coffee are the lower ones. You could leave the top unglazed and fire upside down, but I prefer to leave a band of clay on the base unglazed (using wax resist) and fire it on a thrown stand. This leaves all the important surfaces glazed and looks neater when in use. Jump to 14 minutes into this for the glazing process
If you like this sort of content and want to support the creation of more, I now have a Patreon specifically for it or a page on my website if you just want to make a single donation.


