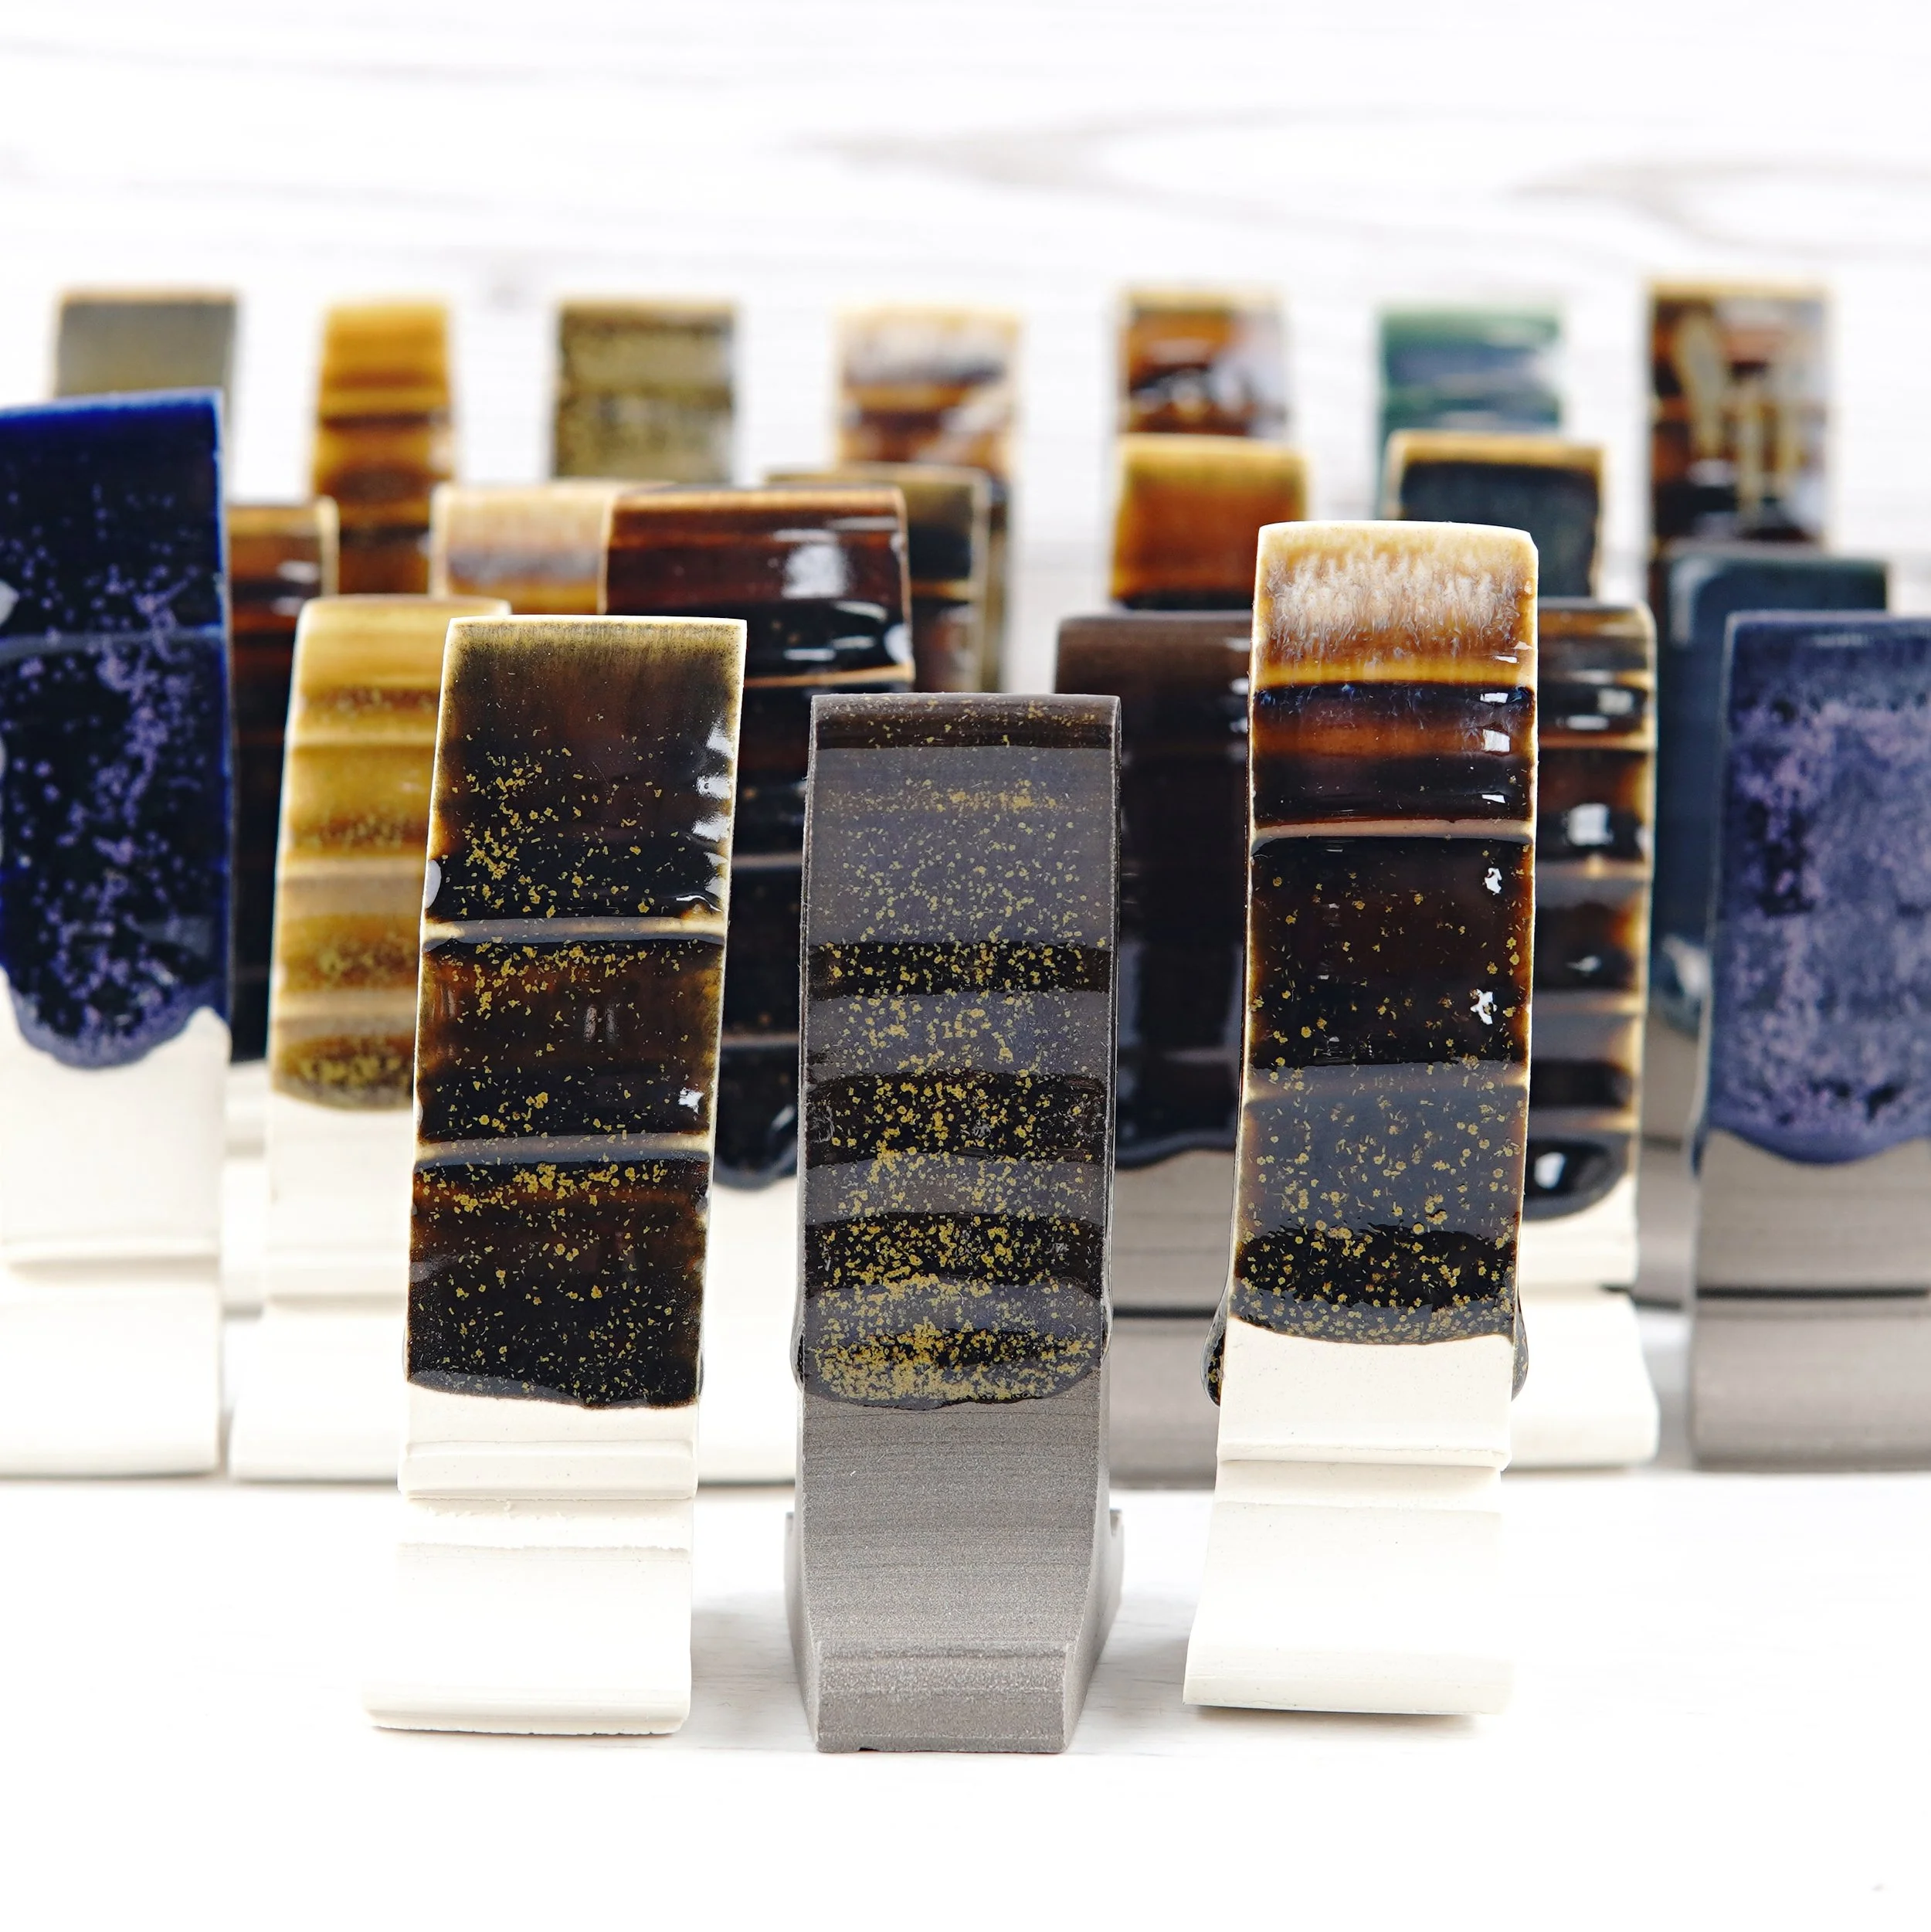

Using a Car Dent Puller to Glaze Pottery
They’re cheap and simple tools, but are easily my favourite method of glazing. There are a few tricks to making sure they work correctly though!

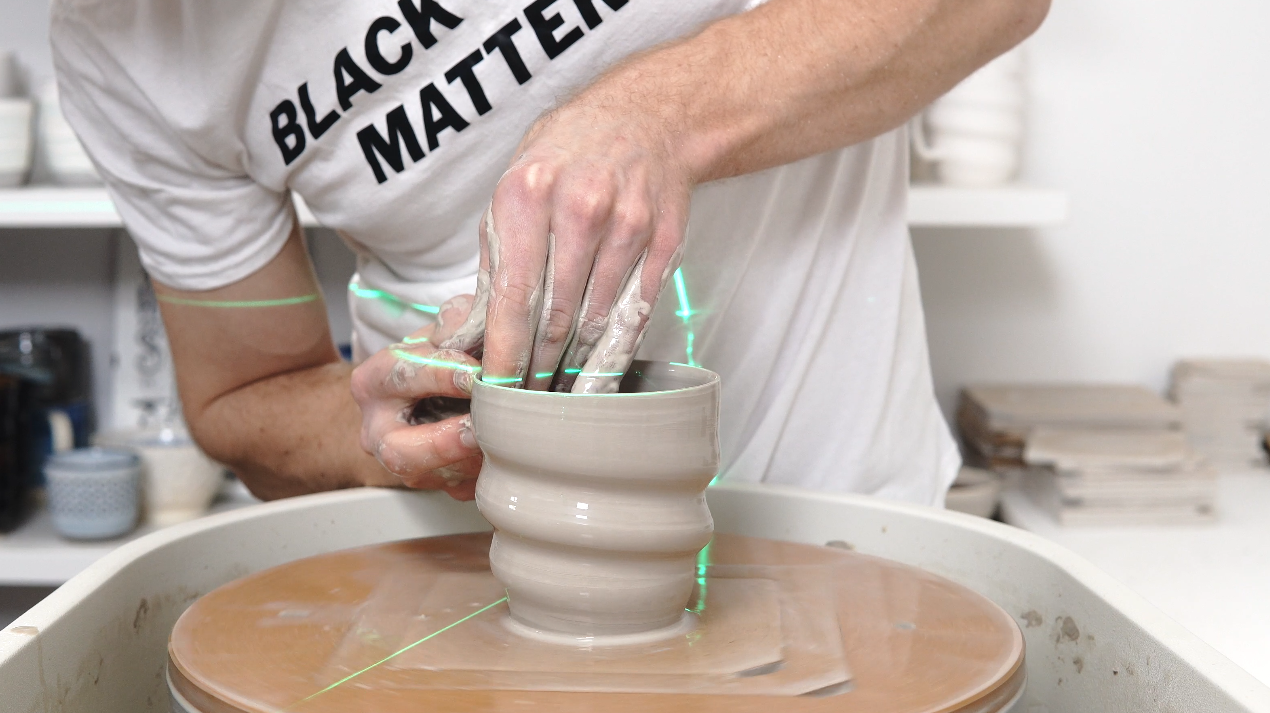
If you prefer visual demonstrations in video form you can just watch this, if you prefer to skim through text then read on.
A car dent puller is basically a powerful suction cup with a handle. They are used to pull dents out of cars (duh), so they are designed to stick to flattish smooth surfaces and have a reasonable amount of force applied through them.
The quality of the grip the puller can get is almost entirely down to how well it seals against the piece. This is partly down to the quality of the puller itself, as the cheaper ones can have manufacturing issues that prevent them sealing well against anything. I use and recommend the Gunson Mini (US Link / UK Link). I don’t know of anyone who has ever had issues with the puller itself, unlike the cheaper ones where there’s an element of luck, and this can be tested on a flat glossy surface like a window. If the dent puller sticks well to a window and maintains the suction for a little while then you can be confident that there’s nothing wrong with the puller. If it won’t stick to a clean flat glossy surface then there is probably something wrong with it.
Once you know the puller itself is working correctly, you have to make the bottom of your pieces suitable for it to stick to. This isn’t complicated but there are a few basic requirements for a good seal.
The surface needs to be airtight. Bisqued clay is porous, which is why it takes up glaze so quickly. A dent puller can stick to bisqued clay very briefly before air comes through and releases the seal. This means the bottom of the piece needs something like wax resist to give an airtight surface. Side note, if you use a wax emulsion (like Amaco’s wax resist), I highly recommend watering it down by a lot (1 part wax to 3 parts water, or more) for a smoother application.
The surface needs to be smooth. Depending on the clay and processes you use this might not be an issue (it isn’t for me with my relatively smooth clays), but essentially you just need to make sure the surface of your clay isn’t so uneven and/or rough that it breaks the seal. If you use grogged clays then this might mean a quick pass over with sandpaper before applying the wax resist.
The outer edge needs to seal. If you use a logo stamped into the clay, or any similar variation of the level of the base, it’s important that doesn’t sit on the perimeter of the dent puller surface as that will allow a small amount of air though and break the seal. It’s no problem whatsoever to have them completely covered by the dent puller though, so it’s just the placement that matters. I make sure my logo stamp is completely within the puller and it seals just fine.
The Puller might need to have a little water on the surface. I say ‘might’ because I haven’t found this to be essential, but it certainly doesn’t hurt. I generally use a spray bottle to lightly mist the surface of the puller before I start glazing, but it generally works well even if I don’t.
The seal lessens over time. There is no point in trusting the seal any longer than you need to to glaze a piece. If the seal isn’t 100% perfect you should still get 20-30 seconds before it drops off, and the only way you’ll find out if the seal isn’t perfect is by taking that long and dropping a piece. Aim to flip the pieces back over as soon as you can do it without ruining the glaze application.

So my basic process is:
Wax the base.
Line up the puller making sure to completely cover my stamped logo.
Press it into the piece to get a good starting seal, then level the catch to stick it in place.
Test the seal by pulling on it, if it’s not properly sealed it’ll probably come straight off. It’s usually because of the placement, so reposition and try again.
Dip into the glaze.
Remove and shake off any glaze drips
In one smooth motion I pull it up and flip it over. It’s strongest when pulling directly away, levering sideways is far more likely to break the seal by focusing all the force on one side of the puller. By pulling up before turning it over, you make it less likely that it falls off at this point. This might not make sense until you’ve tried it.
To remove the piece, wait a few seconds for the lower edge of the glaze to firm up enough to touch and gently remove it from there. Slide it onto a surface to put it down without smudging the glaze.
Recently there have been a few scammy companies who have used my images and videos to try and sell cheap car dent pullers as ‘Glaze Pullers’. They generally sell a $5 tool for $25 and rely on the audience not knowing what they actually are. You might see them advertised to you on social media, but there’s nothing special to what they sell, it’s exactly the same tool as the ones you can buy on Amazon for a fraction of the price.

If you like this sort of content and want to support the creation of more, I now have a Patreon specifically for it or a page on my website if you just want to make a single donation.