How I made the Moai Test Tiles, and why I won't be making more
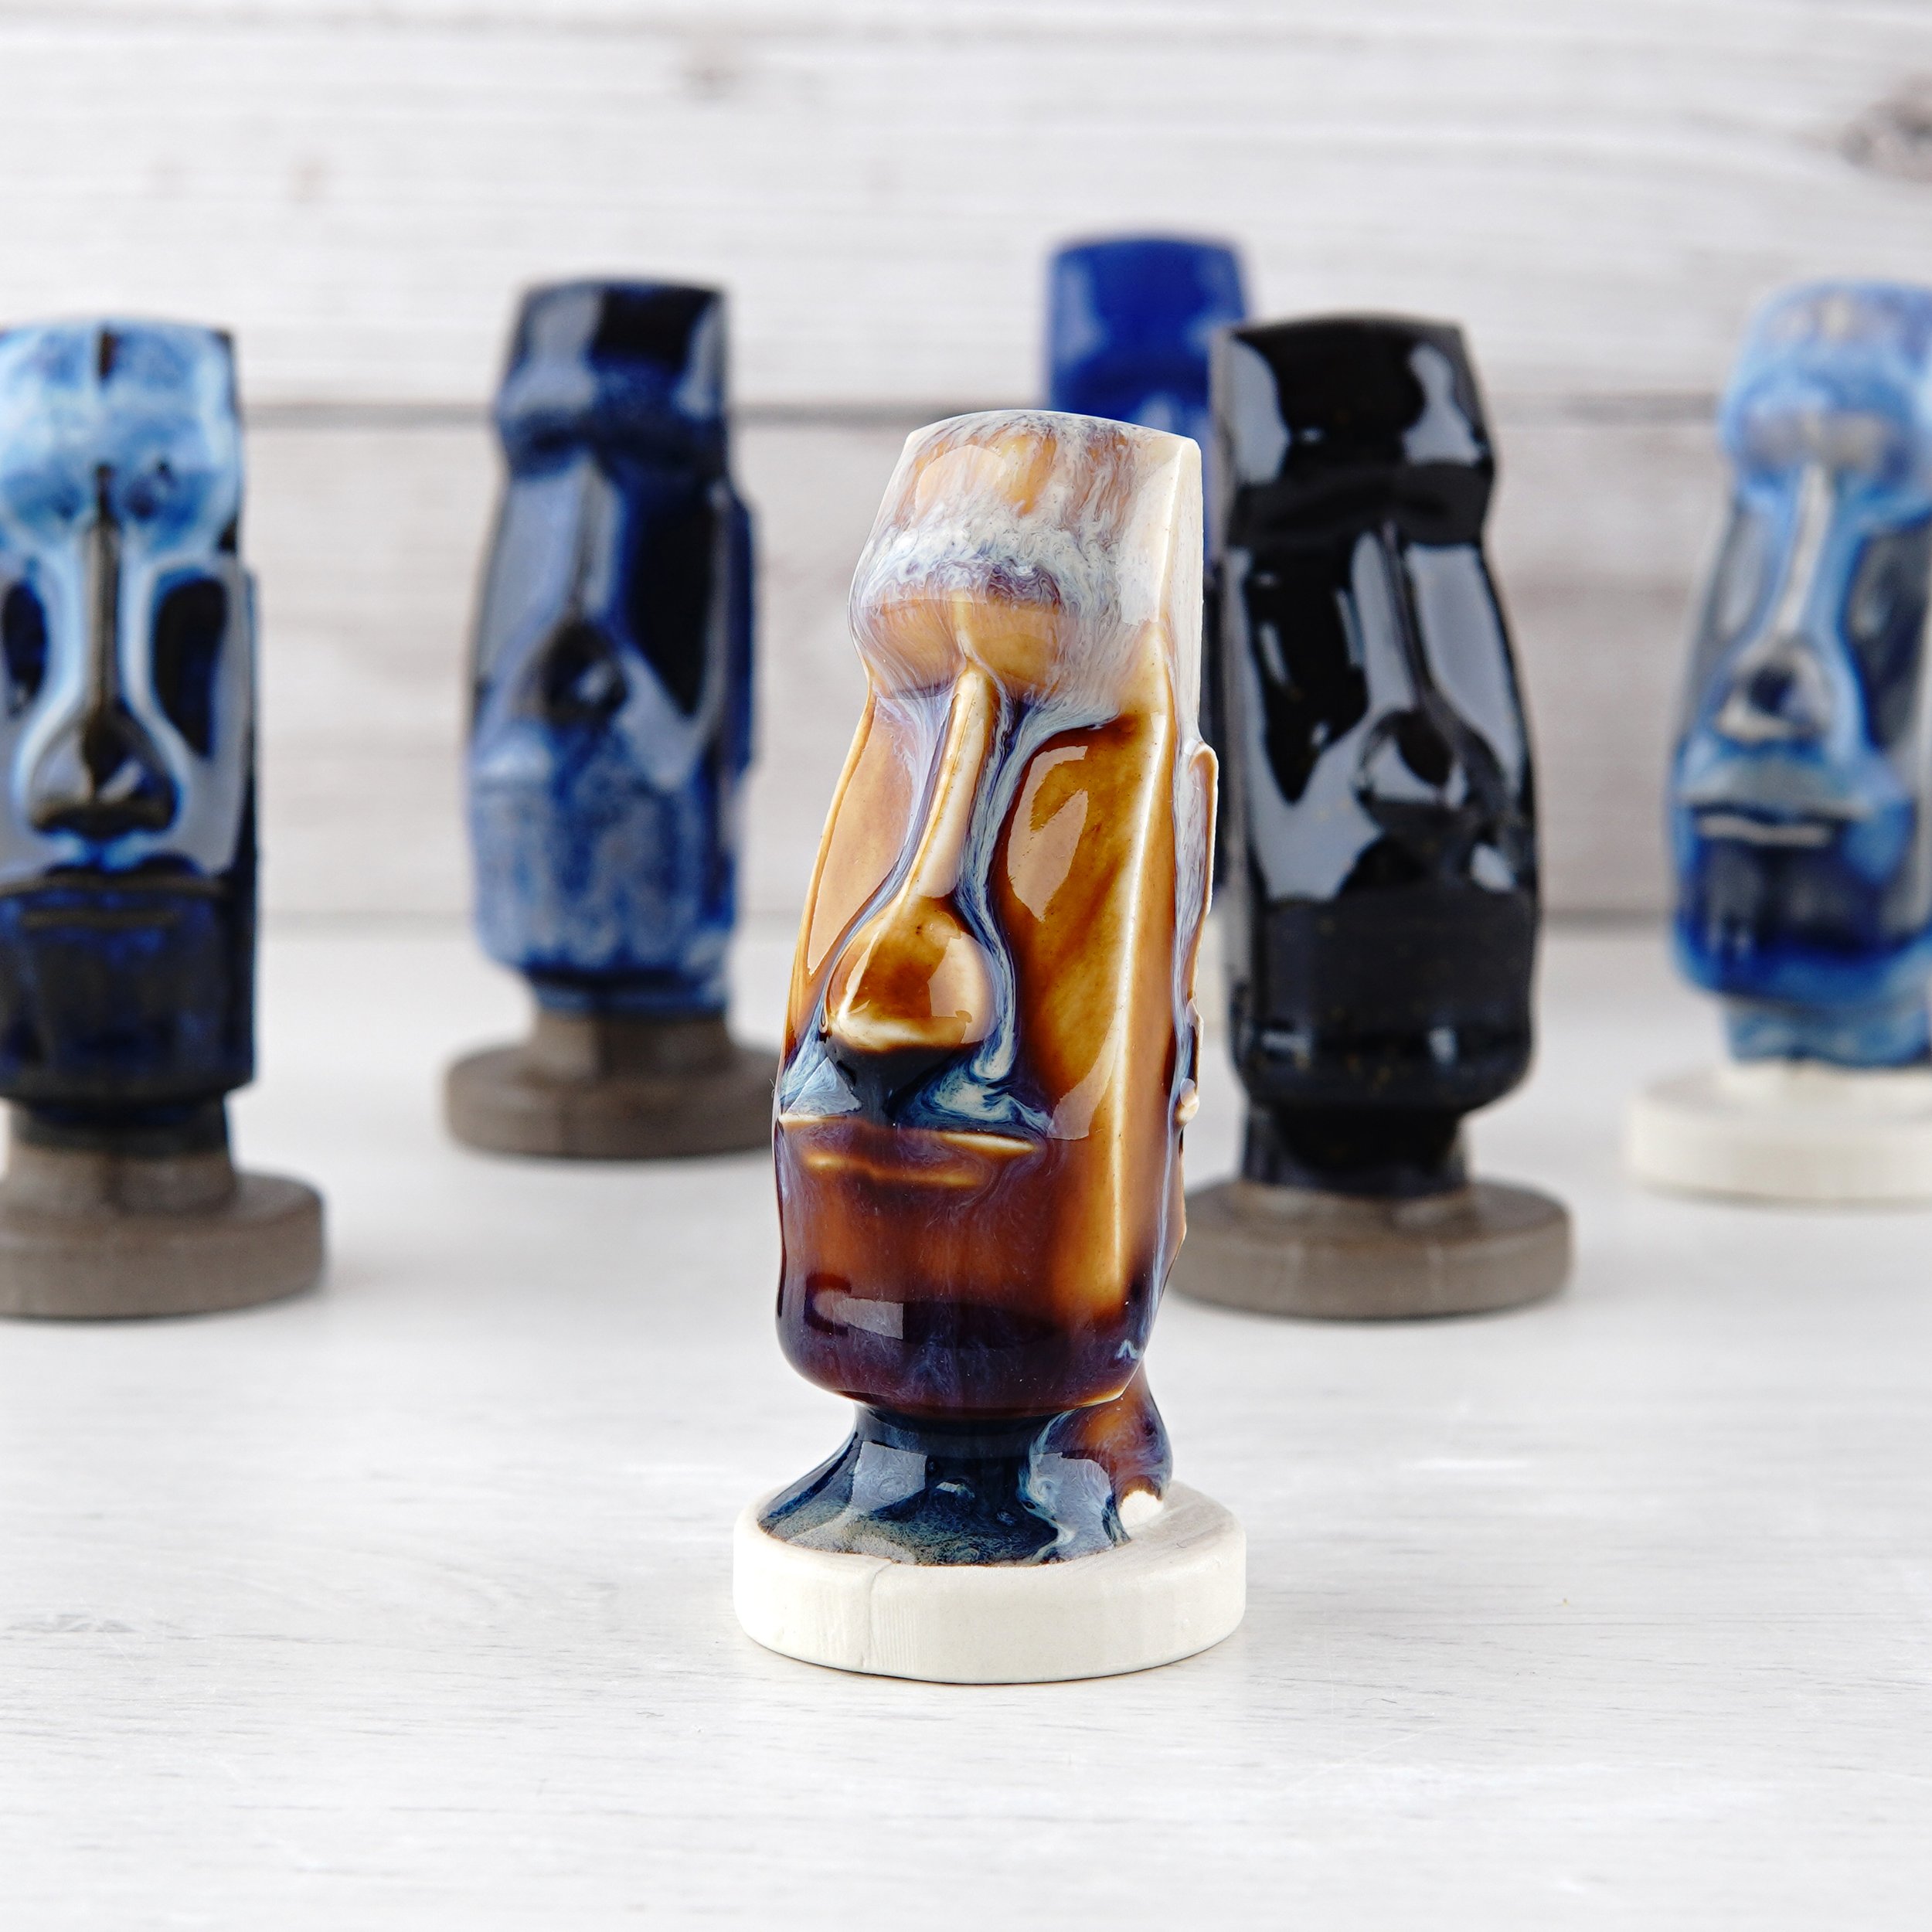
I’ve been experimenting with slipcasting, using 3D printed pieces to produce the plaster casting moulds. My most recent project was testing a new way of making them, and the output was these Moai test tiles
Why Moai?
Very simple really. I already had a silicone mother mould for my original test tiles, and had an idea for a way to reduce the silicone required by 80-90%, so wanted a new design of something small and relatively simple for these tests. There was an existing free STL file for the Moai heads and it was basically perfect for a two part mould as it was. It was simple, easy, interesting, and fitted the theme of mini monolithic tiles.
Why Stop?
Also very simple. It feels like cultural appropriation.
You might disagree, there are infinite numbers of places to draw the line between acceptable and problematic use of cultural icons like the Moai, but personally I feel like I’ve unintentionally crossed a line here.
I never intended to sell them, and when the mould actually worked well enough to, I only sold the ones I’d made on the basis that all of the money would go to Toki Rapanui - a charity that preserves the culture and habitat of the island.
I would like to think that this was a relatively innocent use of the likeness, and that no harm or offense was caused by it. Despite this, I could just as easily be making something with no legacy of colonialism and oppression, so I feel like I should just do that instead. These tests were informative, and I can use that to make future moulds of my own designs, but I don’t feel that it would be appropriate to continue making the Moai.

How I Made The Mould
This is slightly less simple, but hopefully the logic makes sense.
The previous mould was made by 3D printing exactly what I wanted the plaster to look like. This was then fastened to the base of a wooden box, and cast in silicone. This surrounds the print on 5 sides with silicone, and when you remove the print from the silicone you’re left with a silicone block with a hollow in exactly the shape you want the plaster mould. This has advantages for casting the plaster, as the seal is perfect and the silicone releases easily. It has disadvantages for casting the silicone though, as the wooden box has to be perfectly sealed to stop the silicone leaking out and the silicone can easily cost £100+ for a multi part mould.
For smaller and simpler moulds, I wondered if the silicone walls were actually necessary. All the important information (the object and the keys) are on one surface, which is only around 15% of the total volume of the silicone.
I wondered if I could print the important surface of the mould with a surrounding wall, then just fill this hollow with silicone instead. This would vastly reduce the silicone requirement and avoid the need to make a surrounding frame.

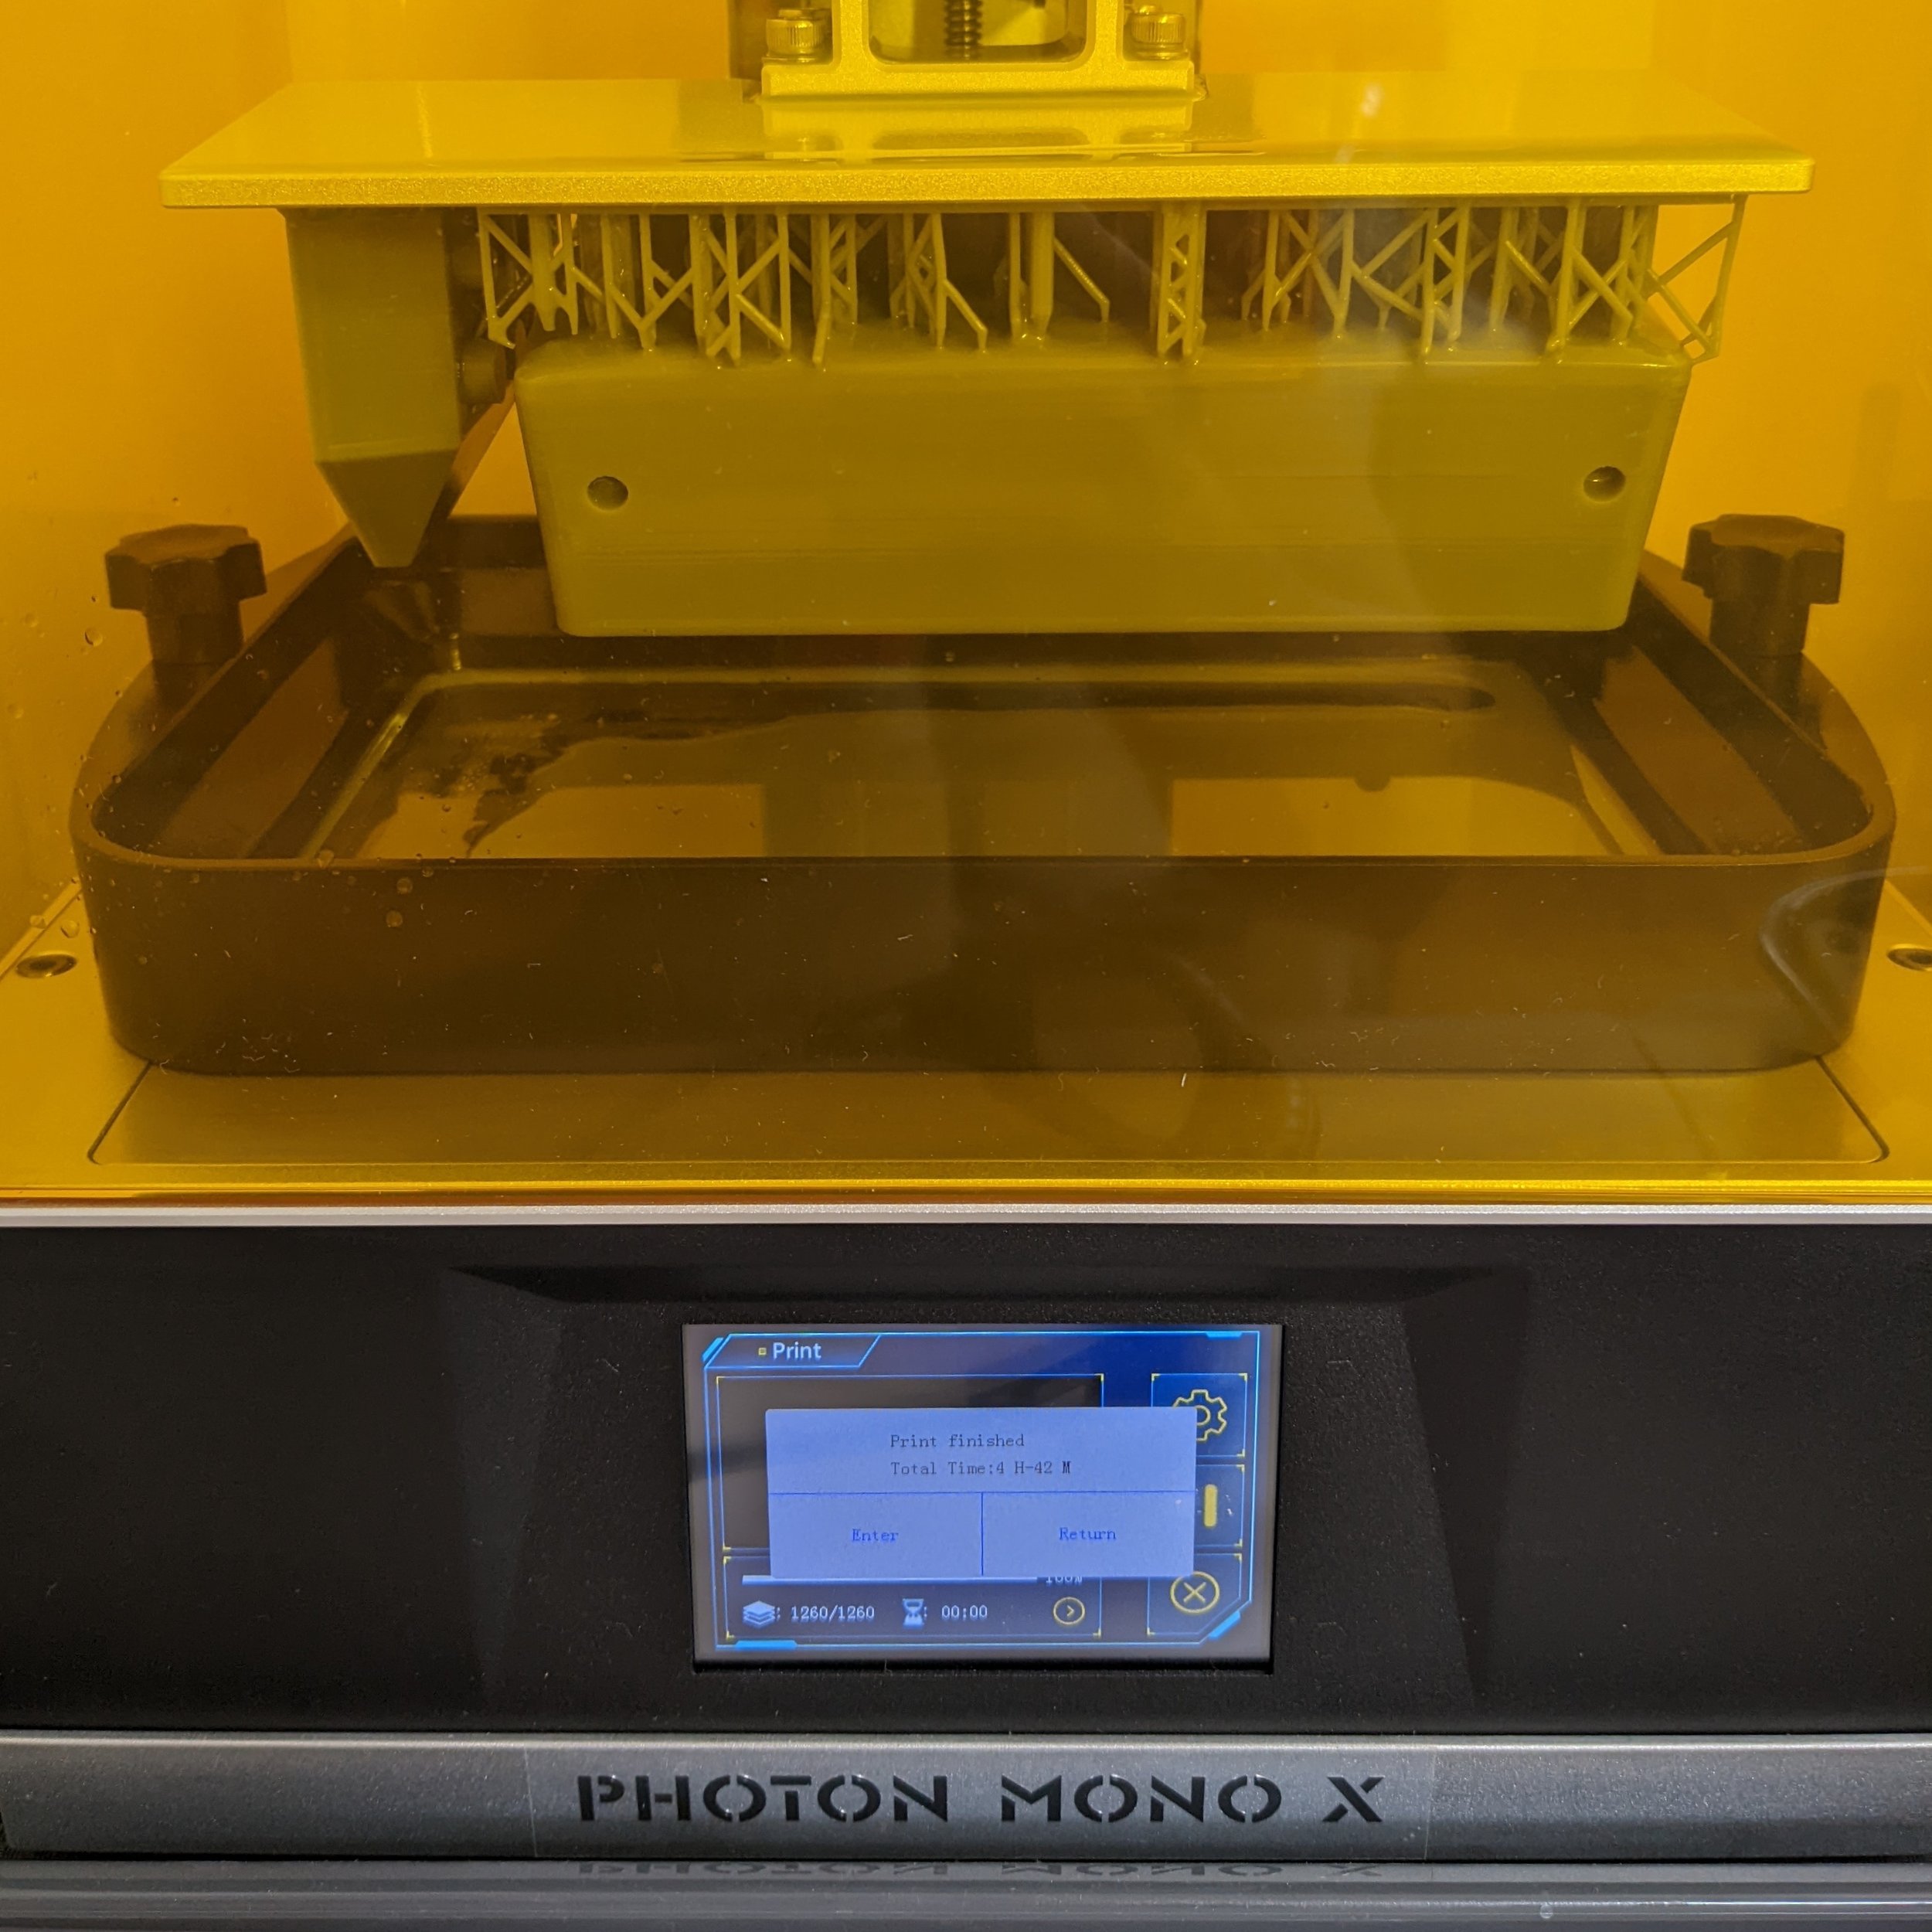
This was the first version of the idea, with an excessively complicated surface. Resin printers can have an issue with large flat surfaces as they can generate enough force at the printing edge to pull the model apart. The solution to this is generally to print at an angle, so only a small cross section is printed at any moment, but I thought I could avoid the issue by having an interlocking surface texture. This would break up the flat plane and create keys at the same time. The original print failed before it got to that point (resin printing has an infinite number of ways it can go wrong), so I don’t actually know if that idea would have worked from a printing point of view. But the interlocking face did work to an extent.

The top section was then filled with silicone.

The silicone slab could then be removed. If you’re doing a post cure heating (my silicone is warmed to around 70c for 4 hours) it’s best to do this before cutting the box, as the silicone will shrink slightly as it cures.

I cut a solid flat base just a fraction bigger than the silicone (you don’t want to apply any lateral force) and built a box around it
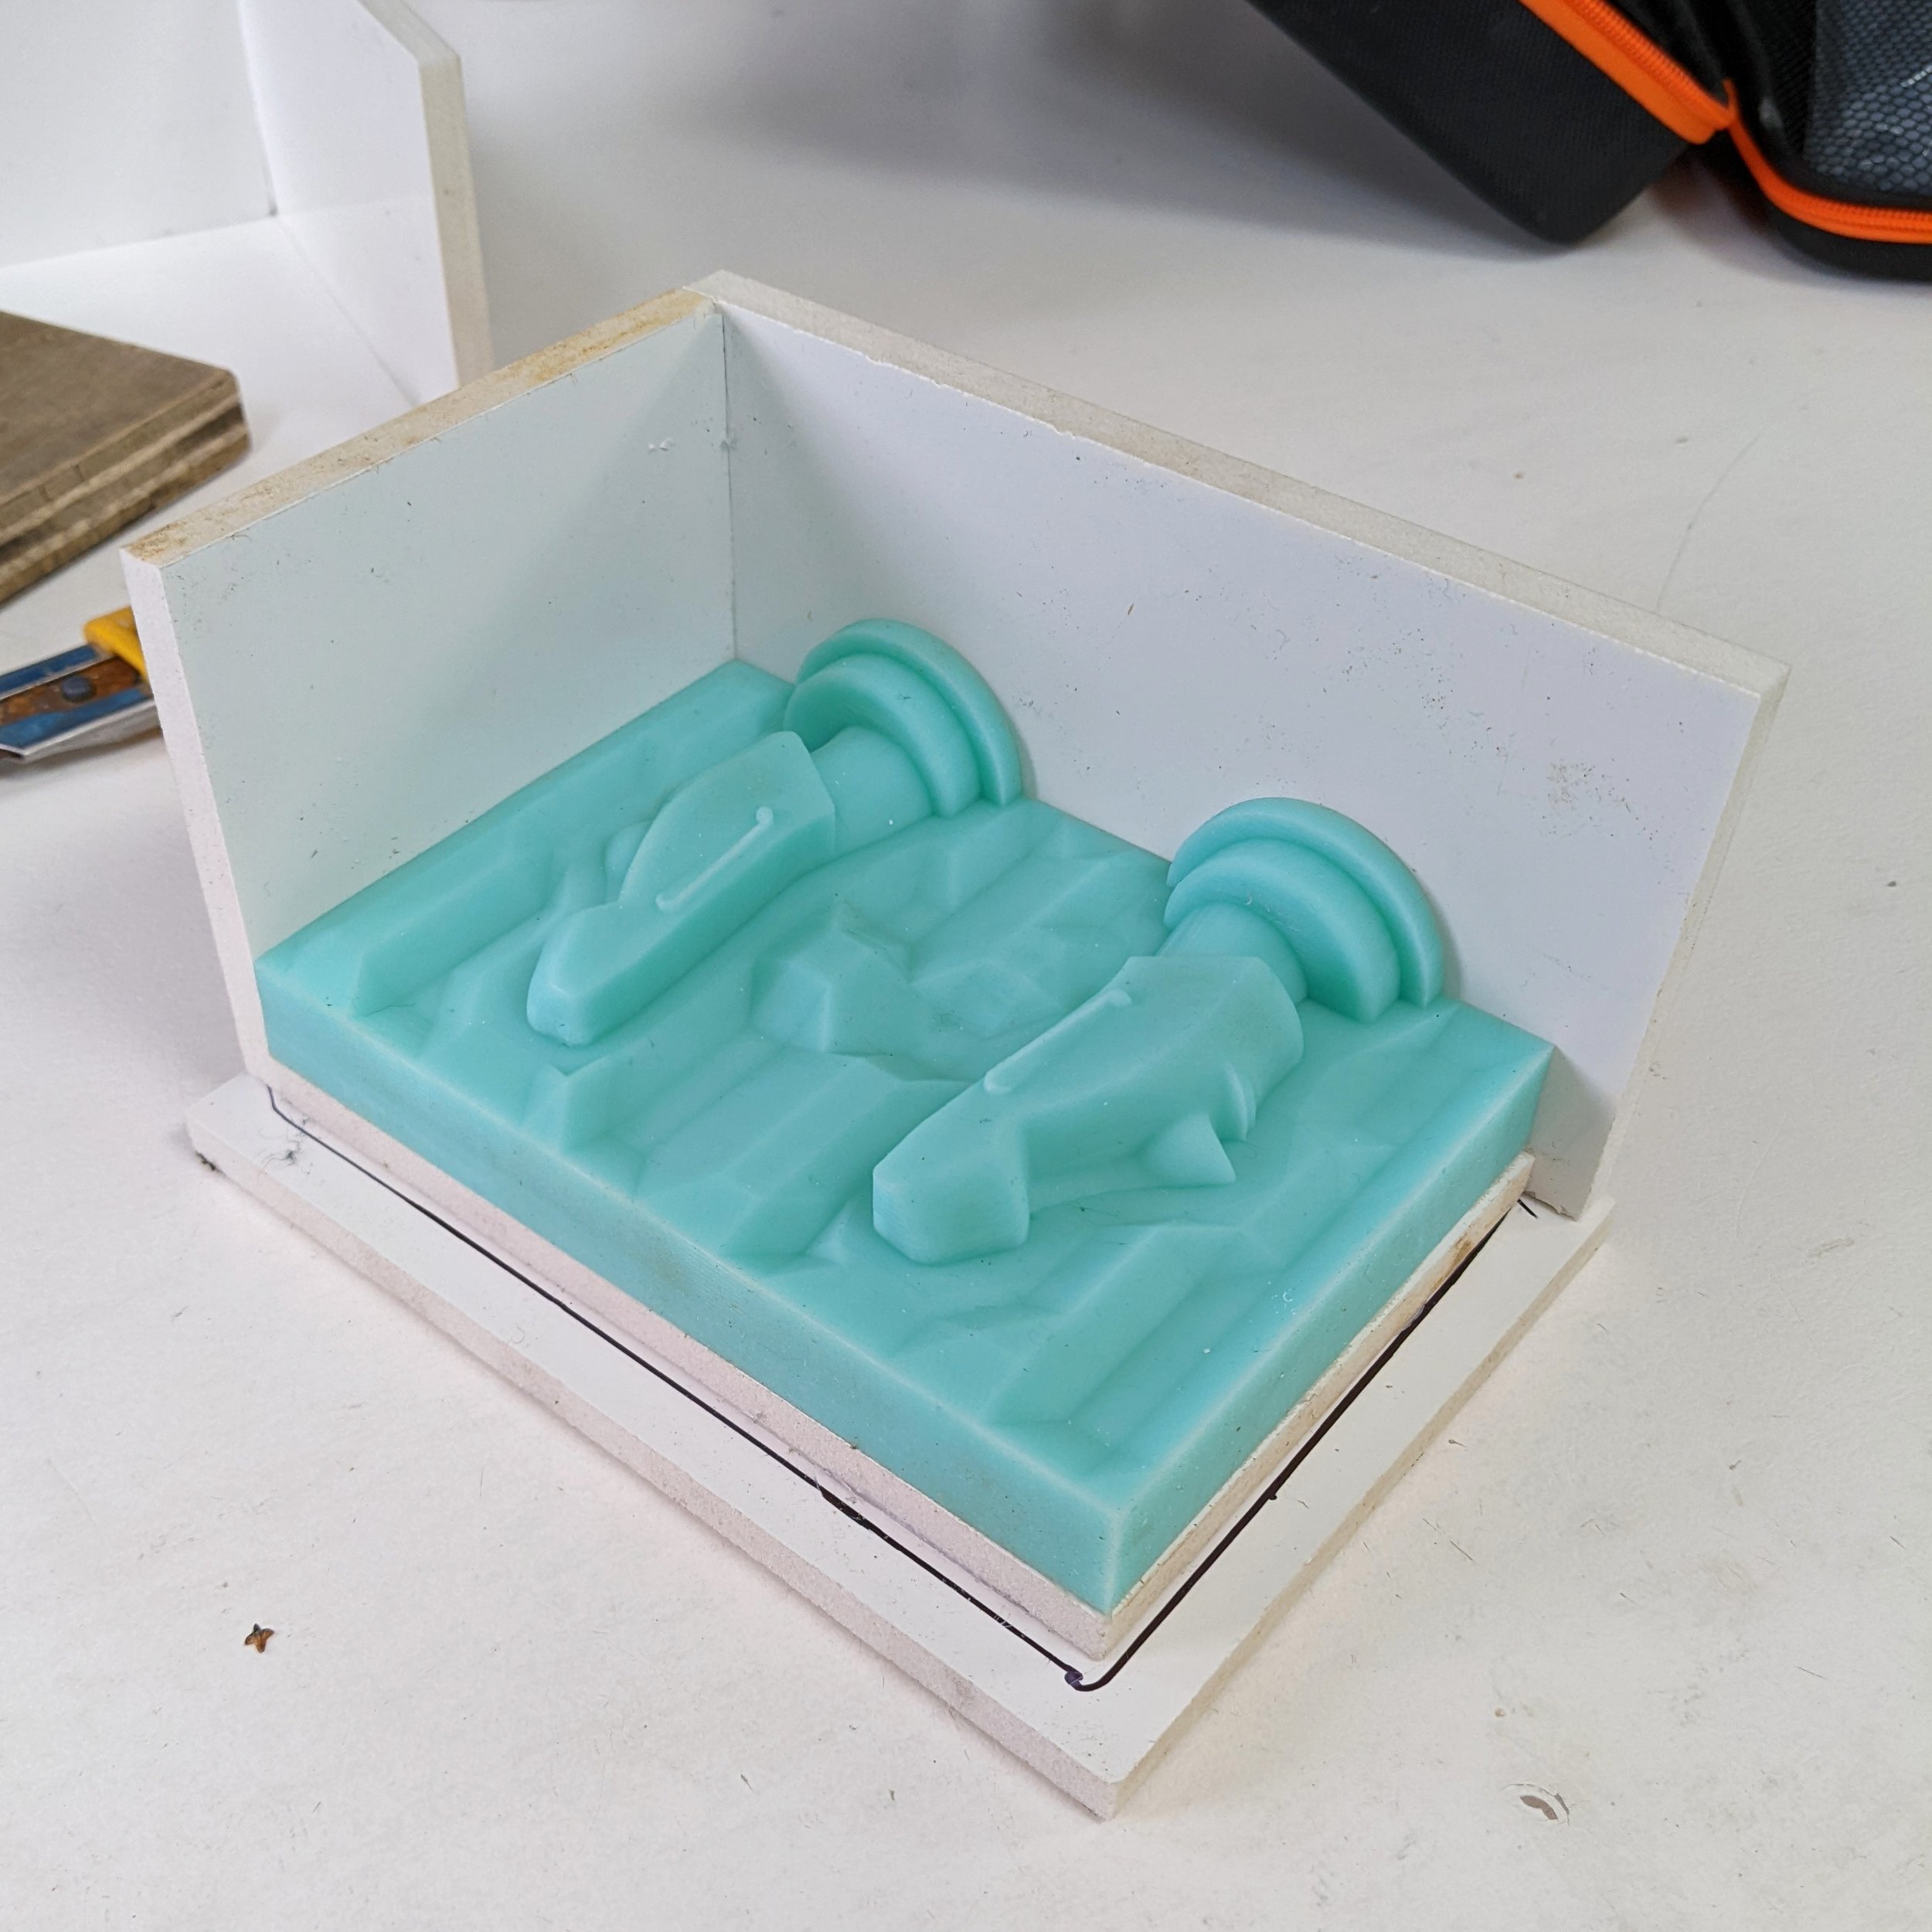
The silicone sheet then sits at the bottom of the box. The box is then sealed to stop the plaster leaking out.

You could just as easily use normal wooden cottle boards for this part. It becomes a more typical plaster casting where a removable frame is built around a castable surface. In this instance the surface is an exact and flexible copy of your 3D model, allowing for easy repeat castings. One tip I’ve always used (so I don’t actually know how much difference it makes) is to spray diluted window cleaner onto the silicone before pouring the plaster. This lowers the surface tension and means bubbles are less likely to be trapped.

Version 2 of the mould surface
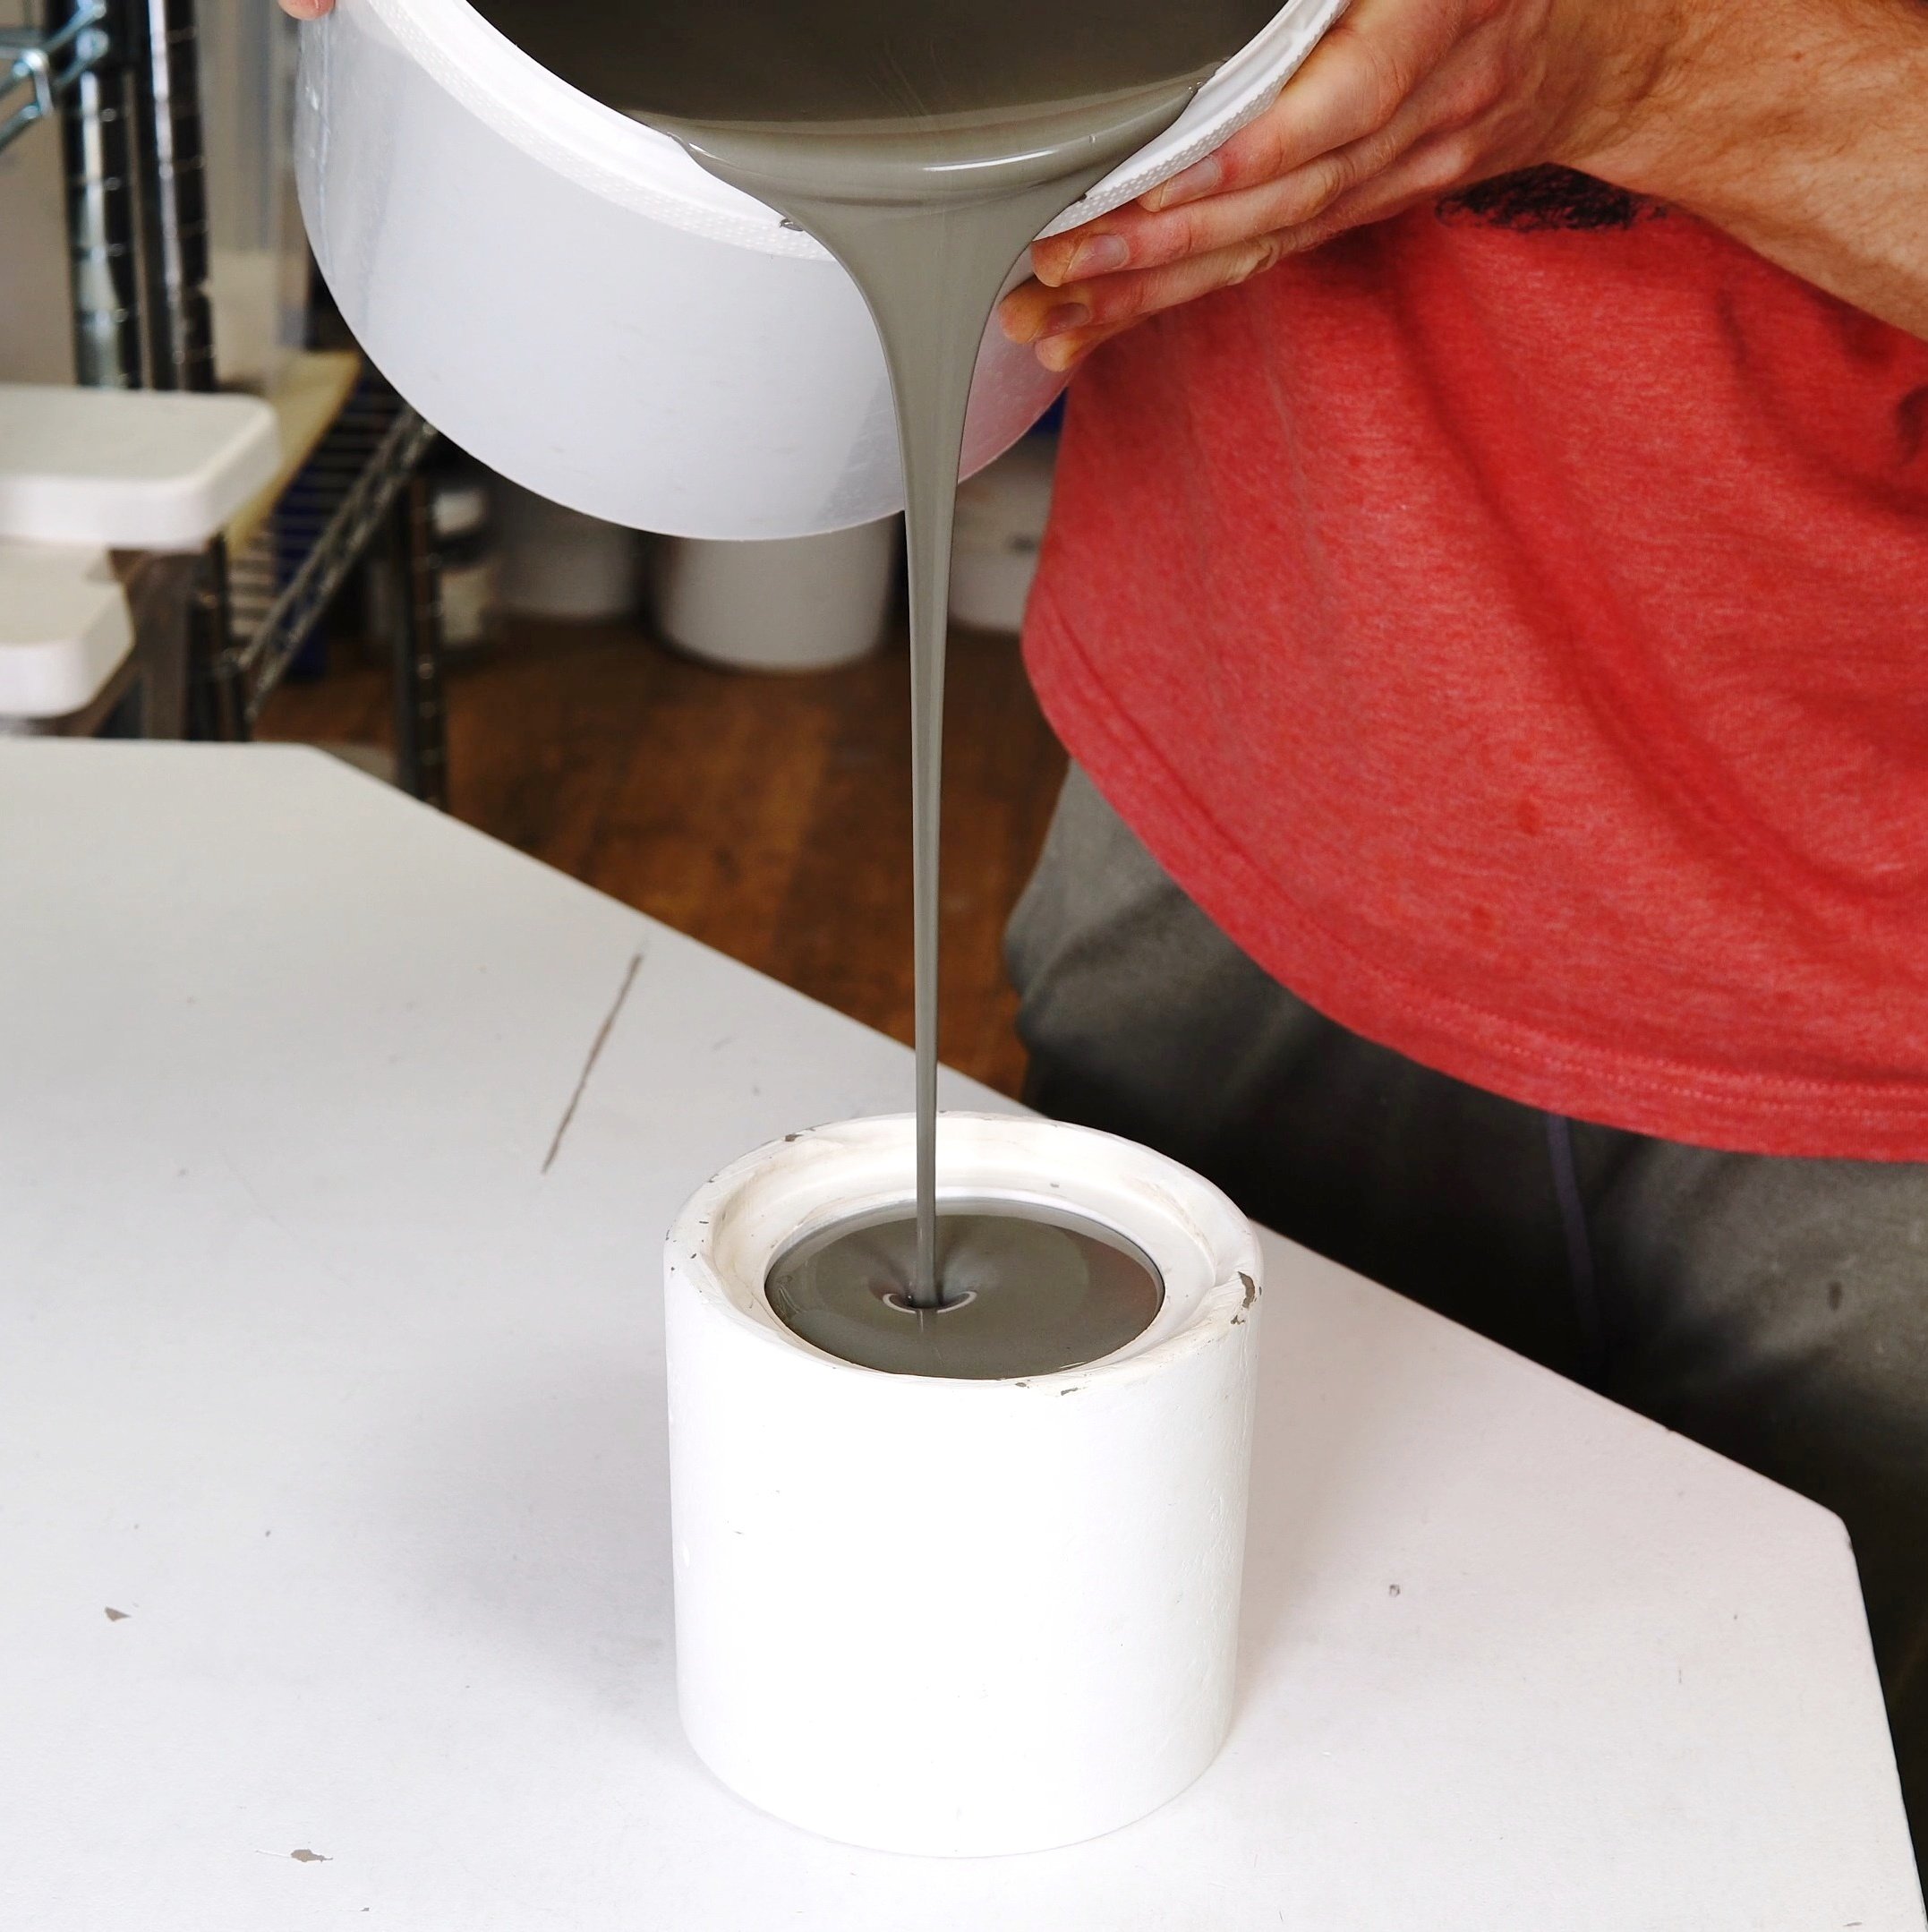
You would then cast two plaster versions, which fit together to make a single mould. Pour casting slip into those and let it absorb for around 20 minutes, and you have a neat cast. The seam isn’t perfect, but is better than I expected for how much silicone it saves.

Print Files
If you want to try it yourself, here are the 3D printable STLs (disclaimer - I printed these, but that doesn’t mean they’re well designed or will work on your printer. Check them and modify if you need to)
File used for this way for making the silicone
File used for the version where it’s surrounded on all sides with silicone.
Advantages/Disadvantages
This way of making moulds is not a universal improvement by any means.
Resin
It’s pretty comparable on resin use. You add a little height above the the surface, but lose a little height below it, so the net resin use is basically unchanged.
Silicone
You use dramatically less (80-90% less) silicone and don’t have to build a surrounding box. There is no chance of a silicone leak unless the 3D print goes wrong and introduces a hole.
Plaster
You use the same amount of plaster, but every cast needs to be surrounded and sealed. This is more time consuming and the result needs more cleanup than with a full silicone cast. Given that you need to cast twice for every working mould, this extra effort adds up.
Which is better?
It depends what you’re doing. If you’re just starting and want to have a play with various ideas without sinking hundreds of pounds into silicone, then this way of making moulds is the better option. If you are trying to make many consistent moulds for commercial use, the extra silicone is easily worth the cost. Personally I’ll be using a mix of the two. This way for easy prototyping, but the more expensive version for anything I plan to produce a lot of. Either way, those future prints will be more original and more culturally sensitive.

If you like this sort of content and want to support the creation of more, I now have a Patreon specifically for it or a page on my website if you just want to make a single donation.