3D Printed and Slipcast Test Tiles
This is a quick post to share the STL files for my recent project. I’ll do a full process post at some point when I have enough time to do it properly.
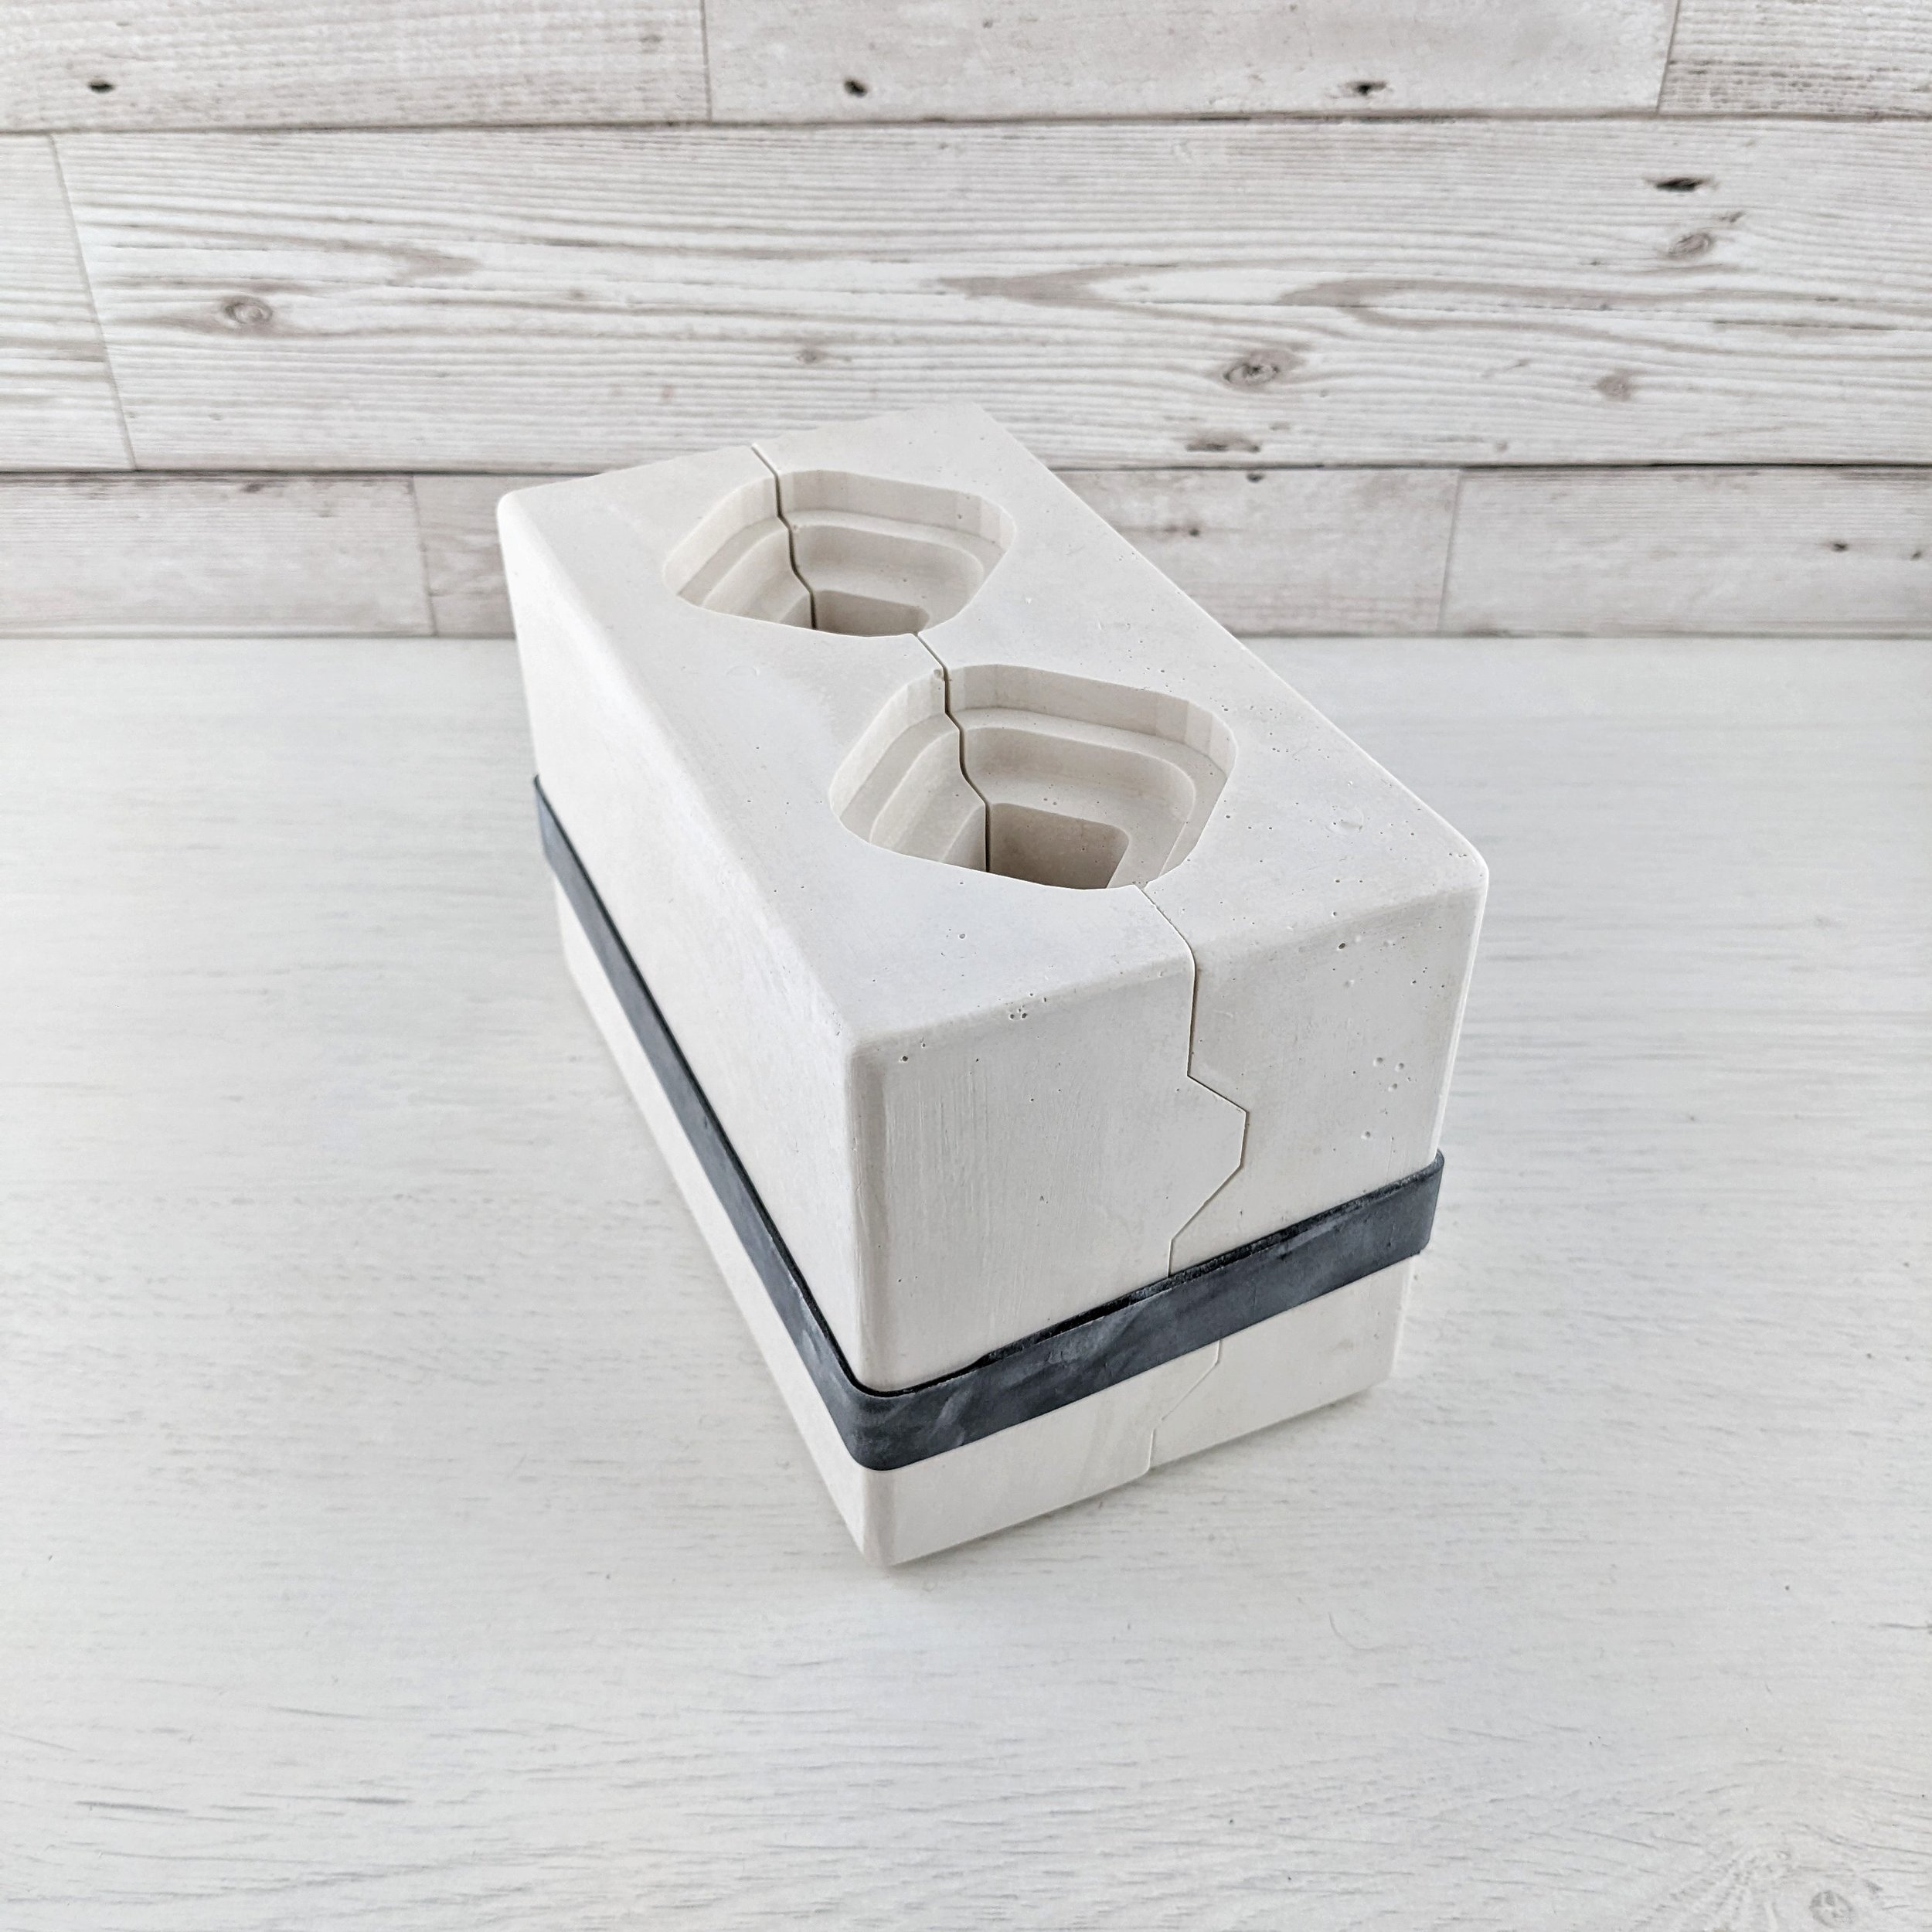
In the meantime, this is a brief summary of the process. Essentially I wanted a test tile that would tightly fit the 50ml Sterifeed bottles I use for glazes tests, as the more volume the test tile displaces the less glaze is needed for a full dip. The Sterifeed bottles are round, so there’s no realistic way to wheel throw individual tiles that fill the space, and making a plaster slipcasting mould seemed to be the best option.
Making effective plaster moulds by hand is an artform in itself, and one that I had no desire to put the time in to learn. But there is a way to jump straight to the finished mould form, by using a 3D printer to make the mould shape and casting from that. This is a process I learnt from watching Curt at Hammerly Ceramics, and he helped me figure out the process myself too.
The way it goes:
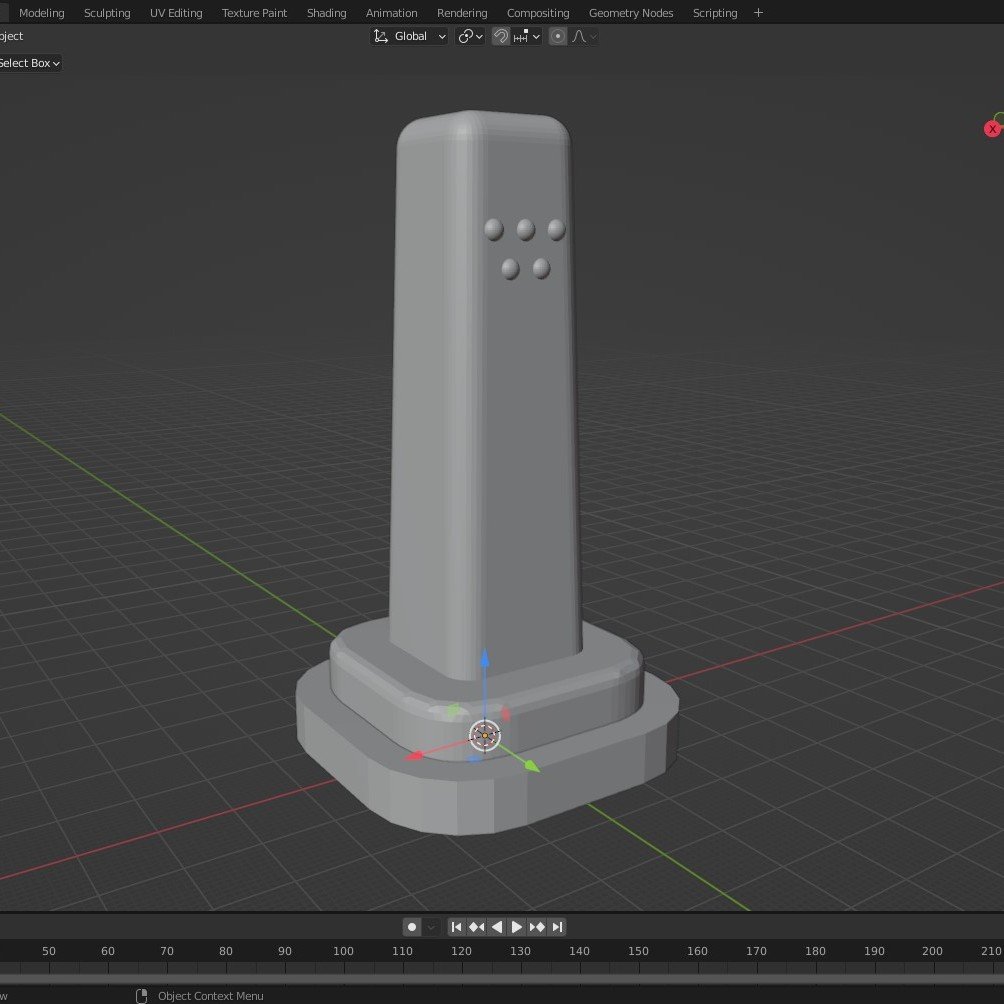
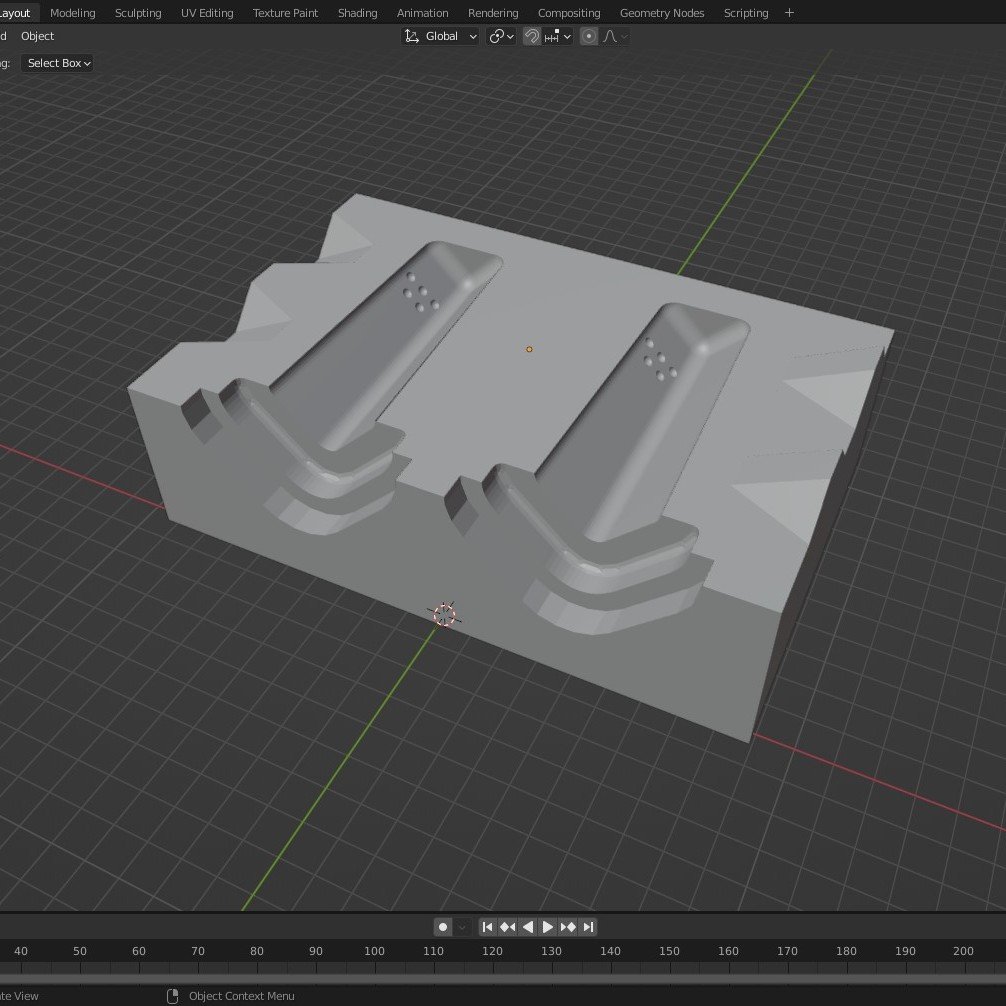
Design the test tile in Blender.
Use the 3D model to reverse out the shape from a block and produce the mould shape (still in Blender).
Resin print the mould shape.
Cast the 3D printed mould in silicone to get a mother mould.
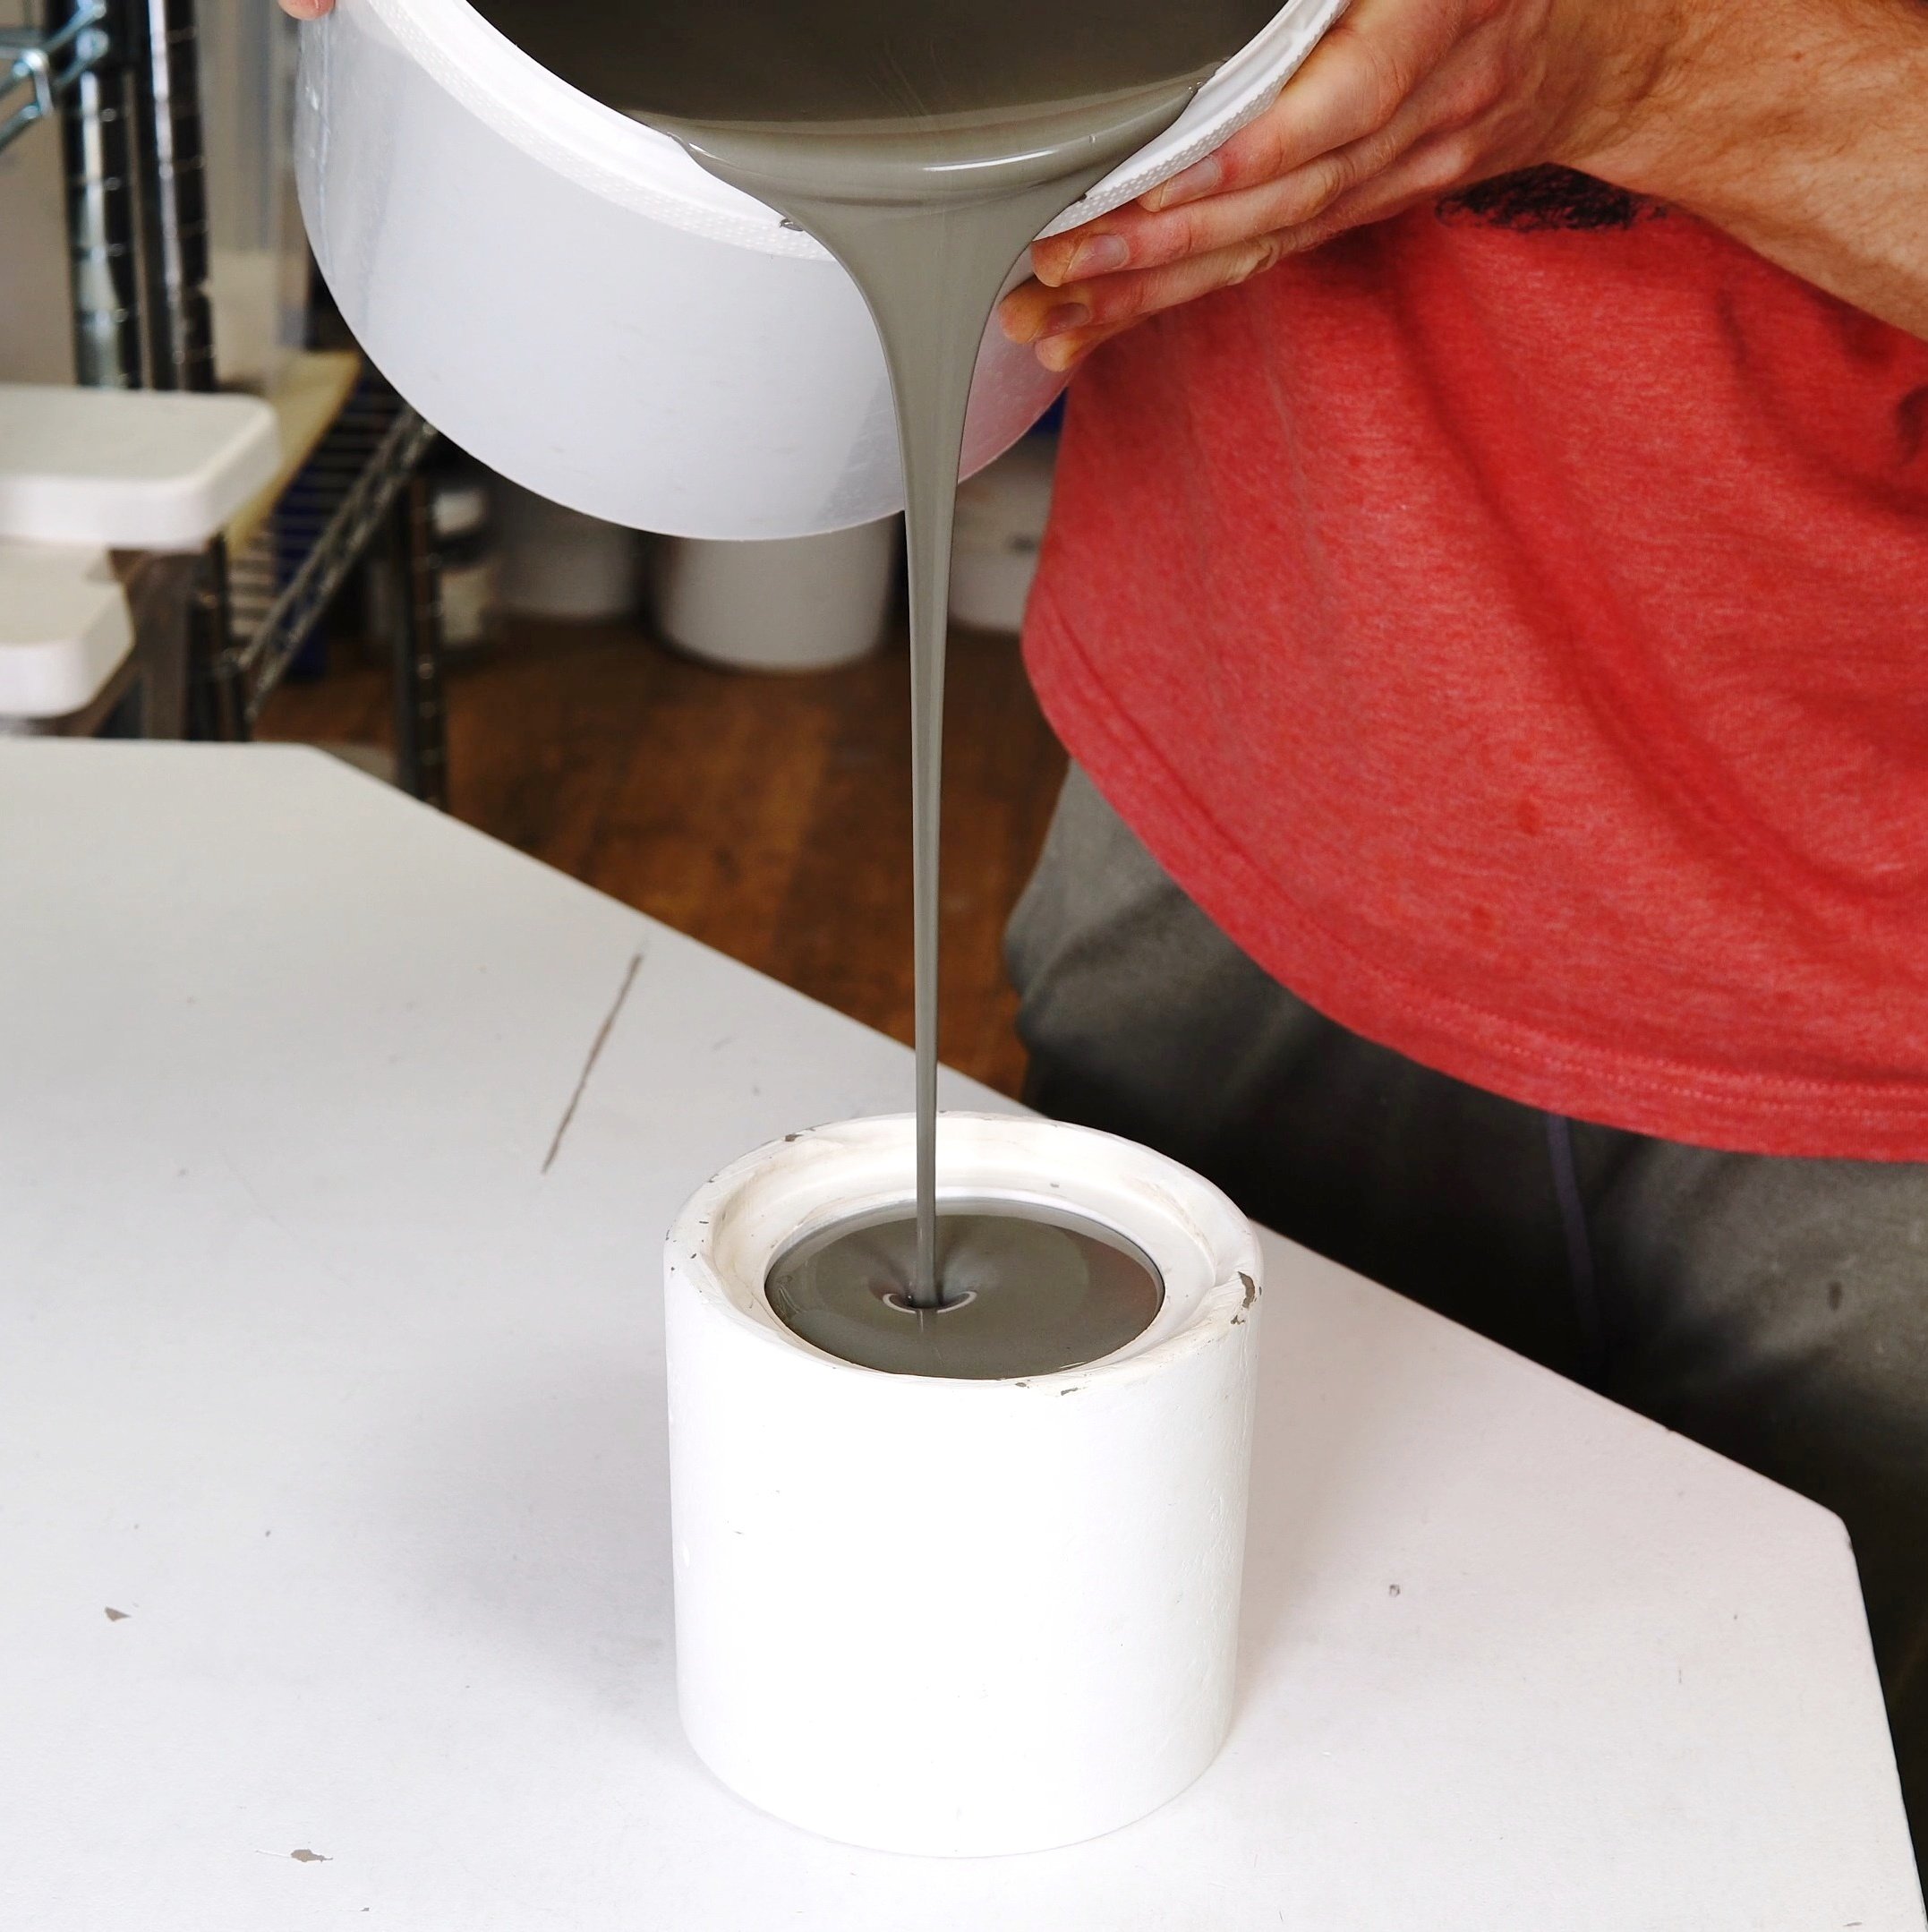
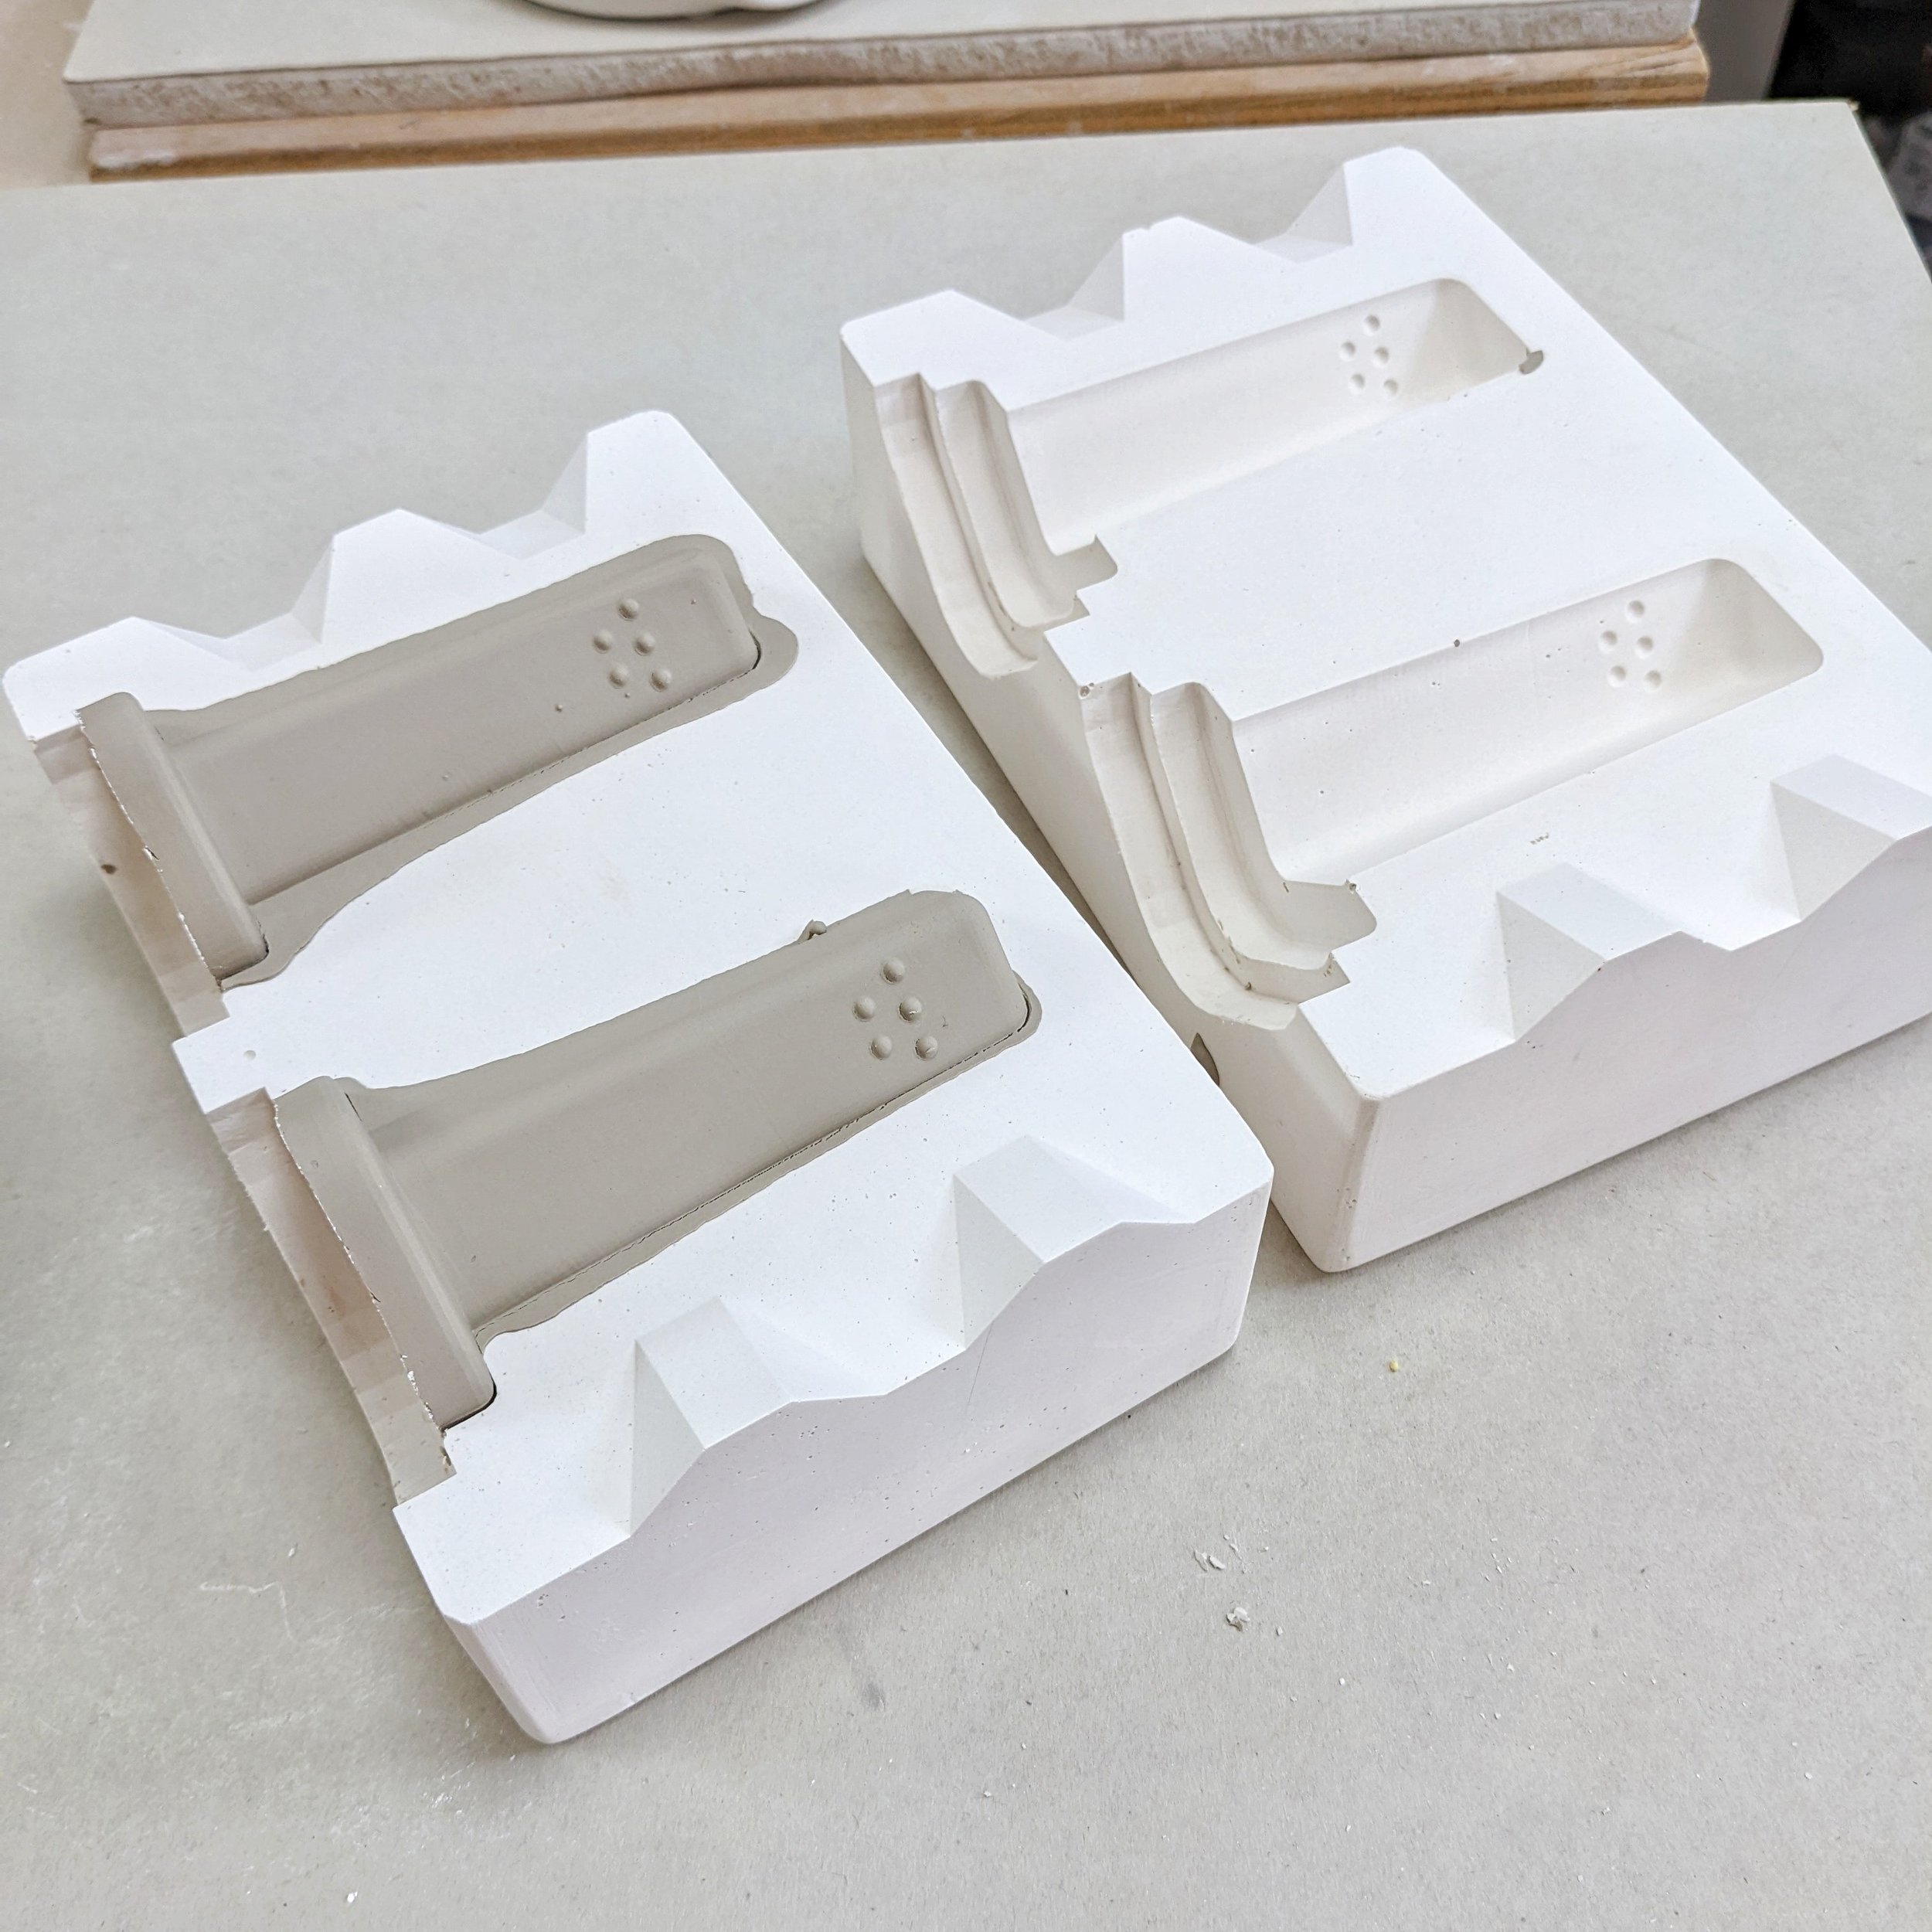
Cast plaster from the mother mould to get identical duplicate mould pieces.
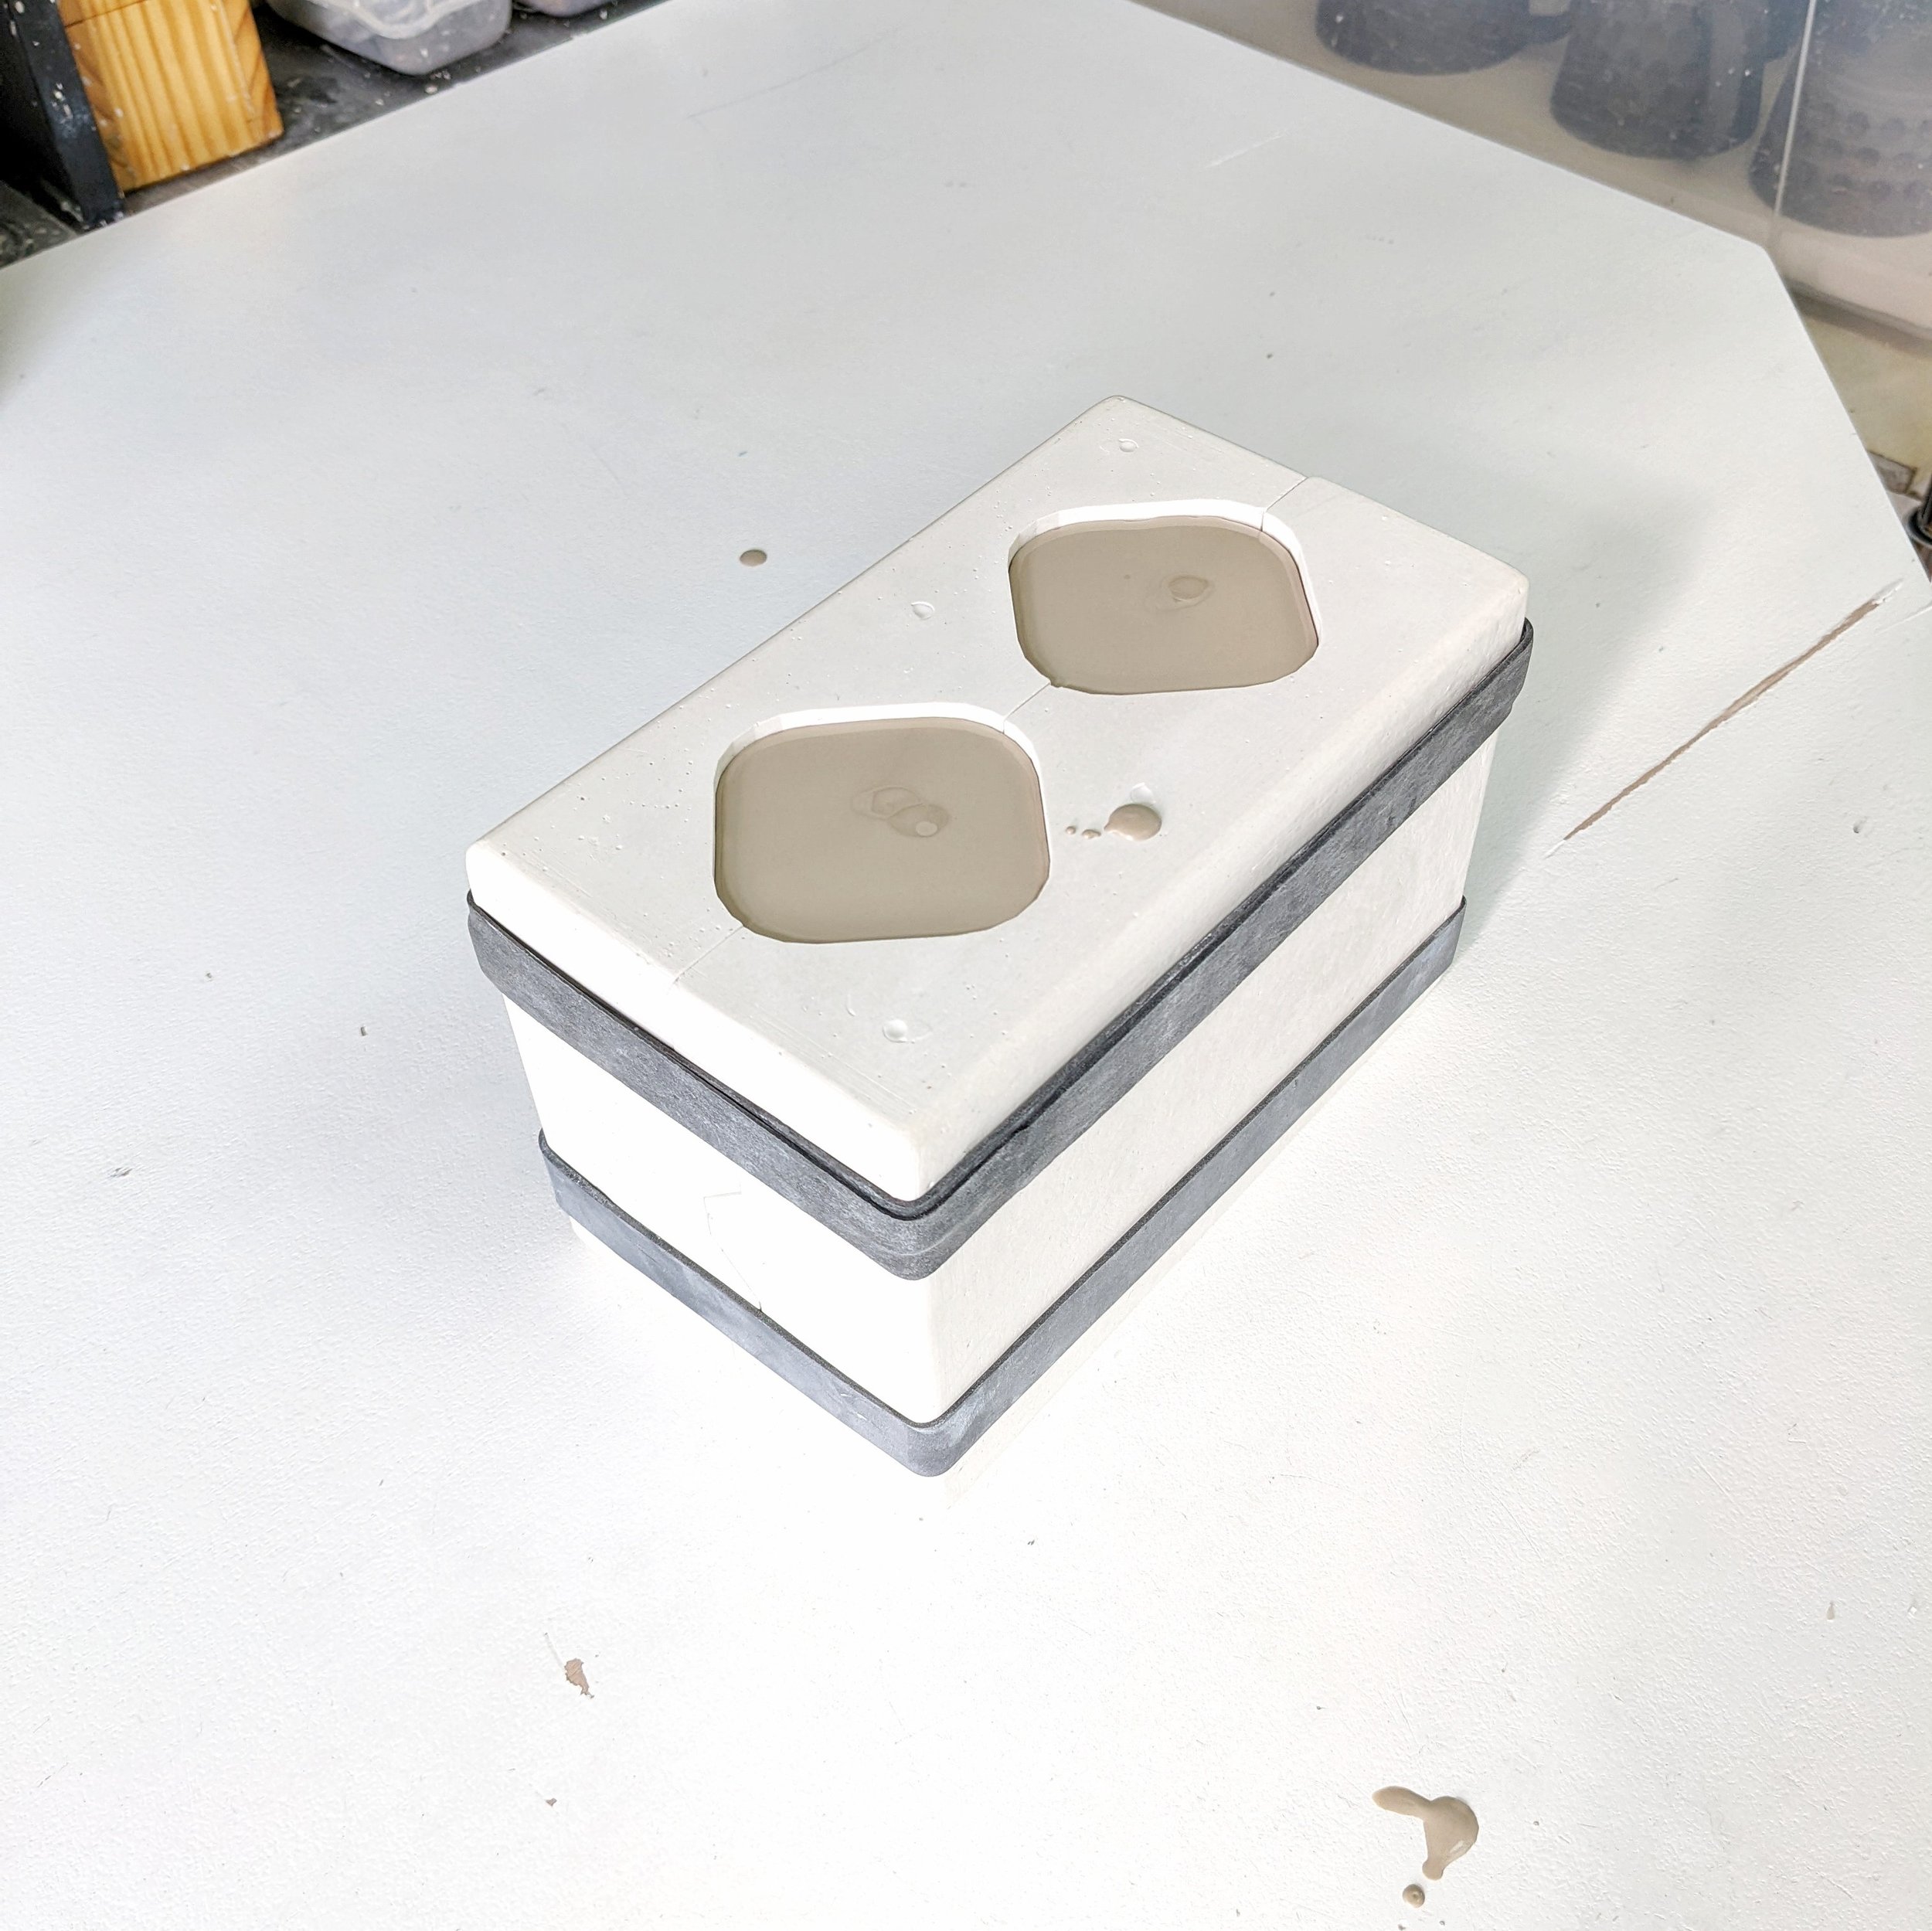
Cast slip from the plaster moulds.

Yes, this is totally overkill for a test tile, but it’s also a perfect item to learn the process on. Plus there are a few advantages to these test tiles:
I can fully dip the tile in 30ml of glaze (around half that of my thrown tiles)
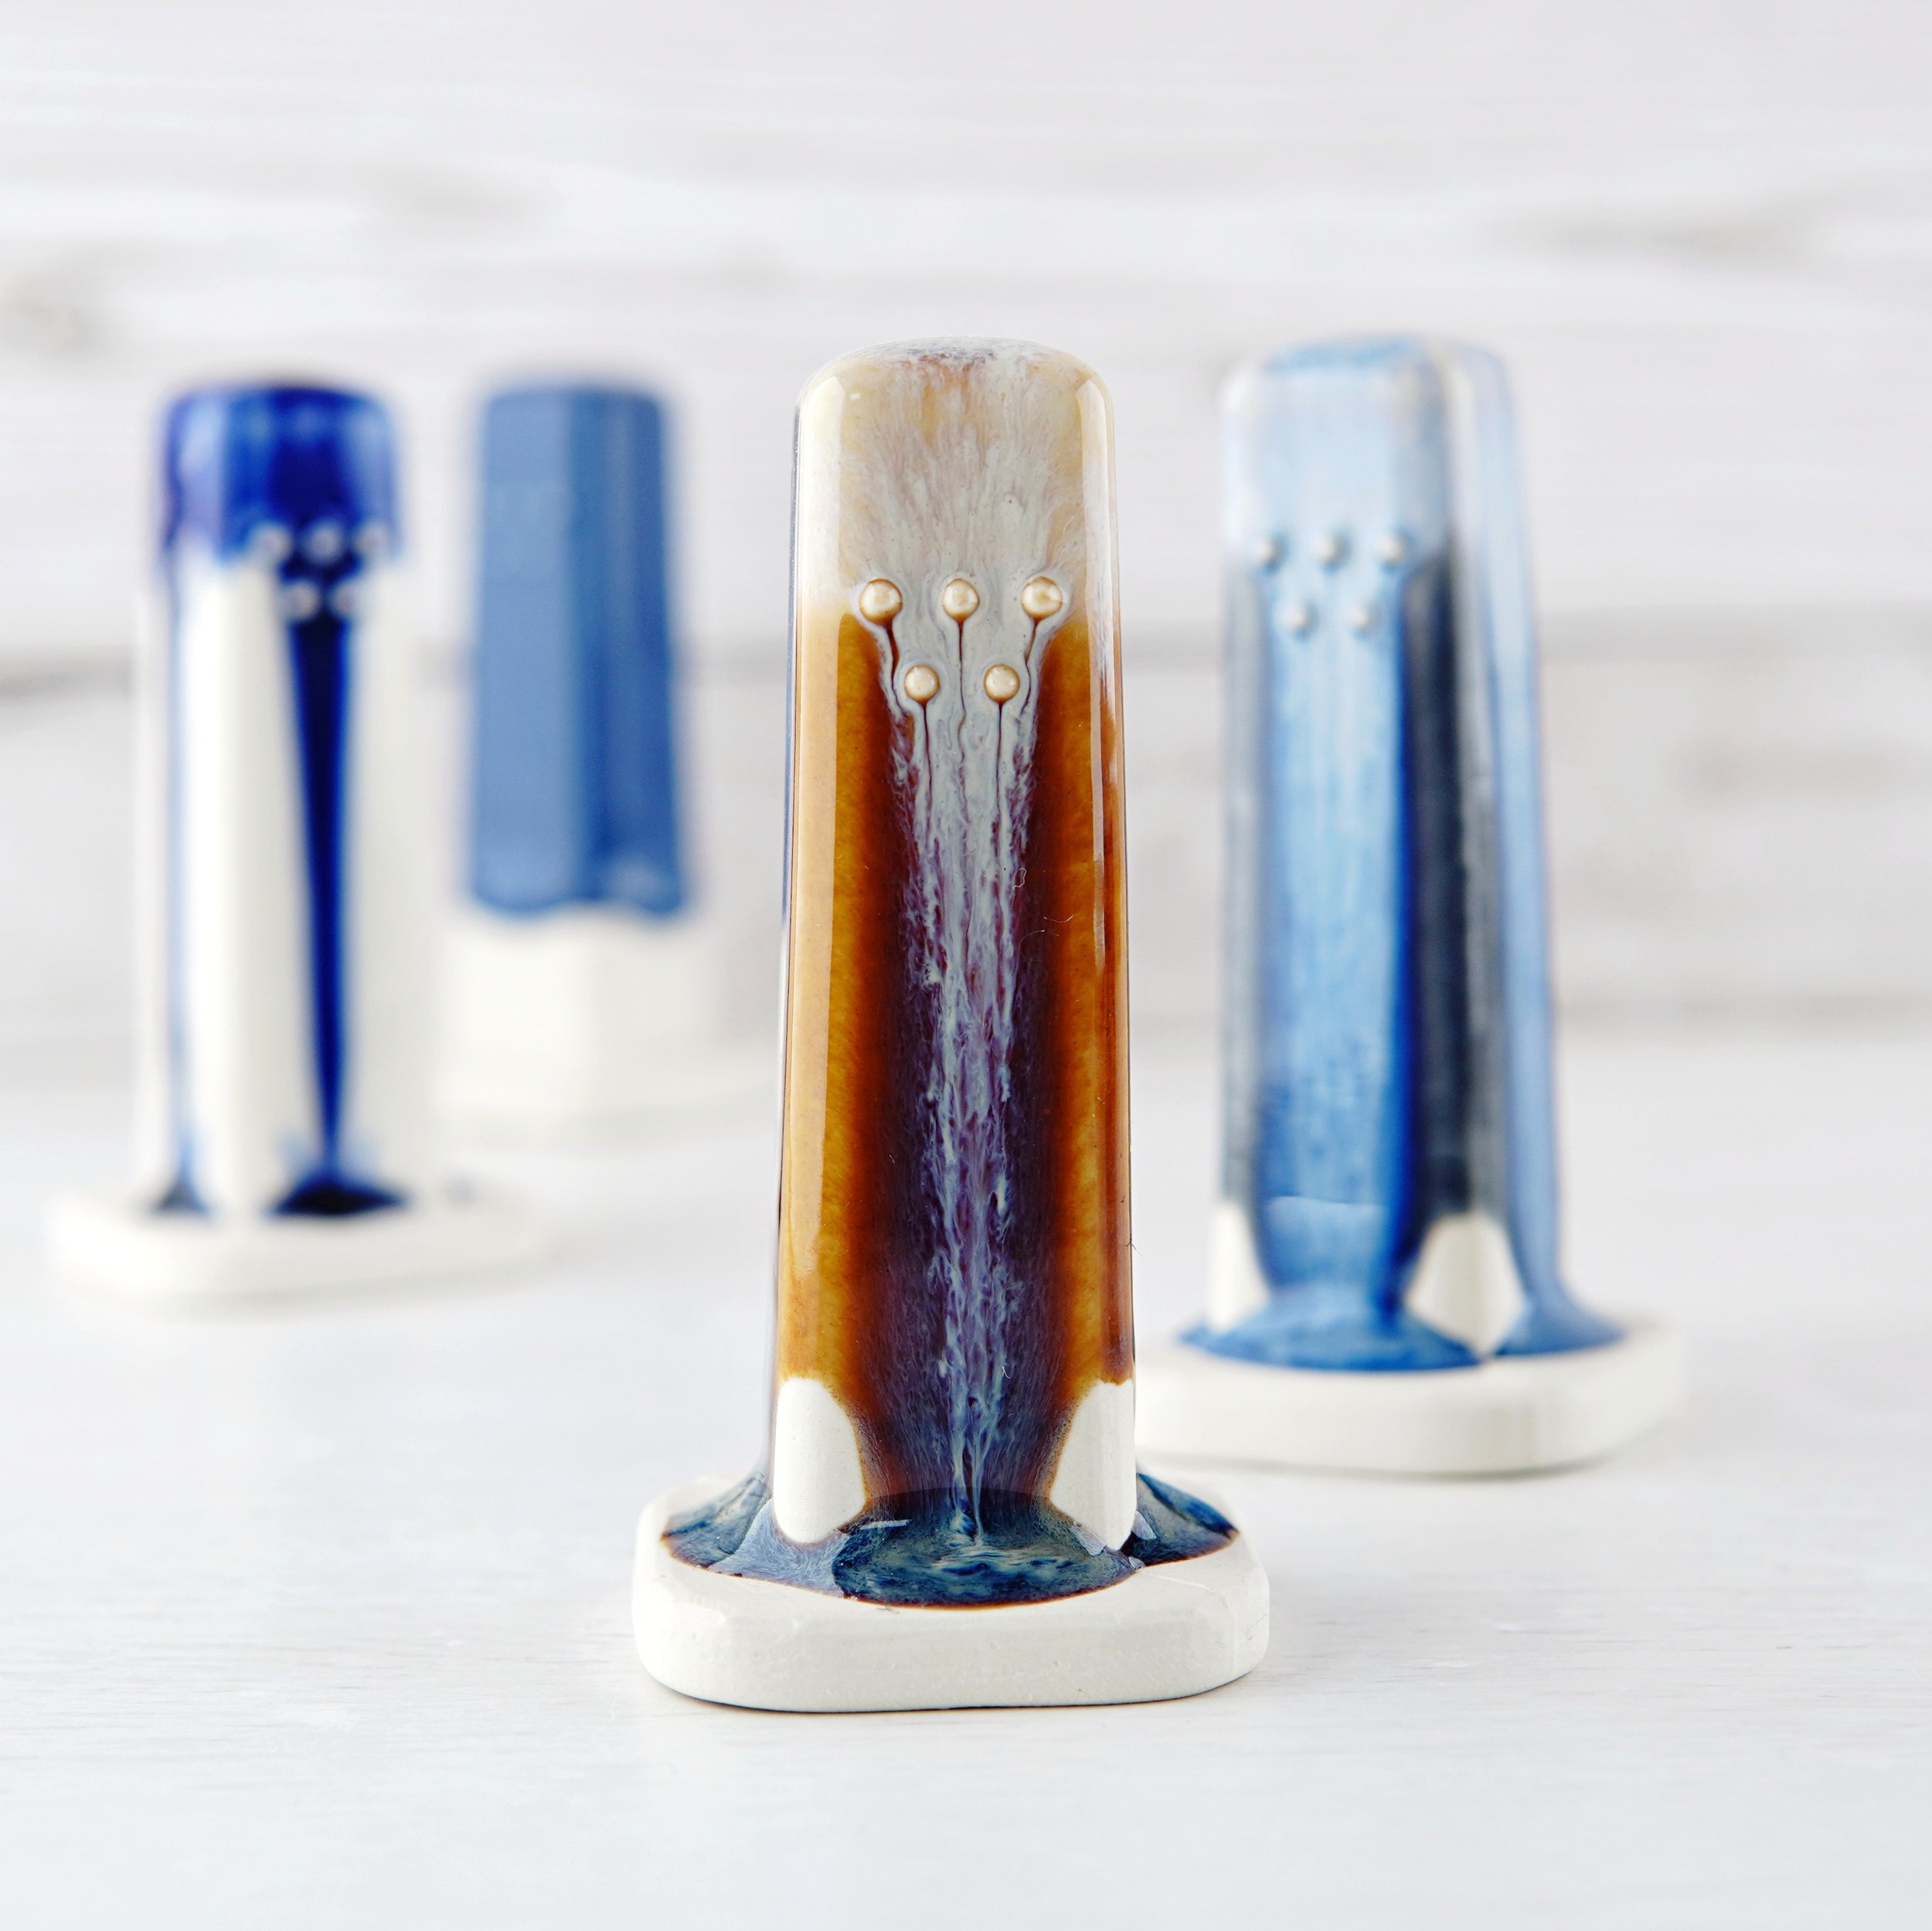
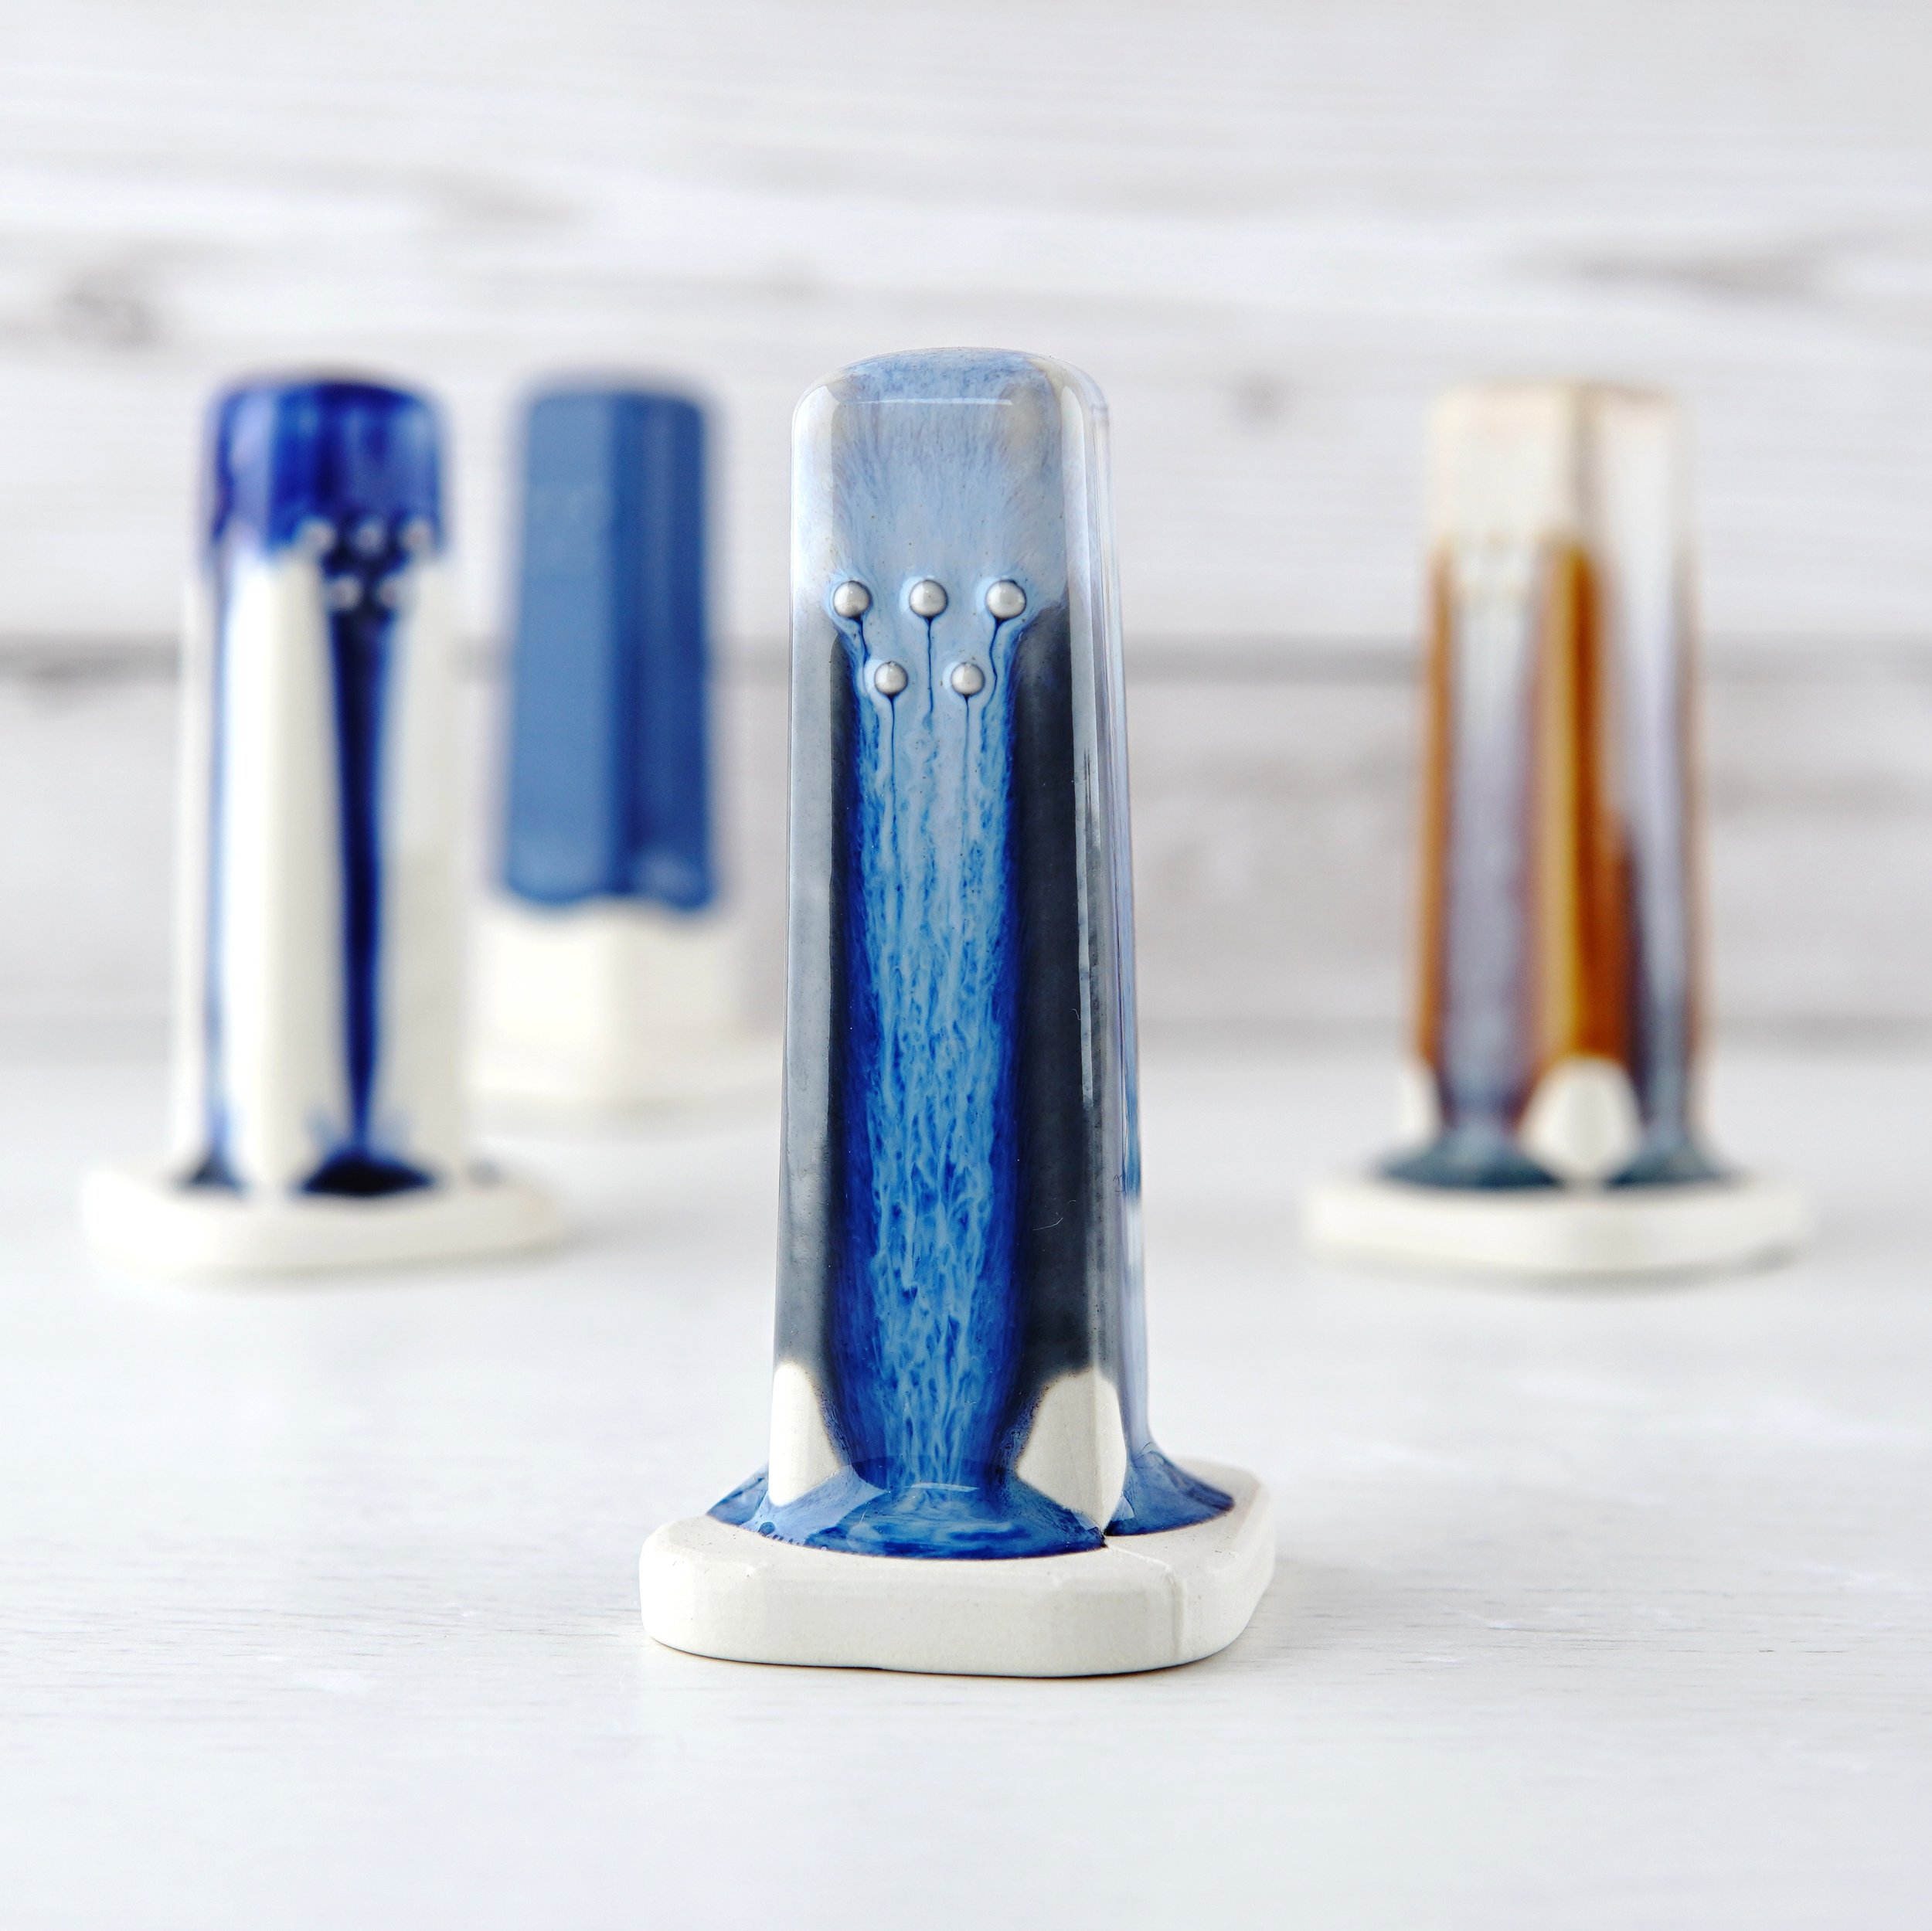
I can have multiple textures per tile without any additional effort (eg, the Impulse dots)
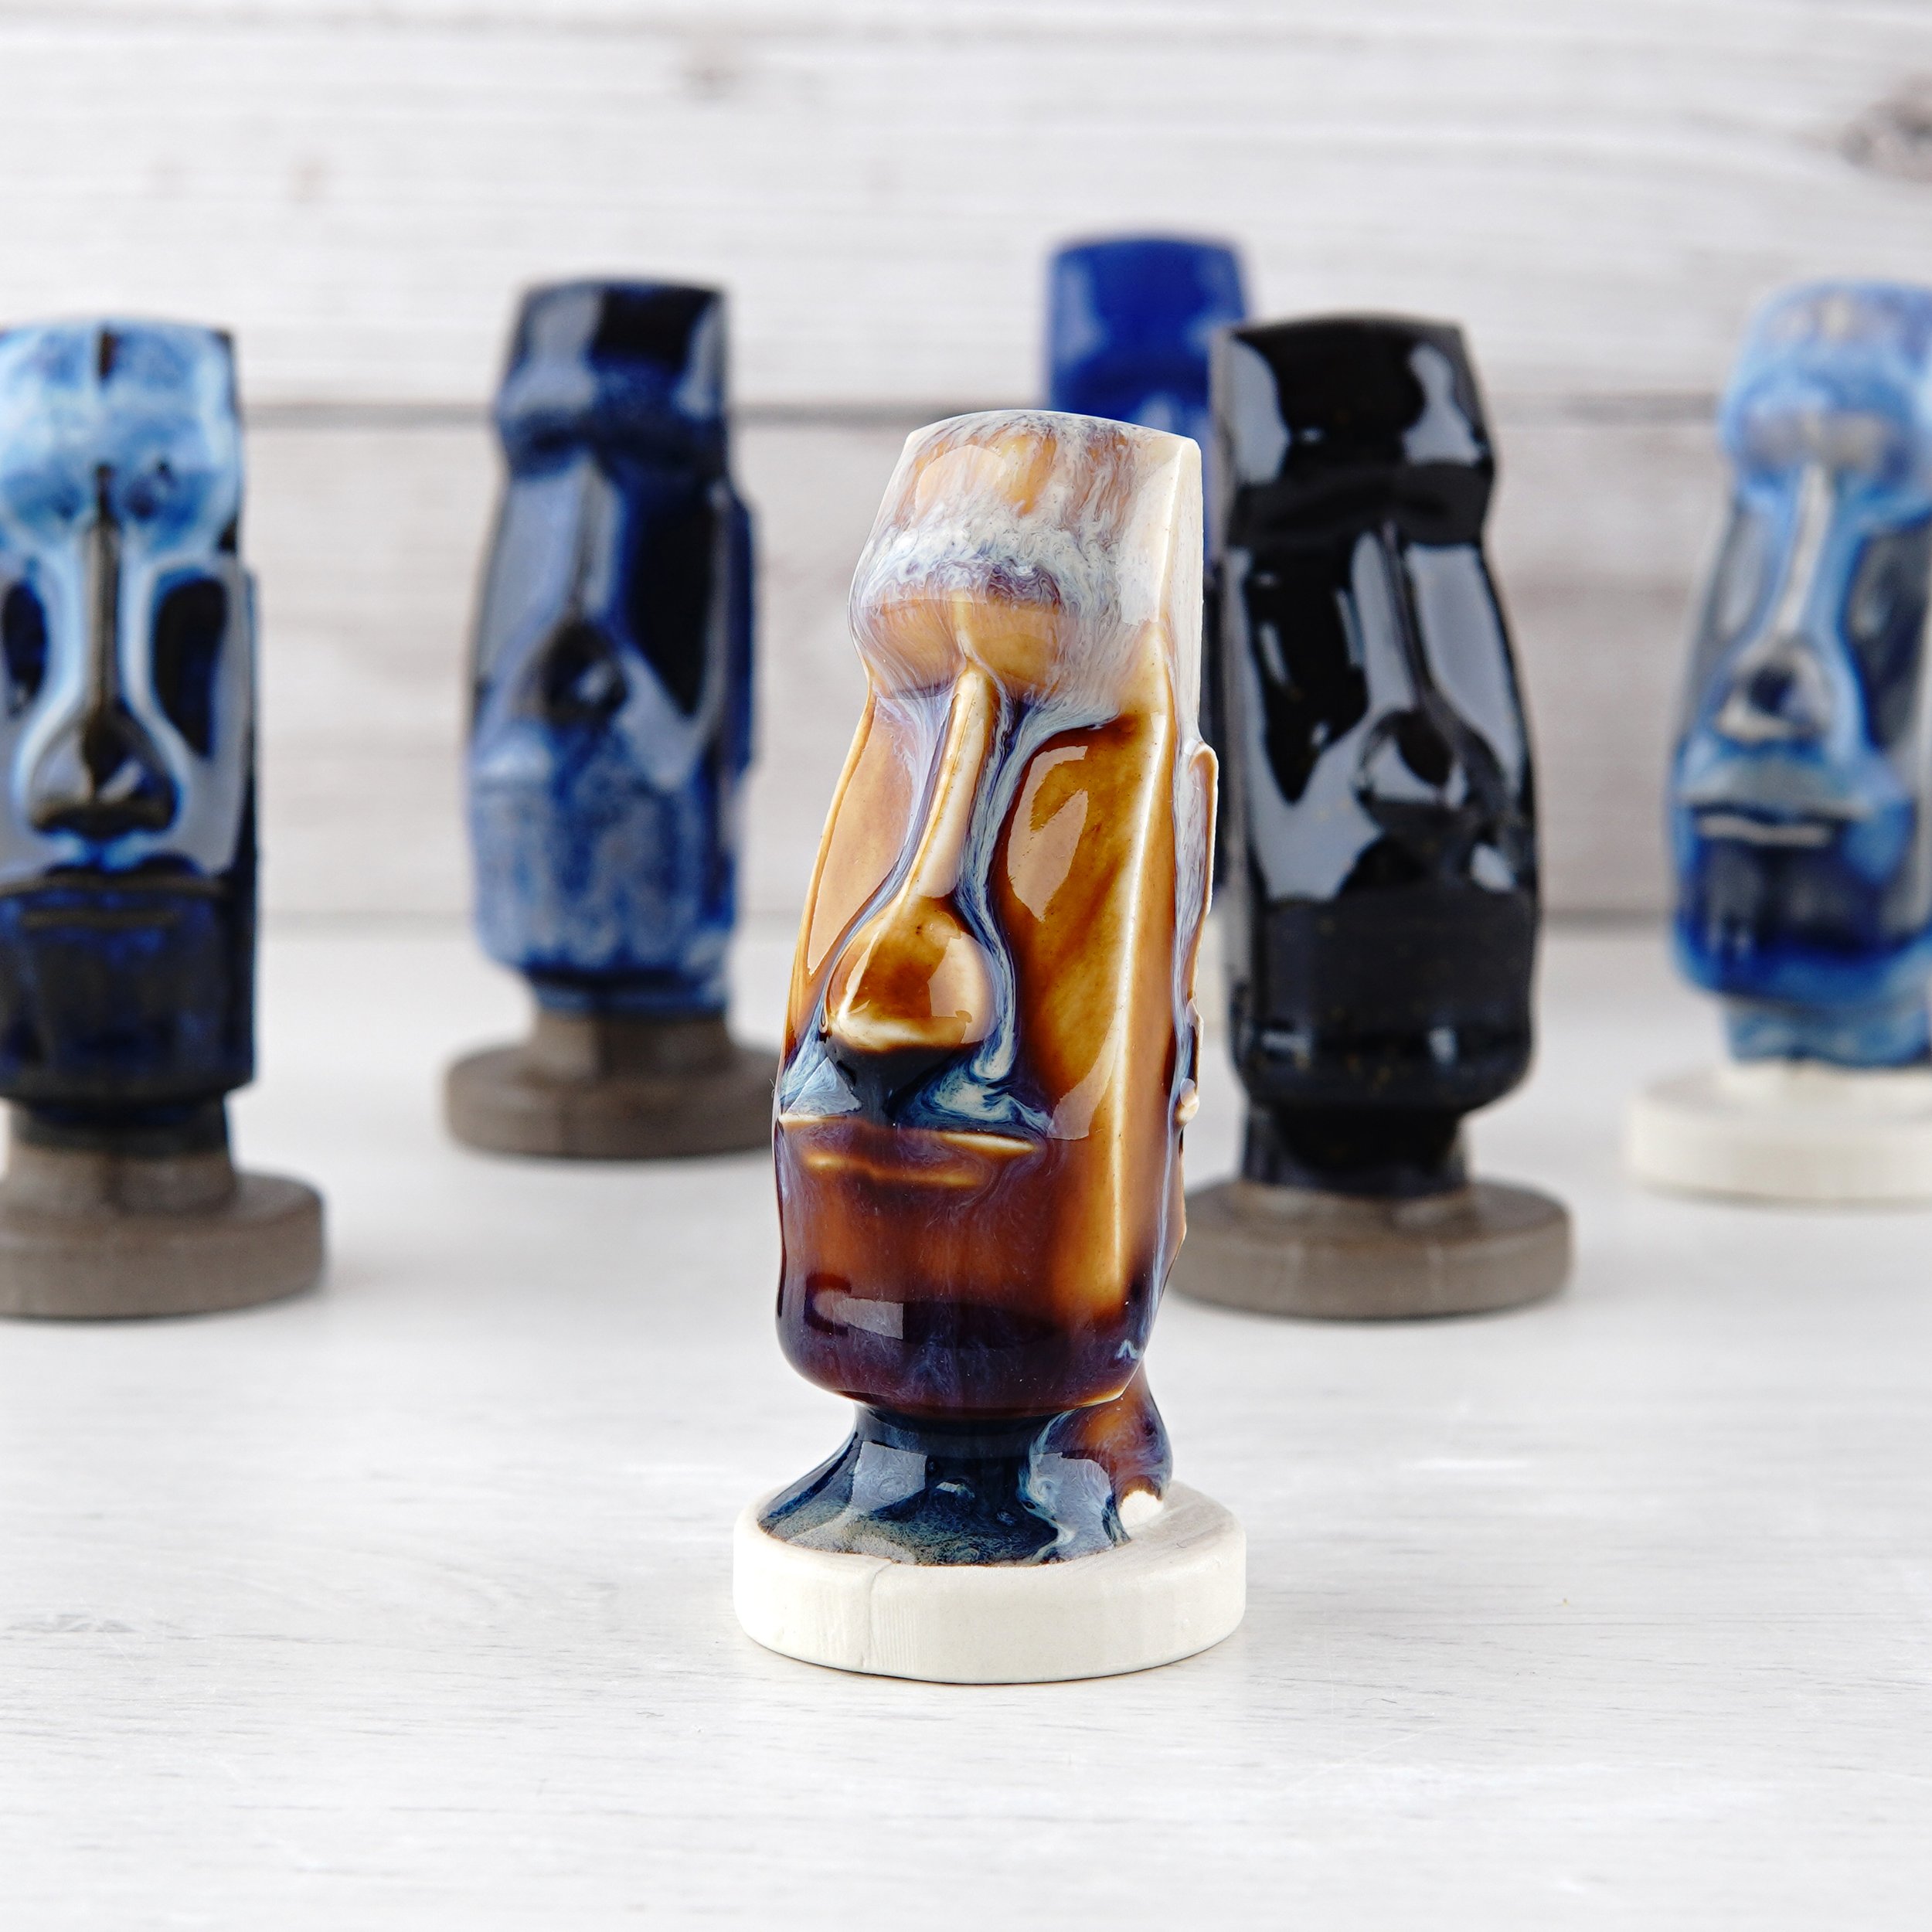
They are neat enough to keep as ornaments
So, all that said, here are the relevant STL files. In this case, 100% was intended to be the bisque size for dipping. The amount you’ll have to allow for shrinkage will vary with different clays. I went with 112% for the mould, but scale according to your slip. The mould is designed to tesselate with itself, so two prints of the same design make up both sides. I intend to make a second mould with a different texture, but the overall mould block will stay the same.
Basic test tile (smooth sided) at 100% size
Test tile with example textures at 100% size
Disclaimer: I’m pretty new to 3D modelling and had never used Blender before this project. The files above are what I used, but that doesn’t mean I did them right. There may be issues with them, make sure you check before committing to a print.