
How To Reclaim Clay
Clay is an amazing material. It has incredible workability when wet, increasing strength and hardness as it dries, and physically changes structure when heated to become fixed in position. Until it’s heated enough to change structure, it can be endlessly worked and reworked with the properties shifting between the wet plastic state and the dry brittle state though the moisture levels of the clay.
This typically means all of the clay waste produced prior to a bisque firing can be turned back into usable clay.
Reclaiming clay is less wasteful, more cost effective, better for the planet, and an all-round sensible choice for a studio of any scale. However, the process itself is messy and time consuming. With an inefficient system, it can be frustrating enough that a lot of potters will just throw clay away instead of reclaiming it.
A good process and a few relatively inexpensive tools will greatly cut down on the effort and the mess.
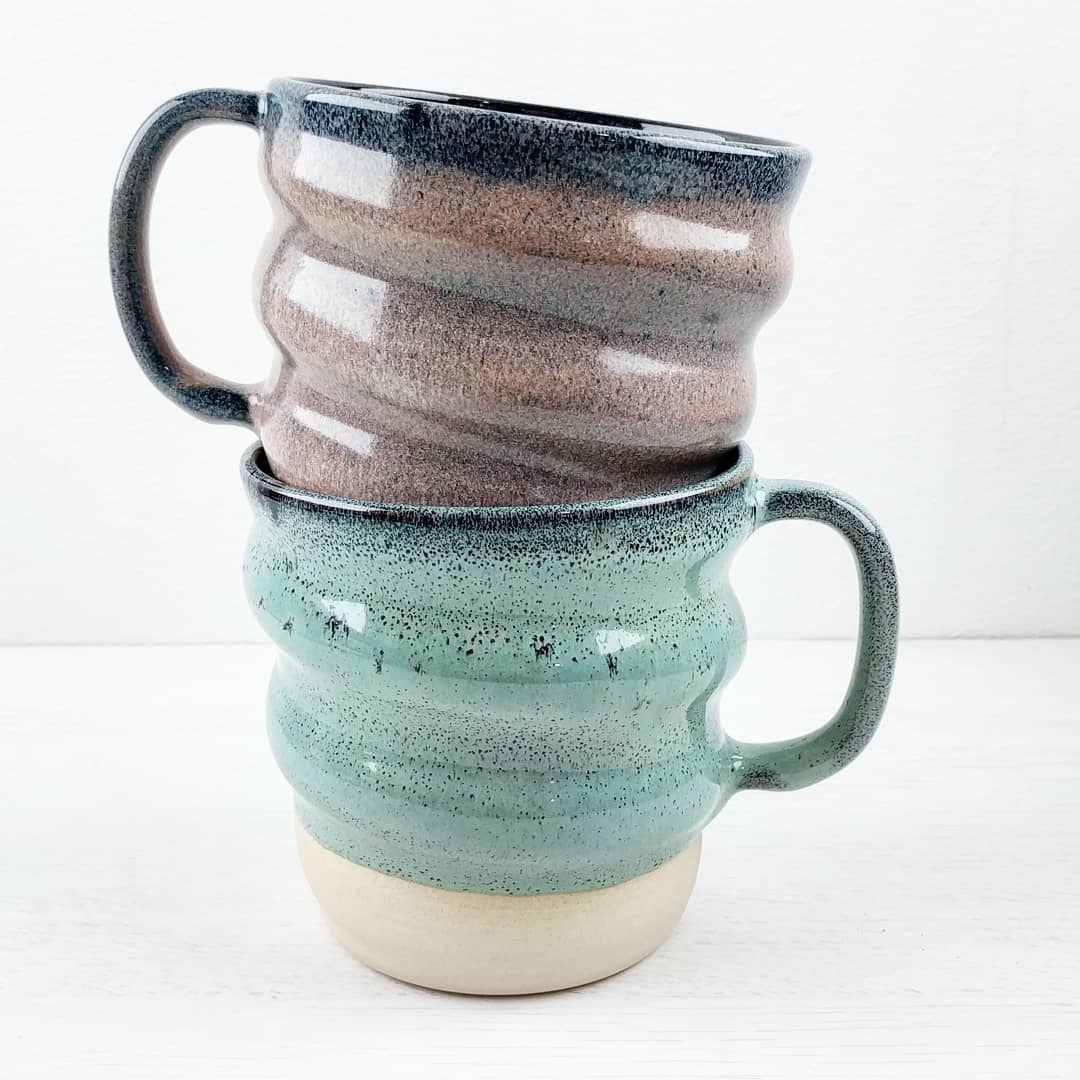
Reclaimed clay with 0.1% Cobalt Oxide added to turn it slate grey
I polled my Instagram followers on these. 80% said they always reclaimed dry clay, most of the remainder did it sometimes, and only around 5% did it rarely or never. When it came to throwing water, only 57% said they always reclaimed it, with 16% rarely or never reclaiming throwing water.
70% said they weren’t happy with their reclaim process but most of these had a process that they at least felt worked, with only 20% saying the process put them off reclaiming entirely.

Reclaim Sources
There are a few different ways that clay can end up being ‘waste’:
Plastic - There are times that clay will become waste almost immediately and without changing moisture content much. For me, it’s typically either when I mess up a piece during the throwing process (so a little water added, but not much) or excess when extruding handles (no moisture change at all).
Slip - When throwing, a certain amount of the clay will end up in the throwing water. The amount will depend on factors like the clay used, the amount of water used, the time taken, etc. Some potters won’t produce much slip this way, and others will. This clay is mixed up in the water, but can be easily separated.
Dry - Clay is removed from the piece through various processes during the drying stages. Typically this will be through trimming, but could also be carving/piercing/etc. The clay will probably not be fully dry when removed from the piece but will quickly dry if left out.

Different making processes will have different mixes of these and produce them at different stages, but most of the time they can be treated more or less the same.
I put all my plastic reclaim straight into a clay bag. There’s no need for an additional reclaim stage with this, just extra wedging prior to use. You might have a great mix of thrown pieces bringing water to the bag or your working process might allow the plastic reclaim to dry a little more. In those cases you might need to add/remove moisture to return it to its original state. But plastic reclaim should be very low effort.
The other two categories are more effort to reclaim.
The Right Tools
I’ve tried a few different approaches to this over the years and finally found one I don’t mind much. I had been trying to use the tools that I already owned, and this was frustratingly slow and messy.
I feel like the mistake I made was trying to do it too frequently, by doing too little at a time. This was a limitation of the containers and mixer, as I couldn’t do more at a time with the equipment I had, but meant there was often as much time spent cleaning up as there was spend on the reclaim itself.
The purchase of a powerful mixer and a deep drum shaped container made it infinitely easier, and they weren’t even that expensive (£55 and £20, respectively). By simply increasing the amount of clay I could easily reclaim at once, I reduced the frequency and effort required.
So my first bit of advice would be to invest in tools appropriate for the amount of mixing you’re going to be doing. If it’s more than a few kilos at a time then it’s almost certainly worth getting a powerful mixer. I went with this one because I thought the handle attachment would work well if I wanted to make a bracket to mount it to anything (I haven’t done that yet though). Any variable speed mixer in that style should work well though - US Link - and names can vary but they’re usually some variation of ‘power/plaster/concrete/paddle mixer’.

The difference in size between a cordless with paint mixer attachment, and a dedicated plaster mixer. The difference in power is even more dramatic.
It’s very easy to pass a smooth slip through a sieve and a smooth slip will dry out to make a well mixed and homogenous clay. A powerful mixer will turn a lumpy reclaim mix into a smooth slip quickly, whereas a cordless drill will struggle to get that level of mixing regardless of how long you give it (and you’ll risk burning out the motor).
The problem with the power mixers is that they’re too powerful for smaller containers! A large mixing head attached to a powerful motor is enough to throw clay everywhere if the container isn’t appropriately sized.

I use this 30L slip drum for mine. The overall size and proportions work well with my mixer, as it’s large enough that I can run the mixer at full power without clay flying out the sides, but also small enough that I can move it fairly easily when mostly full.
Once I’ve mixed it thoroughly, I pass it though a sieve (this one) to get rid of any junk that shouldn’t be there. The main issue I find are little fragments of sponge, but there are no shortage of things that will end up in there and ruin a piece if they’re still in the clay when it reaches the wheel!
Finally, you need a way to dry the slip out. The easiest way is using a large slab of plaster, as plaster is porous and will rapidly absorb the water (until it gets saturated, which is why a larger slab is better). These generally aren’t sold as a product as far as I’ve seen, so you have to make your own. Mixing plaster and pouring it into a plastic storage box is a perfectly good way to do this. The function can be improved by making it as essentially a plaster bowl, allowing you to pour a more liquid slip into it with less chance of it flowing over the sides.
Another alternative is to use a fabric filter. There are a lot of different options that get suggested for this. An old pillowcase, a pair of jeans, a canvas bag, etc. These will all work to an extent, but I’ve always found them to be awkward to work with and they tend not to like being saturated with water for days. A more promising material in my opinion is a nylon filter mesh sheet (UK Link/US Link) as this has a known mesh size and won’t break down or go mouldy. Lining a wire bin with a nylon filter seems like a good way to go. There are also filter bags (for brewing) and filter socks (for pool cleaning) which are already the correct shape, but I’ve had difficulty finding them in a configuration that actually works for the process and doesn’t cause new problems! If you can find a big filter bag with a filter rating of 400-500 mesh or 30-40 microns (a different way of measuring the same thing), it might be worth buying.
The Process

There’s no single right way to reclaim clay, the specifics will change based on a wide range of factors. One of the biggest considerations is what you need from your reclaim.
If you work with a single clay, it’s more straightforward. But if you work with several, you have to decide if they need to be kept separate or if they can be reclaimed into a mixed clay. If you work with several colours of clay then a mixed reclaim will just be an average of them (typically a paler shade of the darker colours) but if you work with clays that fire to different temperatures then a mixed reclaim might not be suitable for any of your normal firing temperatures.
Reclaiming different clays separately takes up more space, and is more effort. The upside is that you get greater control over the final clay, and it can directly replace new clay of the same type.

Personally, I keep the dry reclaim separated by clay type, but I collect all the throwing water into the same bucket. I can make decorative slip (e.g. for the Drippy Slip pieces) using one type of the dry reclaim, but make a combined reclaim using the throwing water.
I use 5L plastic pots with lids to store both the dry reclaim and liquid reclaim, but that’s because I have plenty of them spare. It doesn’t really matter what you store it in as long as it works for you and your studio setup.
Once I have a decent amount of dry and liquid reclaim, I combine them in the bigger drum and let them slake down for a few days. This allows the dry clay the time to break down and soften, although bigger chunks may still be dry in the middle. You can speed it up by adding water (rather than the liquid reclaim) to the dry reclaim first, as it will absorb it faster. This does mean you’ll have a runnier mix, with more water to be removed to return it to the plastic state. There’s no right answer here, just whatever works best for you.
Once slaked, mix with the plaster/power mixer. Add any colourants or other ingredients and mix well. The end result should be a smooth liquid slip.

I would recommend passing this through a sieve at this point. It’s still a bit of a pain to do, but this is the easiest time to do it and you’ll remove any lumps that shouldn’t be there.
If the mix is really runny, it might be worth letting it sit for a few days and pouring off the excess water that separates out.
It can then be poured onto plaster or into a filter bag. This will allow the water to leave while retaining the suspended particles. Once enough water has left, which can take a day or a week depending on various factors, you’ll have a plastic clay. This stage can be a bit tricky to get right at first, but if you keep checking for firmness you should be able to catch it pretty close to the ideal time.
In Conclusion
Reclaiming clay isn’t a fun process, but it’s worth the effort. You can greatly reduce the effort and frustration by using the correct tools and finding a way that suits you. And if you take nothing else from this post, it should be to buy a plaster/power mixer. The difference between them and a standard handheld drill cannot be overstated!

Heath Ivory over slate grey reclaimed clay
If you like this sort of content and want to support the creation of more, I now have a Patreon specifically for it or a page on my website if you just want to make a single donation.