
Pottery in Lockdown
This post is a list of suggestions for pottery related ideas to keep you busy during the lockdown, both for those that have a home studio setup of some sort, and those entirely without.
Firstly, the Ceramics Congress is coming up soon. This is the online equivalent of a week long pottery festival, with demonstrations, talks, tutorials, expo booths, and random encounters with other potters from across the globe. The previous events have been great and this one looks set to be even better.
I’ll be hanging around for as much of it as I can, and I hope some of you will be there too!
Without access to a Studio
There are no shortage of productive and worthwhile things you can do without access to a studio, but it will depend on where you currently are in your pottery journey and where you want to be. If you’re a total beginner then there will be fewer options, just because nothing beats hands-on making time when you’re starting out. But if you’ve been doing it for a little while and have been thinking of setting up an Instagram/website for your work, learning about glazes, or developing your style, this is a perfect time to start.
This could be a whole post in itself but here is a good primer for getting ready to start an online pottery business. You’ve got to come up with a name and logo, and then set up the social media for it, which should keep you busy for a while!
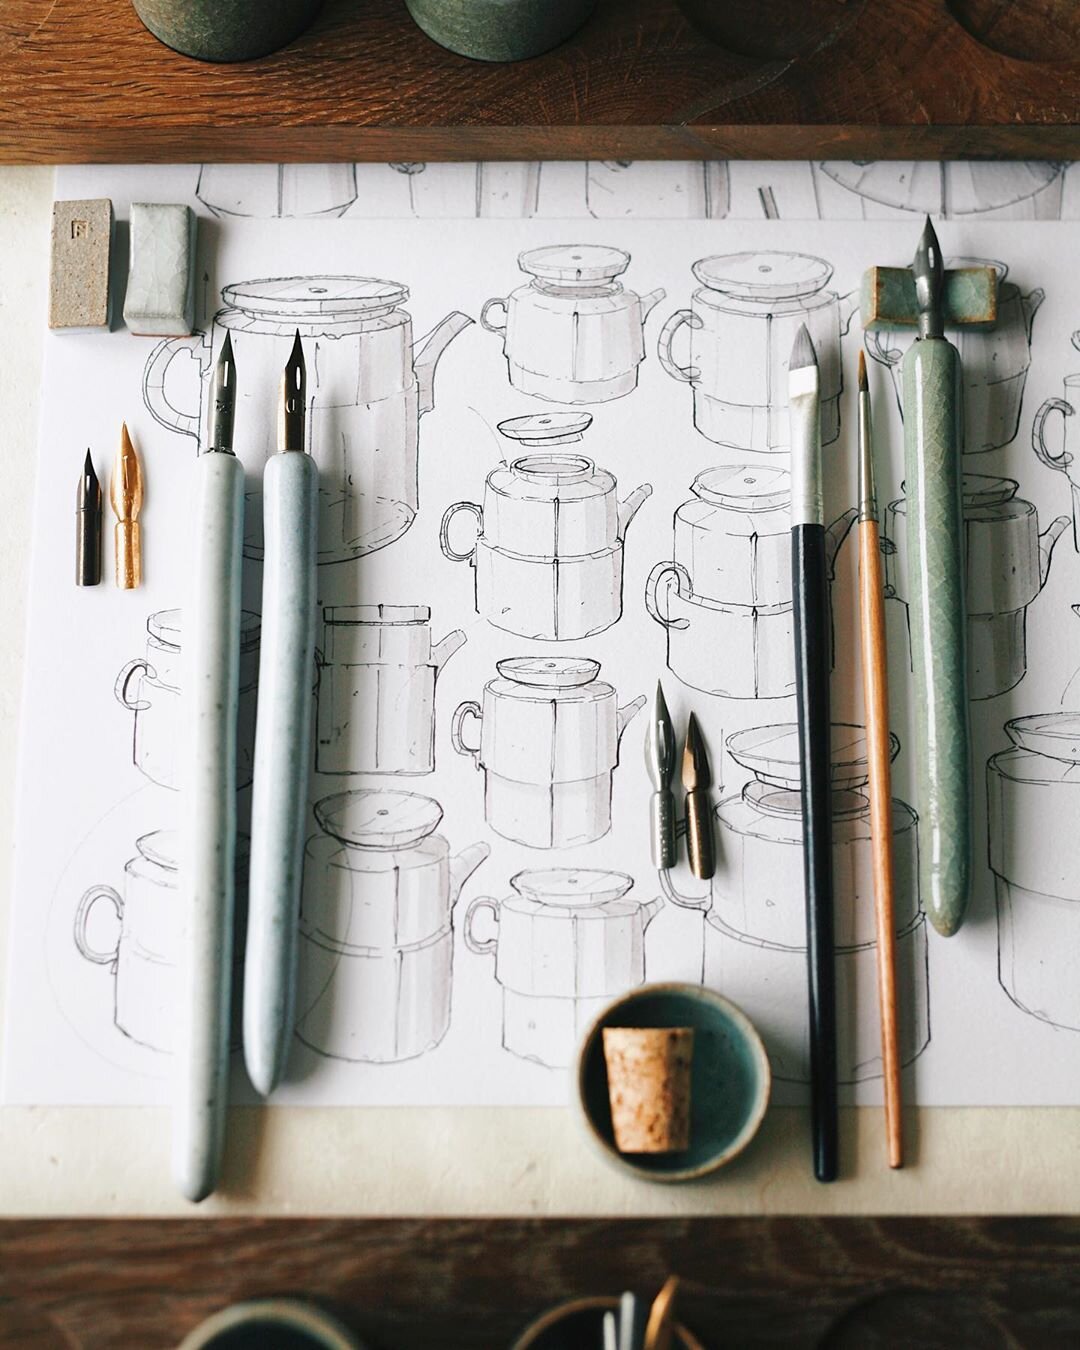
Florian Gadsby
If you’ve been thinking about making your own glazes, or have been making your own glazes without really understanding the chemistry, then I highly recommend taking a Ceramic Materials Workshop class. The course I would suggest (if you fire to cone 6, that is) is The Middle Glazes. The more in-depth course is Understanding Glazes, but I think the full course is well worth the extra and requires the ability to make and test glazes.
As for developing designs, it really depends how you work the rest of the time. Sketching variations (like Florian Gadsby) is a fantastic way to progress a design (don’t worry if they don’t look that pretty though!), but just collecting a Pinterest board of designs you like is a great start. If you can think about which forms appeal to you and which don’t, and especially if you can work out why, then you’ll be in a much better position to explore them when you get back in a studio.
Another idea for developing designs without clay is to slab build paper instead. Whether it’s geometric forms or more organic forms, it’s easier to work out and test the net in paper before moving to clay, so this is a good time to test variations of a design to see if it works and which version you like most.
You could also watch most episodes of The Great Pottery Throw Down on YouTube, as well as all your favourite pottery YouTube channels. Here are some suggestions for binge watching: Jonthepotter, Simon Leach, Bill van Gilder, Ingleton Pottery, Hsinchuen Lin, Matt Horne, and many others.
With a limited studio
Some of you will have access to some parts of a studio without having a full setup. This probably means materials (clay, maybe glaze, maybe plaster) and tools, but minimal or no equipment (wheels, kilns, etc). There’s a lot you can do to entertain yourself, in addition to the productive things listed above.
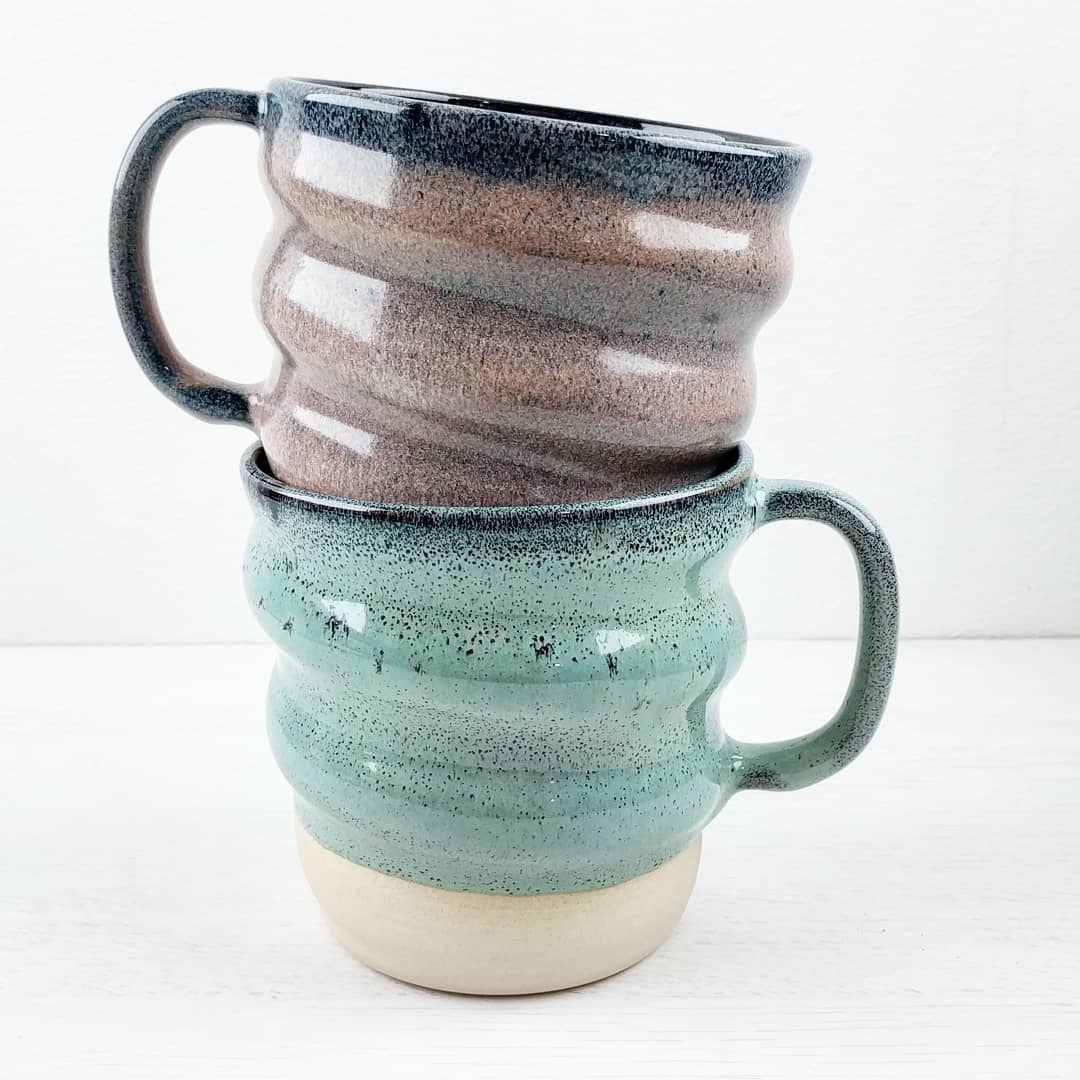
The ways of making that require the least equipment are handbuilding techniques like coil building or making pinch pots.

Another simple thing to create would be tiles/coasters. If you have clay and a rolling pin, you can make these at home pretty easily. If you have a board to roll them onto, thickness guides to get them even, and a cookie cutter or template to cut them out, even better.
Then you can stamp, carve, slip decorate, or whatever you can think of. This is a great project for kids or people who have no experience with clay. Finding things around the house to try as stamps is a great way to spend a few hours.
Once you’ve finished them, make sure to dry them as slowly as possible on a flat surface. A stack of wire racks within a plastic storage box is a great way to dry them slowly and evenly.
And on the subject of stamps, another way to spend a bit of time is making your own pattern stamps from clay. Unfortunately they will need to be bisqued before use, so you might not be able to do anything with them until you’re back in a studio.
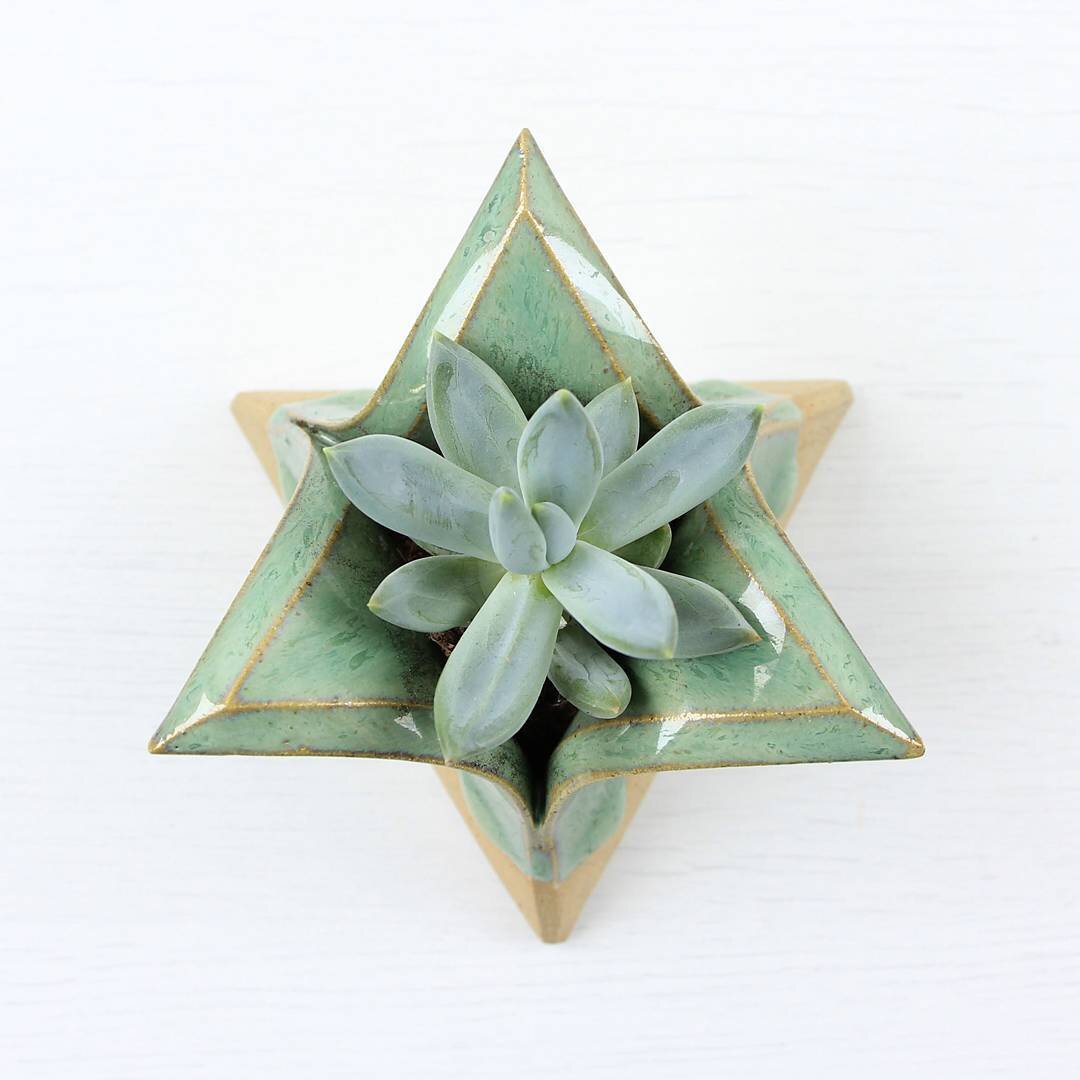
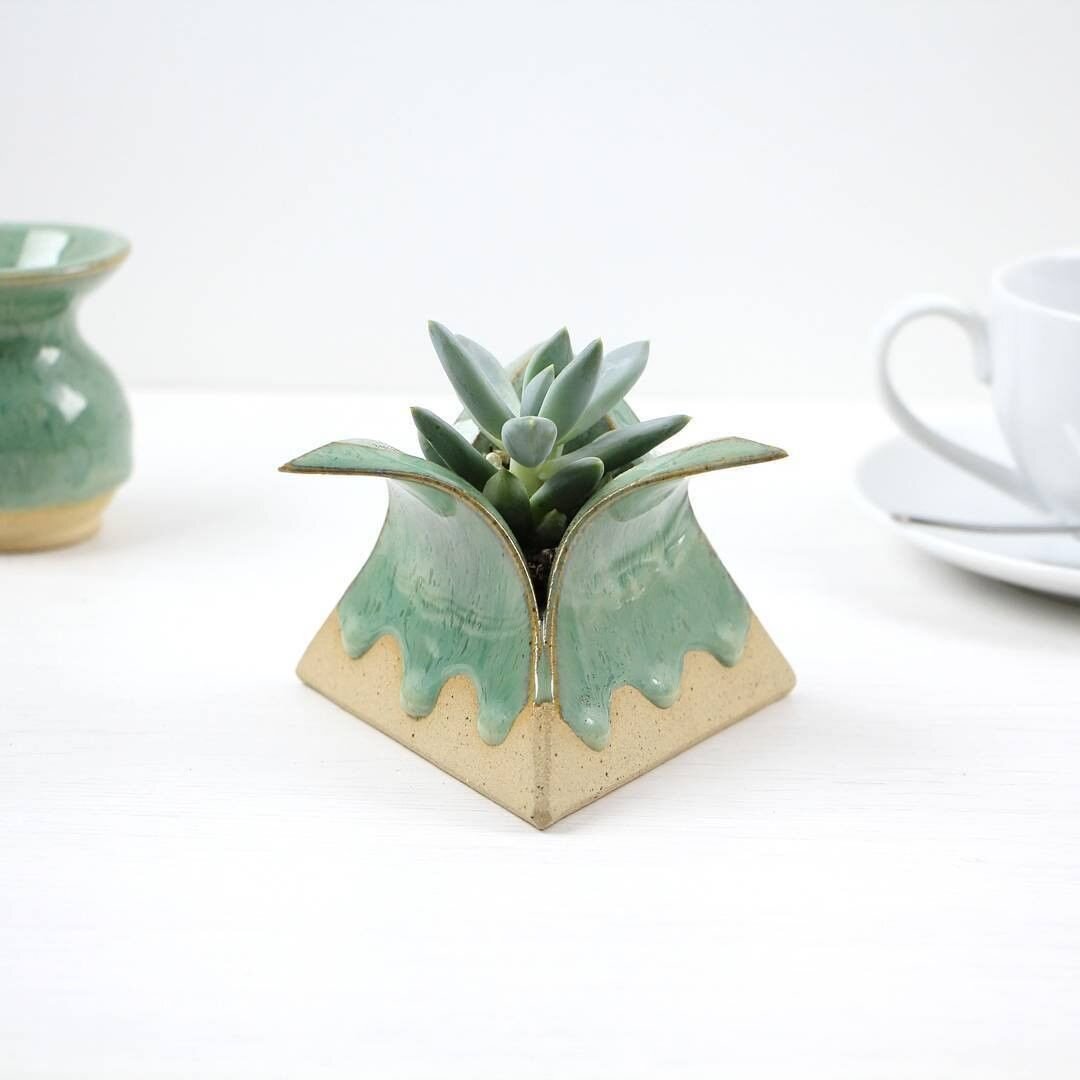
If you can roll out tiles, you can make slab built pieces. Before I got my wheel I used to make these little pyramid planters, which are a fun little project and go perfectly with succulents. All you need is four equilateral triangles

Plastic Bottle Mould - A really interesting project idea from Wangling Chou, using plastic drink bottles as moulds to press clay into to produce quirky pieces.
If you have plaster, you can make moulds of things you find around the house. Here’s a really quick video of John Britt showing the full process with chicken bones. Once you have a mould, you can try something similar to Anna Whitehouse’s 100 Bottle project and try to come up with as many variations on a theme as you possibly can.

Nerikomi - Using two colours of clay, roll out thin sheets and combine them in patterns within the cross section of a block. The patterns can be incredibly detailed and precise.
And any leftover clay from these processes can be turned into slip and used for other projects.
A few more suggestions from Instagram and Reddit (thank you everyone who added ideas!):
Recreate an everyday object as realistically as you can...one of your shoes, fire extinguisher, tools, food items, etc.
Lanterns/candleholders, lots of cutting and darting that can be done to slabs to make them more dynamic..
Rattles...handbuilt forms with small clay beads sealed inside.
If you have someone you can work with; each of you make a handful of different forms (bowl shape, cylinder, tube, orb, etc.). Swap all the pieces for the other persons and see who can come up with the most interesting piece.
There are many different ways to do this sort of project; make all the parts to a teapot and then have the other person assemble
Find a piece made by an artist you really admire and try to imitate it.
Find things you wouldn't normally think to use for texture.
lace doilies, closed pinecones as texture rollers, kitchen utensils, hand tools, machine gears, tree bark
Do image research on organic subjects, plants, animals, insects, etc. and create a pot with design aspects that draw from them. ex: A vase with the surface texture of a tortoise shell or the scales on a pangolin.
"System" noun 1. a set of things working together as parts of a mechanism or an interconnecting network.
Make a multi-part work that somehow illustrates the definition of a "system". Find other words and do this.
Get a globe/world map. Close your eyes and pick a spot on the map, create a work in the style of ceramics from that region/culture.
Make a self-portrait bust.
Handbuilding vessels using a template (like in this lesson https://www.amaco.com/lesson_plans/234).
Creating a handbuilt set of functional wares, challenging oneself to create unity in design and decoration without relying on glazes. Ideas for sets: teapot, teacups, sugar bowl, cream pourer; punchbowl, ladle, cups; toothbrush holder, soap dish, water cup, razor stand; lidded casserole dish, serving utensils, matching plates... many possibilities here!
For those who have clay but no kiln, research of once firing, open firing and pit firing techniques to see if any would be feasible. This article features use of an old charcoal grill: https://ceramicartsnetwork.org/daily/firing-techniques/wood-kiln-firing/grilling-season/ and here is a list of colorants for use in pit fires: https://www.upinsmokepottery.com/colorants.html.
A mobile phone holder (wheel + build), Soy sauce cups, Planter pots, Imprinted cylinders, Utensil holder.
With a Full Studio
Some of us are lucky enough to be in lockdown with a full studio. In that case, you might be running out of idea of things to make or try.
Skill Development Challenges

Take increasing amounts of clay (100g, 200g 300g, etc) and throw the tallest cylinder you can. At some point they’ll stop getting significantly bigger when the clay increases, that’s a very good weight to practise with.
Take 10 balls of the same weight and throw 10 pieces that are as identical as possible.
Tallest cylinder with 1kg/2lbs (or whatever weight you want).
Widest bowl with 1kg/2lbs (or whatever weight you want).
Fun Challenges
Blindfolded Throwing
One Handed Throwing
Throwing with the wheel turning the opposite way.
Throwing the smallest vase you can.
Throwing a piece within a minute. The easier option is to have the clay centered before starting the timer, the hard option is to center and throw within 60 seconds.
I suggest using the hashtag TheGreatPotteryLockDown for any of these posted to Instagram, but any thoughts on that are welcome!
Projects
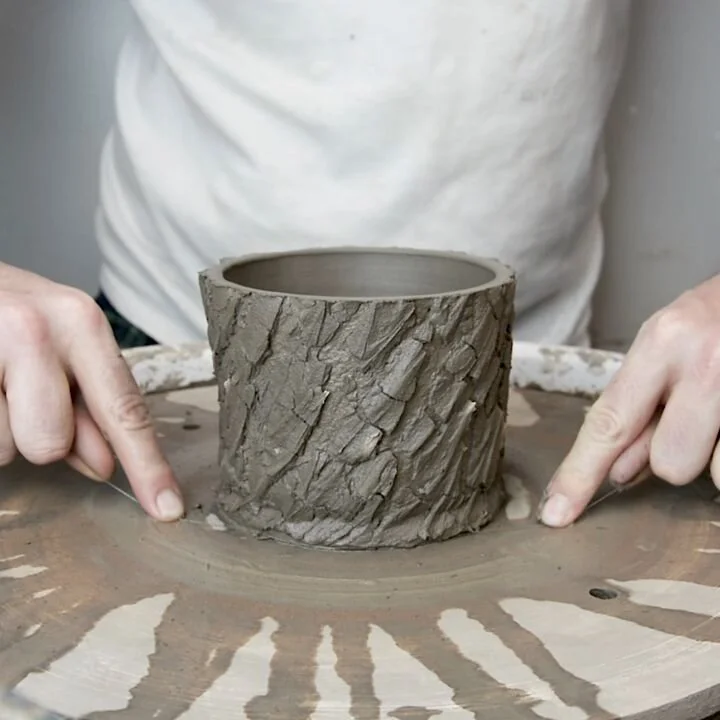
Bark Texture - Curt Hammerly’s Groot how-to was probably the first tutorial I found and followed on Instagram (which is why I have a 3 year old post saved). It’s not as straightforward as he makes it look, but it is quite simple. Add sodium silicate to a very thick slip, apply it to the outside of a concave pot with thick walls, dry the outside of the slip with a blowtorch or heat gun, then belly out the walls of the piece to stretch and crack the slip.
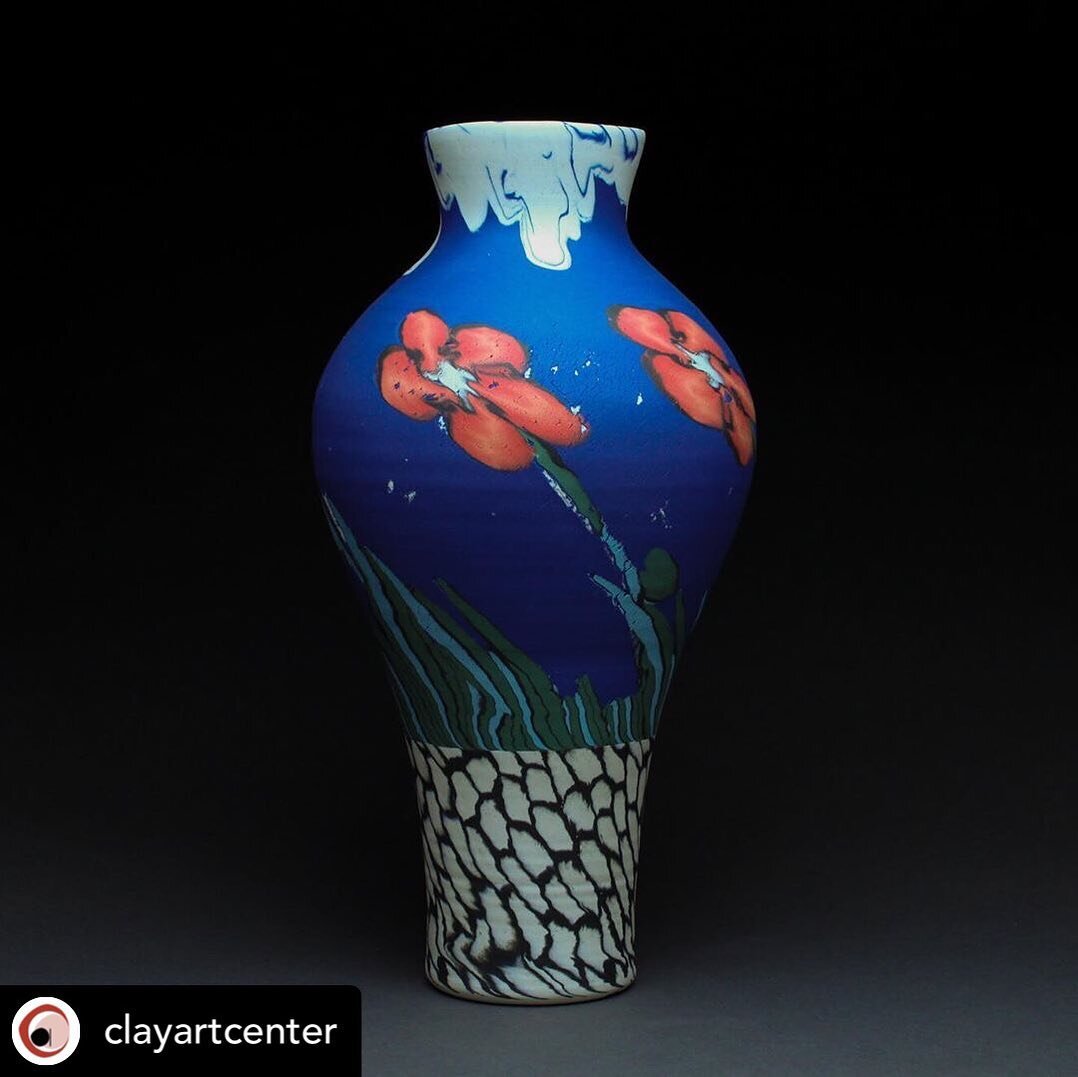
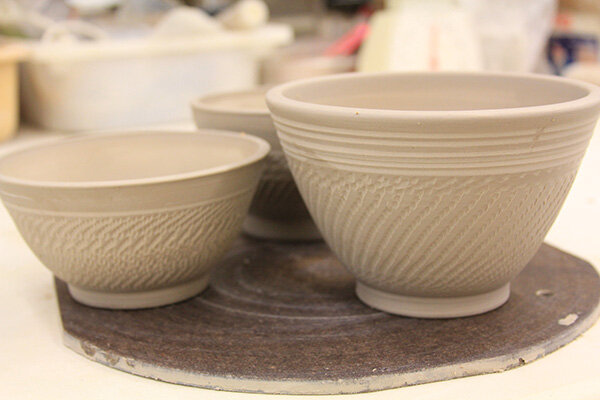
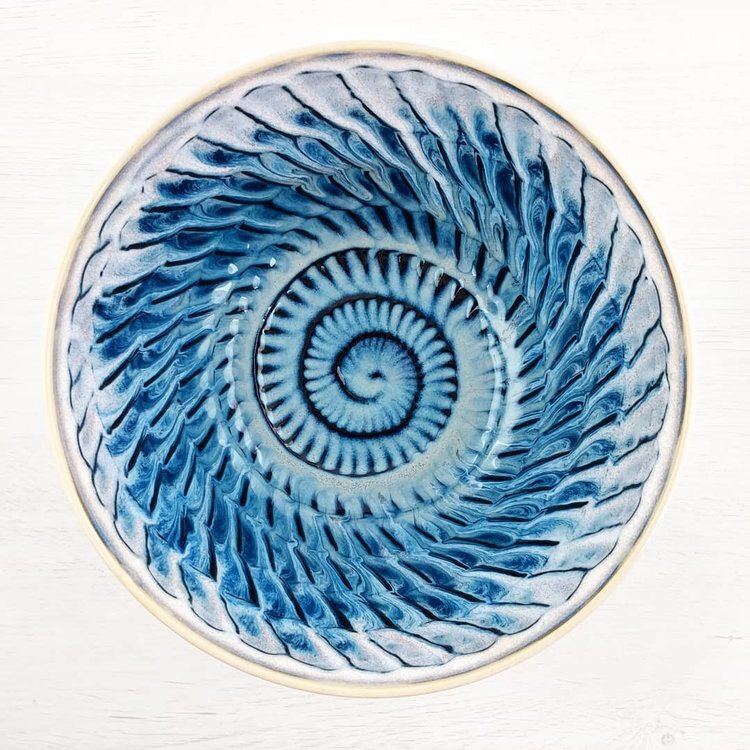
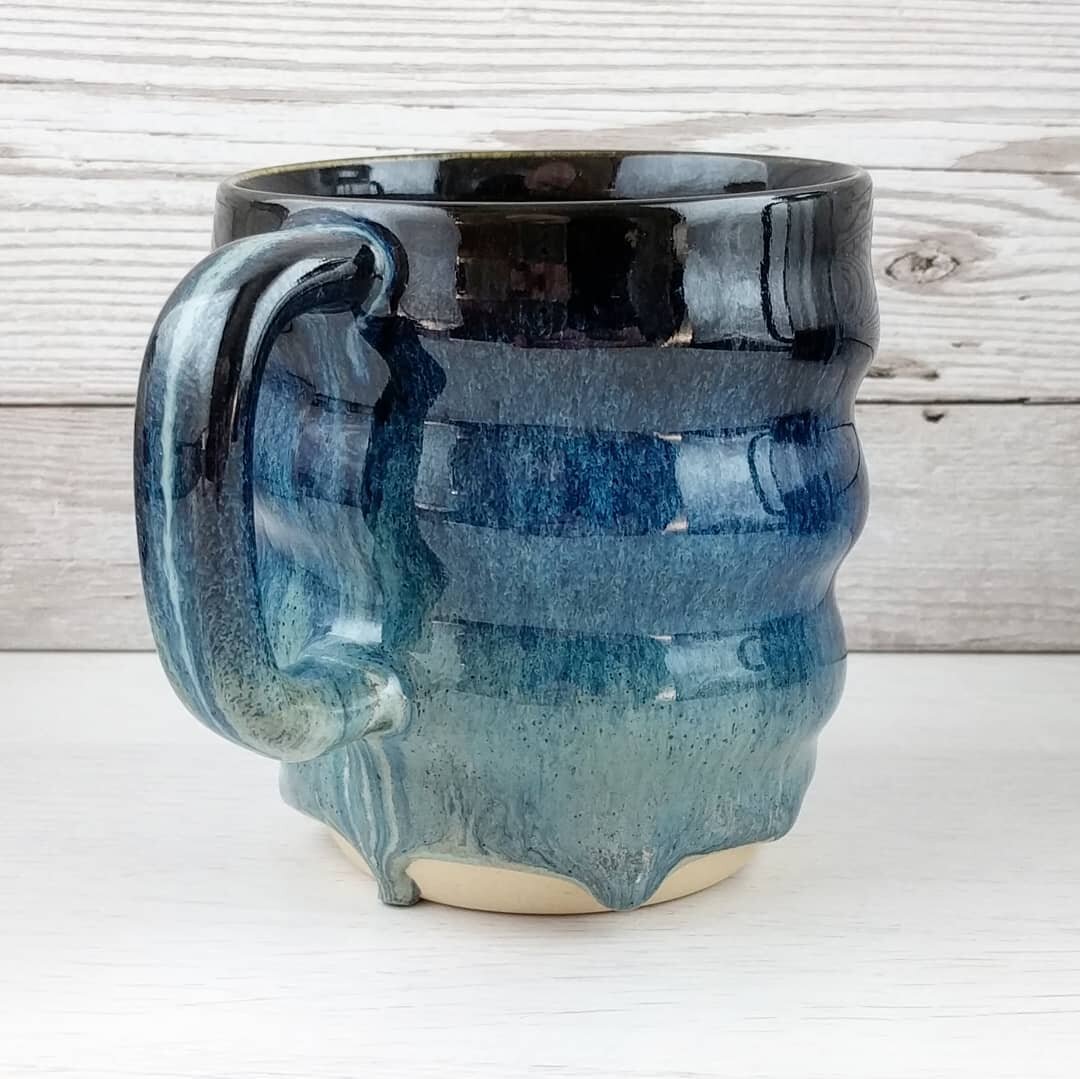
Thrown Surface Decoration - I’m not exactly sure how to describe this. It’s a coloured surface decoration applied before a large portion of the throwing and shaping is done, and a rotating rib is used for those parts to preserve the pattern. It’s a really cool technique and produces some great results.
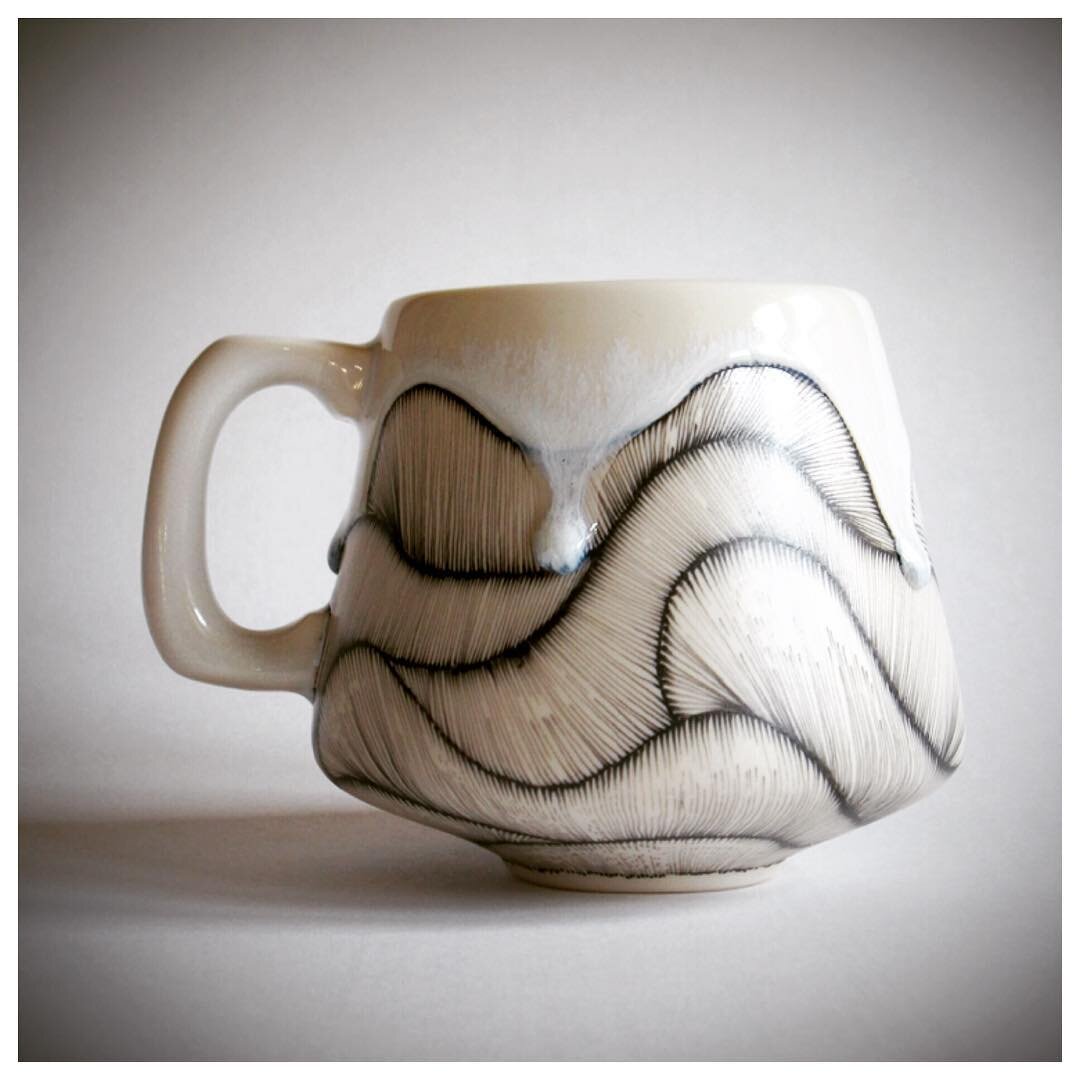
Wax Resist Patterns - This could be used in an infinite number of ways, but I really love the effect that @singletooth gets with wax resist and underglaze.
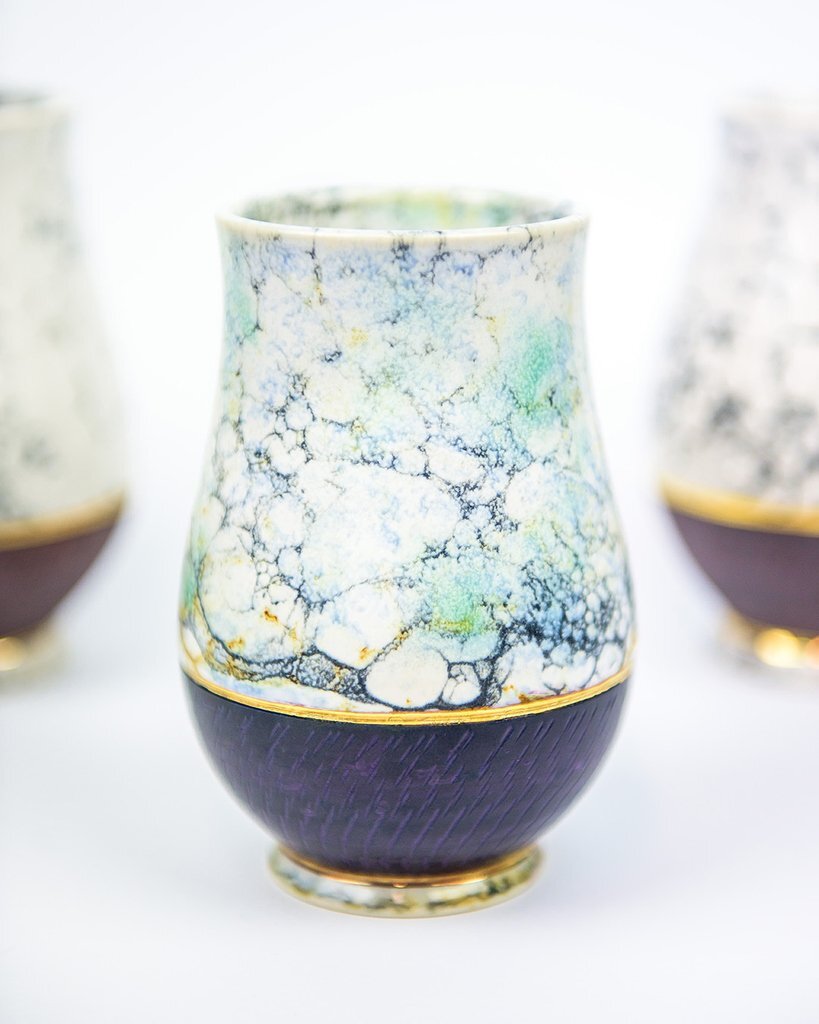
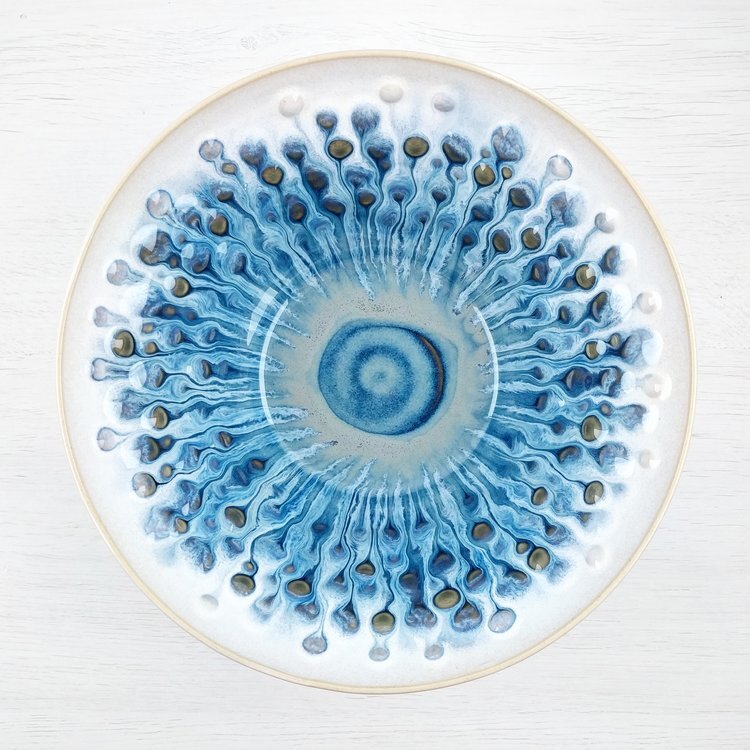
Bubble Glazing (or Underglazing) - Mix hand soap or washing up liquid with water and glaze/underglaze. Mix well, then use a straw to blow bubbles in the mixture until they spill out onto a bisqued piece. Leave the bubbles covering the piece until they’re mostly popped and they’ll deposit the glaze/underglaze in the same pattern as they’re applied to the piece.
Stamped Patterns - Peacock Eye and Pebble
All while listening to a new podcast!
Hopefully there is something there that appeals to you, and I really hope you’re all ok in the midst of this craziness. As always, leave any suggestions for additions to the post in the comments, message me, or use the hashtag oldforgecreations (I often miss @mentions on Instagram and there's no way to find them afterwards, but I'll see the tag). Good luck!


